
A bad RV converter can fool you. The battery keeps dying, the lights start acting strange, or you get almost no 12-volt power and it seems obvious that the converter has finally quit. Then you replace it and discover the converter wasn’t the problem at all. Once testing confirms the converter has failed, replace the correct RV converter can help you identify the right replacement before ordering.
That’s exactly why I like testing before replacing anything.
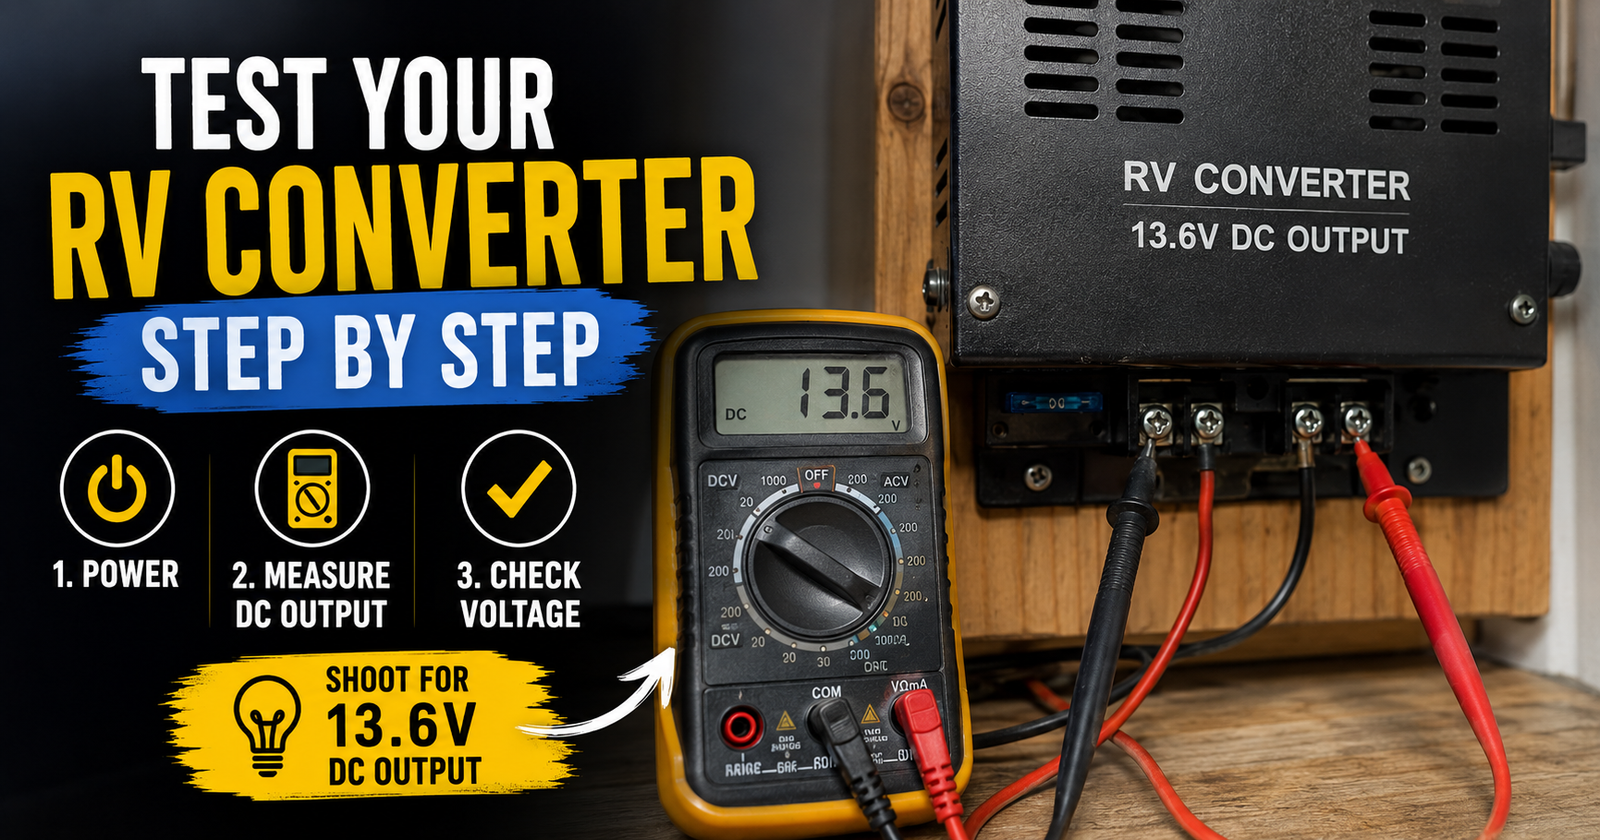
A digital multimeter can usually tell you whether an RV converter is producing DC power, whether that power is reaching the battery, and whether the converter is actually receiving the AC electricity it needs to operate. If the battery is not receiving that output, use this RV converter not charging the battery troubleshooting guide to trace where the charging path is failing.
You don’t need to understand every wire in the camper to learn a lot from a few voltage readings.
But there is one important catch.
Different converter manufacturers and models have different testing procedures. Progressive Dynamics, for example, instructs owners testing certain PD9100 and PD9200 converters to disconnect the negative battery wire at the converter before measuring output directly at its terminals. WFCO instructs owners of several models to disconnect the battery cables at the battery and measure the converter output on those disconnected cables.
So I’m going to show you how the testing process works and what the readings can tell you, but always check the troubleshooting procedure for your exact converter before disconnecting wires or opening electrical compartments.
First, Find Out Which RV Converter You Have
Before touching the multimeter, find the converter model number.
This matters more than people realize.
The converter might be a standalone deck-mounted unit tucked behind a panel.
It might be part of the RV’s power center.
It might have been replaced by a previous owner.
It might have lithium charging capability even though the camper originally didn’t.
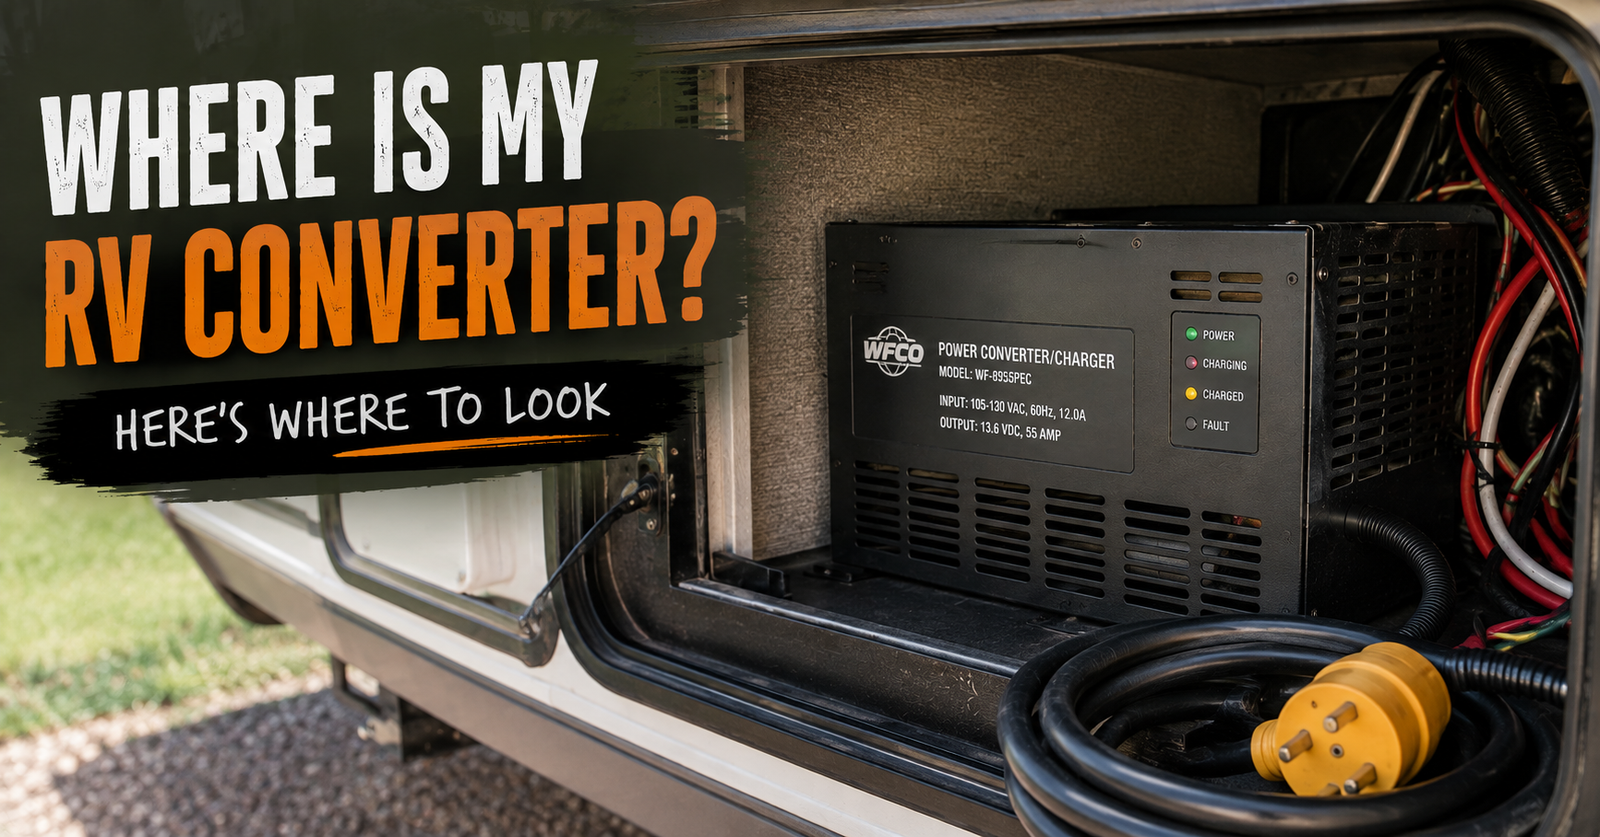
If you haven’t actually found yours yet, start with our guide to locating the converter in your RV.
Once you find it, take a picture of the label.
I want the manufacturer, model number, and output rating.
Then find the manufacturer’s troubleshooting procedure for that exact model.
That keeps us from treating every converter ever installed in an RV as though it’s identical.
What Multimeter Do You Need?
You don’t need some ridiculously expensive diagnostic meter just to check basic converter voltage.
A decent digital multimeter capable of measuring AC and DC voltage is enough for the tests most RV owners will perform.
Progressive Dynamics lists a digital voltmeter as essential equipment for its basic diagnostic procedures and specifies capability for the RV’s roughly 12 to 15-volt DC range and 120-volt AC range.
The important thing is knowing which mode you’ve selected.
Because we’re going to deal with two completely different electrical systems.

AC and DC Are Not the Same Test
Your RV converter sits between the AC and DC sides of the camper.
That makes it incredibly useful diagnostically.
On one side, the converter receives approximately 120-volt AC electricity.
On the other side, it produces low-voltage DC electricity for the RV.
So we’re essentially asking two questions:
Is electricity going into the converter?
And:
Is the correct electricity coming out?
That’s how you start separating a bad converter from a problem somewhere else in the RV.
The Most Useful Converter Test Is Usually DC Output
If I suspect a converter problem, the first number I want is its DC output voltage.
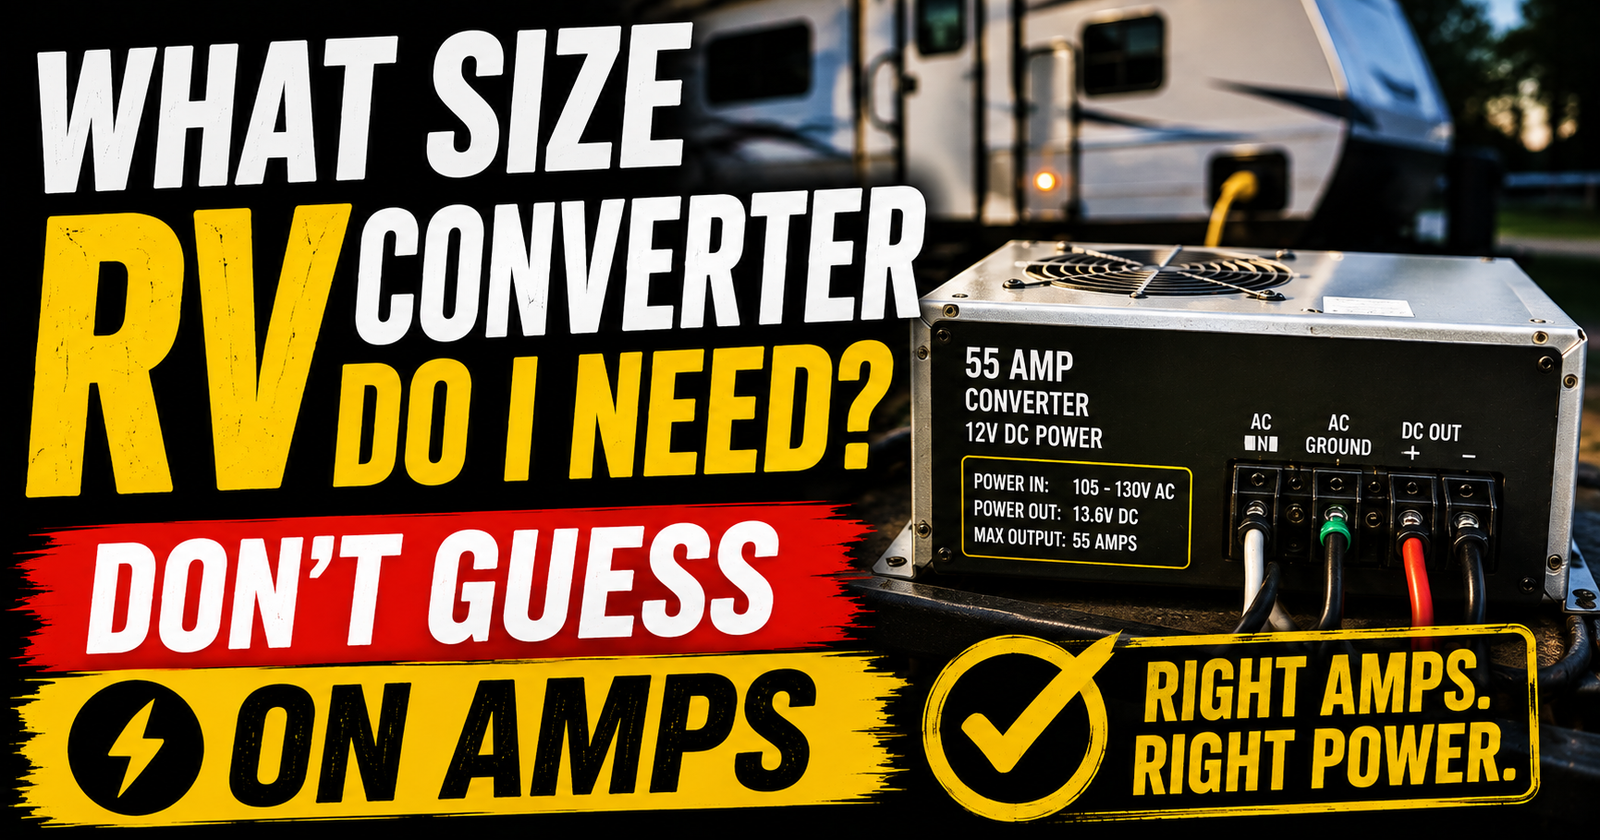
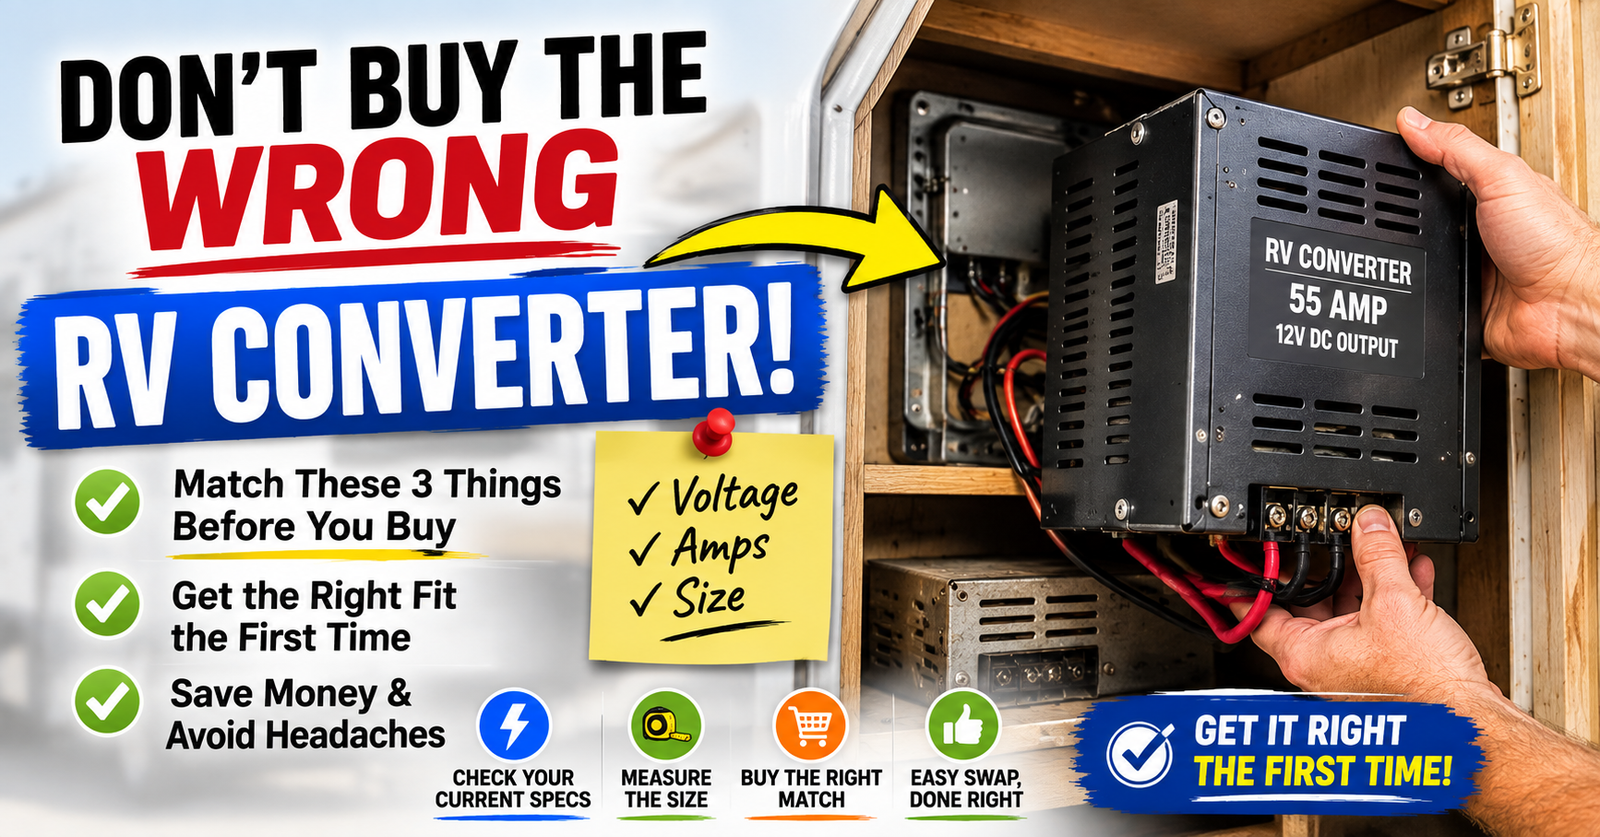
A healthy modern converter commonly produces something in roughly the 13-volt to mid-14-volt range while operating, but the exact expected voltage depends on the converter model, battery chemistry, charging stage, load, and manufacturer specifications. Because the converter model and battery chemistry affect charging behavior, choosing a converter for the battery chemistry matters before comparing output ratings: choosing a converter for the battery chemistry.
For example, Progressive Dynamics specifies 13.6 volts plus or minus 0.3 volts during its direct output test for certain standard PD9100/PD9200 models, while its lithium models use a different value.
WFCO’s current WF-68100-AD troubleshooting procedure considers approximately 13.6 to 14.6 volts normal during its specified converter test.
That’s why I don’t diagnose a converter from a generic internet number alone.
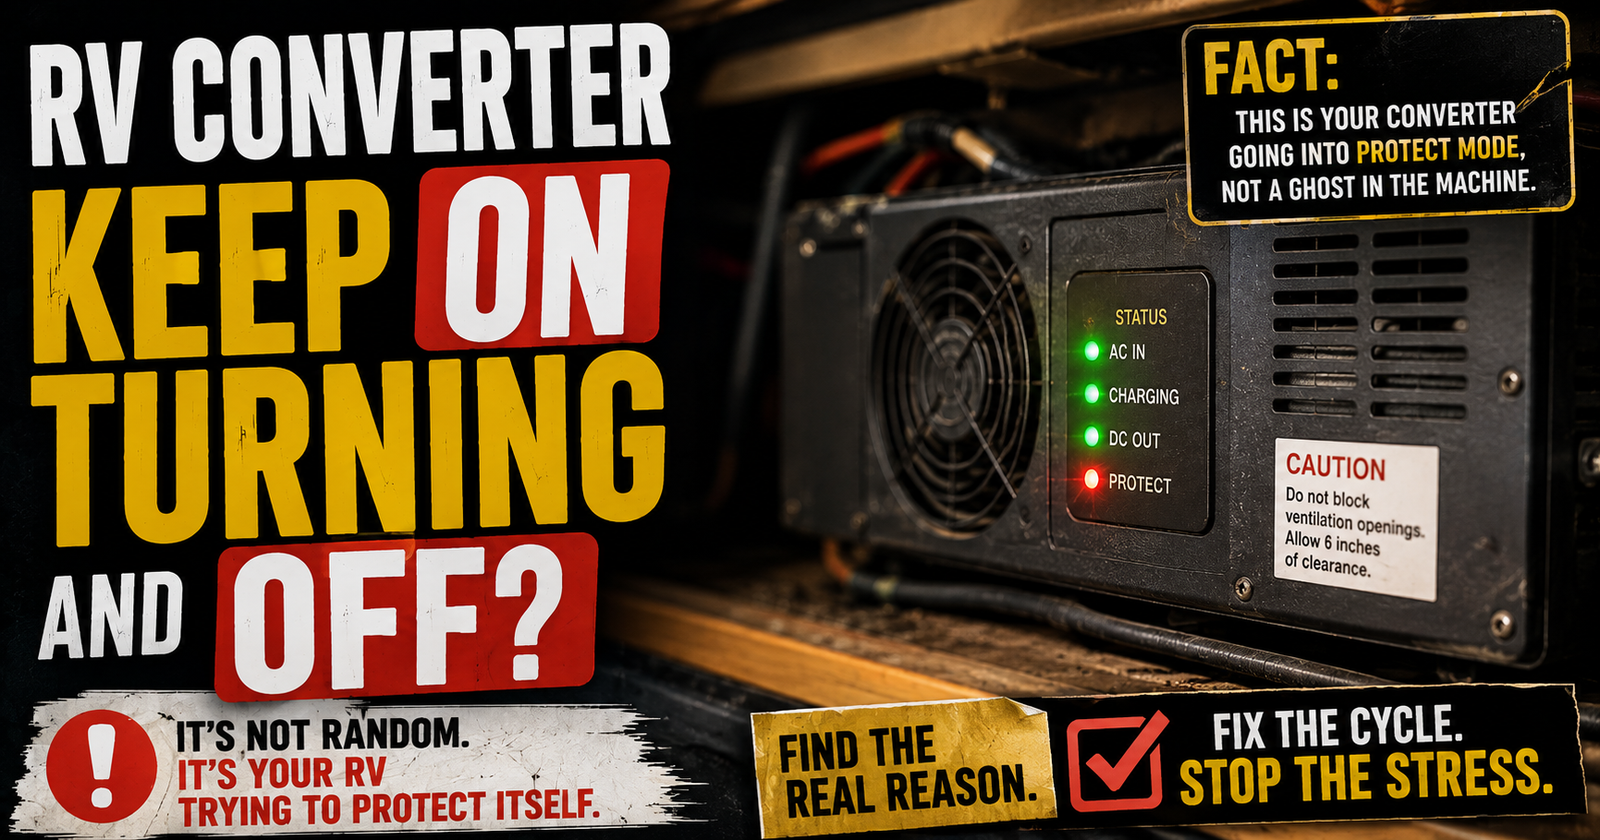

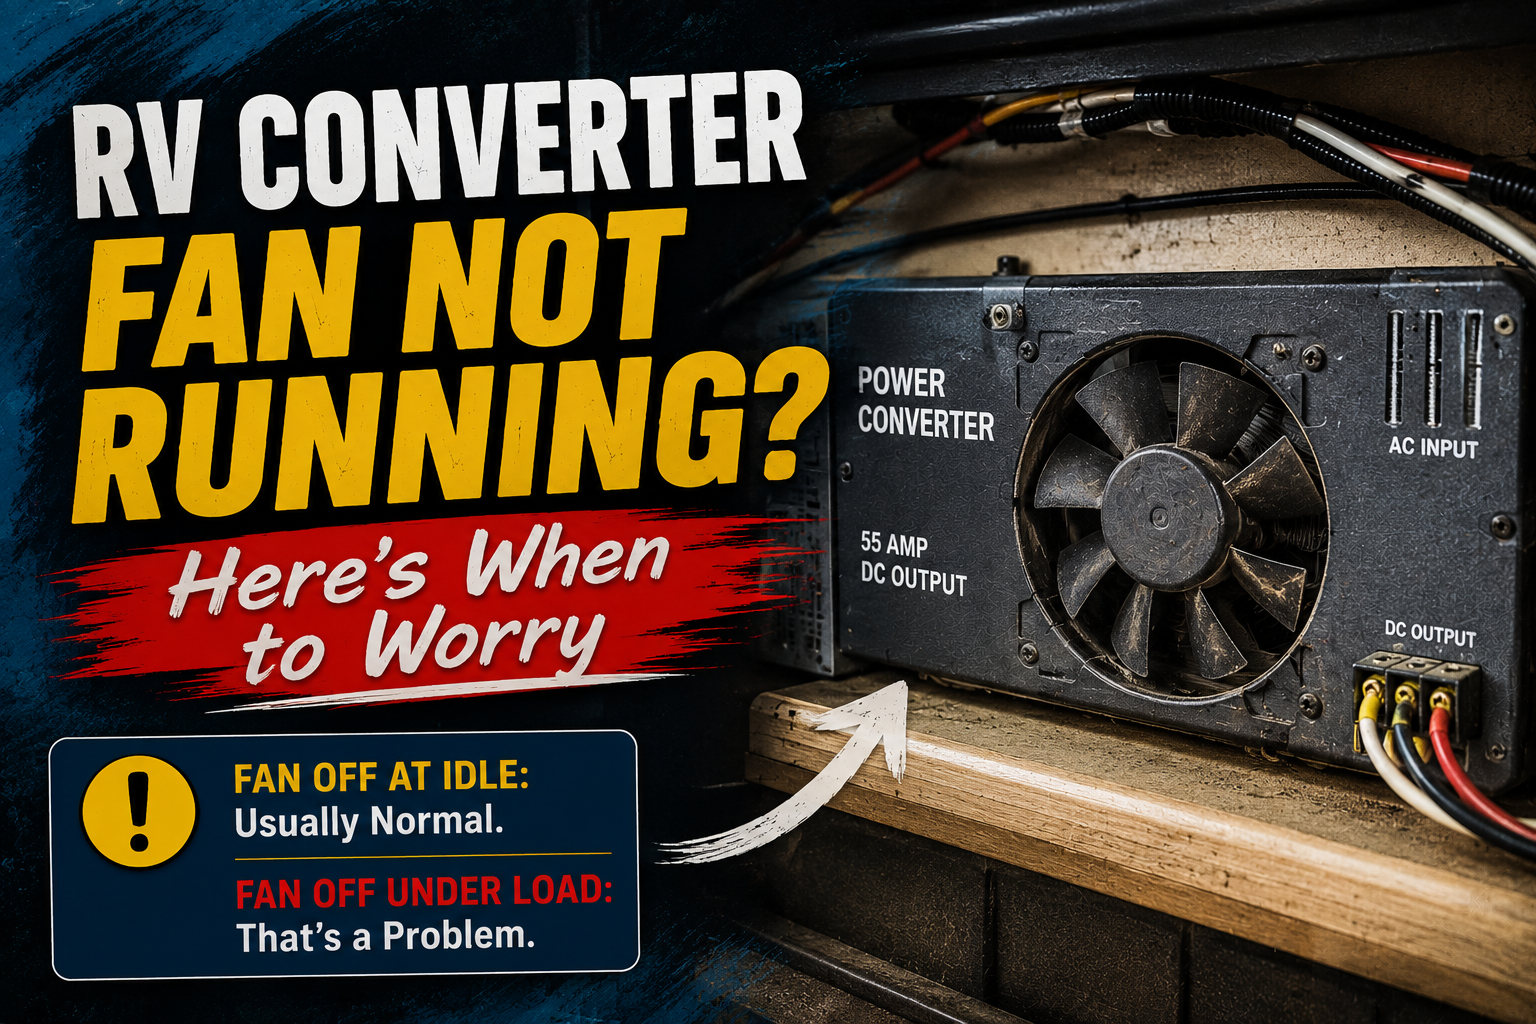
Don’t Expect Every Healthy Converter to Read Exactly 13.6 Volts
This is another mistake I see people make.
They measure:
13.2 volts.
13.6 volts.
14.4 volts.
14.6 volts.
Then immediately ask whether the converter is bad.
Maybe not.
Modern converters can change voltage as part of their charging strategy.
WFCO, for example, describes three-stage charging behavior on applicable models, including approximately 14.4 volts during bulk charging, 13.6 volts during absorption, and 13.2 volts during float operation.
So the question isn’t:
“Did I get exactly 13.6?”
It’s:
“Is this reading appropriate for my converter and what it’s doing right now?”
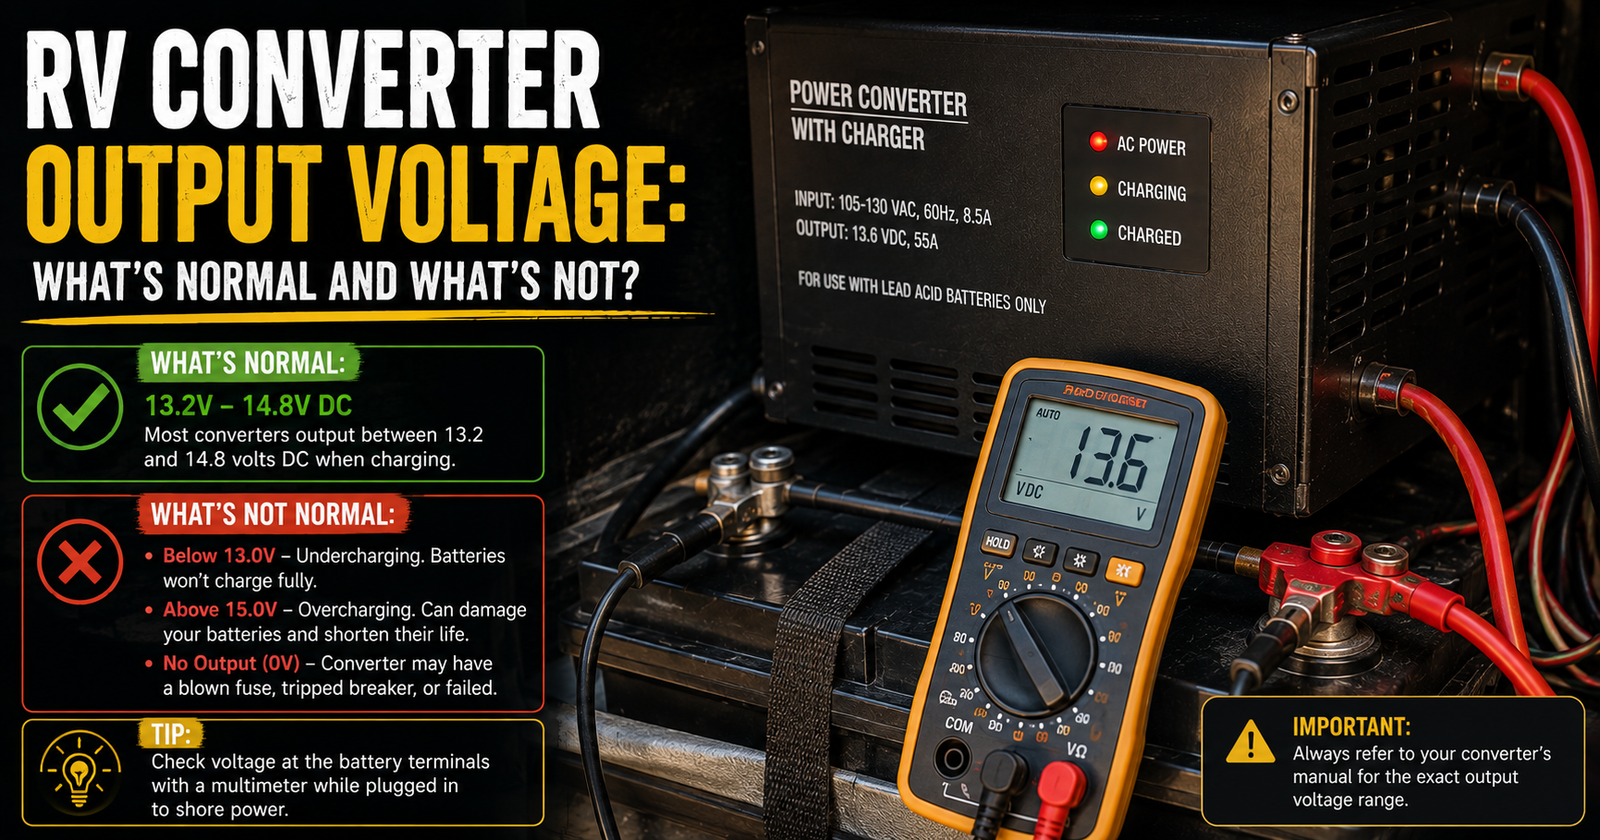
Our guide to normal RV converter output voltage goes much deeper into those numbers.
Before Testing Anything, Think About Every Power Source
This is the part I don’t want anyone rushing through.
An RV can have several electrical sources.
Shore power.
House battery.
Generator.
Solar.
Inverter equipment.
Tow-vehicle charging.
Depending on the test prescribed by your converter manufacturer, some sources may need to be disconnected while another remains energized.
That’s why you shouldn’t start removing covers and disconnecting cables based solely on a generic article.
If a test requires exposure to live 120-volt wiring and you aren’t comfortable working around it, stop there and have an RV technician or qualified electrician perform that portion.
Progressive Dynamics specifically warns that troubleshooting certain power centers involves exposure to live 120 VAC and should only be attempted by a qualified technician.
There is plenty we can learn without poking around exposed live AC terminals.
Start With a Simple Battery Voltage Test
Before isolating the converter, I like knowing what the battery is doing.
Set the multimeter to DC volts.
If the meter isn’t auto-ranging, choose an appropriate DC range above the expected battery voltage, commonly the 20-volt DC range on many meters.
Put the red probe on the battery’s positive terminal.
Put the black probe on the battery’s negative terminal.
Record the voltage.
Do this before connecting shore power if you’re trying to establish a baseline.

The exact resting voltage that represents a particular state of charge depends on battery chemistry and whether the battery has actually had time to rest. For the practical meaning of those readings, see charging voltage and resting voltage before deciding whether the converter is working properly.
We’re not trying to perform a complete battery-capacity test here.
We simply want a starting number.
Now Connect the RV to Shore Power
Assuming your RV and converter manufacturer don’t specify otherwise for this preliminary observation, connect the camper to known-good shore power.
Give the system a little time to respond.
Measure across the battery terminals again.
If you had something around normal resting battery voltage before plugging in and now see the voltage rise into the converter’s charging range, that’s a strong clue that a charging source is reaching the battery.
For example:
Battery before plugging in: 12.x volts
Battery after plugging in: 13.x or 14.x volts
That tells me something changed when AC power became available.
Most likely, the converter is contributing charging voltage.
But I still wouldn’t call that a complete converter test.


Why Testing Only at the Battery Can Mislead You
Because the battery itself has voltage.
Suppose you measure 12.6 volts at the battery while plugged in.
Is that converter output?
Maybe not.
You may simply be reading the battery.
That’s why a true converter diagnostic procedure often involves isolating the battery according to the converter manufacturer’s instructions.
Once the battery is removed from the measurement, you can see what the converter itself is producing.
That’s a much cleaner test.
How Progressive Dynamics Tests Converter Output
For certain PD9100 and PD9200 converters, Progressive Dynamics instructs you to disconnect the negative battery wire from the converter’s negative output terminal.
Then shore power is connected.
A digital voltmeter is placed across the converter’s positive and negative output terminals.
For the applicable standard models, Progressive Dynamics says the reading should be 13.6 volts DC plus or minus 0.3 volts. Its specified lithium models use 14.6 volts plus or minus 0.3 volts in that particular test.
If the output is in the specified range, Progressive Dynamics considers the converter good.
That’s a wonderfully useful test because we’ve isolated the converter from the battery.
WFCO Uses a Slightly Different Procedure
This is exactly why I don’t want you blindly copying one manufacturer’s instructions onto another converter.
For its WF-68100-AD converter, WFCO instructs the owner to disconnect the battery cables at the battery, make sure the converter is connected to a 105 to 130-volt AC source, and measure voltage on the disconnected battery cables.
Red meter probe goes to the positive battery wire.
Black meter probe goes to the negative battery wire.
WFCO says approximately 13.6 to 14.6 volts indicates that converter is functioning properly.
WFCO gives a similar battery-disconnection procedure for its WF-8900-AD power center.
Same basic idea.
Different manufacturer’s procedure.
Why Disconnect the Battery for the Direct Test?
Because we’re trying to remove a major variable.
With the battery connected, the meter sees the electrical system as a whole.
The converter is there.
The battery is there.
Loads may be there.
Charging current may be flowing.
When the manufacturer instructs you to isolate the battery, you can evaluate converter output without the battery voltage muddying the reading.
That’s how you answer the question:
“What is my converter actually producing?”
rather than:
“What voltage exists somewhere in my RV electrical system?”
What If the Converter Reads Around 13.6 Volts?
If your converter’s manufacturer specifies roughly 13.6 volts for the particular test you’re performing, that’s good news.
For example, Progressive Dynamics says a PD9100/PD9200 standard converter producing 13.6 volts plus or minus 0.3 volts during its specified test is good.
WFCO also uses approximately 13.6 volts as a normal operating voltage in several of its charging modes and models.
But again, check your model.
Don’t turn 13.6 into a universal pass/fail number.
What If I Get 14.4 Volts?
That can be perfectly normal.
WFCO uses approximately 14.4 volts during bulk charging on applicable three-stage converter models.
A discharged battery may cause the converter to use a higher charging voltage.
Other converter models may have different charging algorithms.
So 14.4 volts doesn’t automatically mean:
“My converter is overcharging!”
You have to interpret the number in context.
What If I Get 13.2 Volts?
That can also be normal on some equipment.
WFCO describes approximately 13.2 volts as float mode on applicable models after the converter sees little significant change in DC demand for an extended period.
Float voltage is intended to maintain a charged battery rather than rapidly recharge a depleted one.
So a lower converter voltage isn’t automatically a failed converter either.
What If I Get 12.6 Volts While Plugged In?
Now I’m interested.
If you’re measuring directly across the connected battery, 12.6 volts could simply be battery voltage.
That may indicate the converter’s charging output isn’t reaching the battery.
But we haven’t proven why.
Possibilities include:
Converter not receiving AC power.
Converter breaker off or tripped.
Blown reverse-polarity fuses.
Open inline battery fuse or breaker.
Battery disconnect open.
Bad connection.
Damaged wiring.
Converter failure.
That’s why we keep testing rather than replacing parts based on the first number.
What If I Get Zero Volts From the Converter?
Now we have a much stronger clue.
If you’ve performed the converter manufacturer’s specified isolated output test correctly and get zero DC output, the next step usually isn’t immediately ordering a converter.
Check the protection devices first.

Progressive Dynamics says zero converter output on its PD9100/PD9200 troubleshooting procedure should lead you to check the reverse-battery-protection fuses. That fuse diagnosis is covered in reverse-battery protection fuses, including what a blown protection fuse may indicate.
WFCO gives similar guidance for its converter equipment, telling owners with no DC output to check reverse-polarity fuses and wiring.
A blown fuse is a much cheaper repair than a converter.
Check the Reverse-Polarity Fuses
These are important enough to deserve their own section.
Reverse-polarity fuses protect the converter if the battery gets connected backward.
Positive to negative.
Negative to positive.
Even briefly.
Progressive Dynamics says reverse battery protection fuses on its applicable converters can blow if the battery leads are connected backward even for a second.
WFCO says essentially the same thing for its applicable equipment.
If these fuses are blown, don’t just shove new ones in and reconnect everything.
Figure out why they blew first.
Never Replace a Fuse With a Bigger One Just Because It Blew
If the manufacturer specifies a particular fuse rating, replace it with the proper type and amperage.
WFCO specifically instructs owners to replace reverse-polarity fuses with the same type and amperage rating as the original.
A fuse is protection.
Installing a larger fuse because “this one keeps blowing” can remove protection without fixing the fault that caused the fuse to blow.
If a replacement fuse immediately fails again, stop and find the problem.
What If the Converter Has Good Output but the Battery Isn’t Charging?
This is one of the most valuable things a multimeter can reveal.
Suppose you test the converter correctly.
Converter output is right where the manufacturer says it should be.
But the battery isn’t charging.
Don’t replace the converter.
You’ve just obtained evidence that the converter itself is working.
Progressive Dynamics specifically says that if converter output tests good but the battery isn’t charging, check the fuse or breaker in the battery’s positive lead.
WFCO similarly tells owners to check for an open inline fuse and loose wiring when converter output at the battery is zero or charging isn’t occurring.
Now we’re troubleshooting the path between the converter and battery.
This Is Where Voltage Testing Gets Really Useful
Let’s imagine the converter is producing 13.6 volts.
You follow the circuit toward the battery.
At one side of an inline breaker you have 13.6 volts.
At the other side you have nothing.
That’s a clue.
Or:
Converter output: 13.6 volts.
Power center battery connection: 13.6 volts.
Battery cable near battery: 13.6 volts.
Battery terminal: 12.2 volts.
Now something around that final connection deserves attention.
You’re following electricity rather than guessing.
That’s exactly what a multimeter is good at.
Check the Battery Disconnect Switch
This one can make a perfectly good converter look guilty.
Depending on how your RV is wired, the battery disconnect can interrupt the charging path between the converter and battery.
WFCO specifically lists an open battery disconnect switch as one possible reason expected charging voltage isn’t reaching the battery circuit.
So if your converter tests correctly but charging voltage disappears somewhere before reaching the battery, check the disconnect.
Sometimes the problem really is that simple.
Check for an Inline Fuse or DC Breaker Near the Battery
Don’t assume the only fuses that matter are the little blade fuses inside the RV power center.
There may be additional protection in the battery charging circuit.
WFCO notes that RV manufacturers may install an inline fuse in the battery wire circuit and specifically tells owners to check it when converter output at the battery is zero or the battery isn’t charging.
Its FAQ also notes that inline protection is commonly found near the battery positive side.
This is one of those components you may never notice until something stops working.
Test the Ground Side Too
Don’t become so focused on the positive wire that you forget electricity needs a complete circuit.
A poor negative connection or ground can cause all kinds of strange DC behavior.
WFCO identifies a missing ground-wire connection as one of the common wiring problems to investigate when a converter has no usable DC output at the system.
Look for loose connections.
Corrosion.
Damaged cable.
Poor terminations.
Don’t assume every charging problem lives on the red wire.
How to Check for Voltage Drop
This is where the multimeter becomes useful even when the converter isn’t technically broken.
Suppose the converter is working.
It’s producing proper charging voltage.
The battery is charging.
But charging seems slow.
Measure voltage at the converter.
Then measure voltage at the battery while the system is charging under meaningful load, following safe access procedures for your equipment.
If you see a noticeable difference, you’re seeing voltage loss somewhere along the charging path.
Cable length, conductor size, connections, and current all affect voltage drop.
WFCO even provides dedicated technical material discussing voltage drop between RV converters and batteries.
A new converter can’t fix a terrible cable connection downstream.
Example of What Voltage Drop Might Look Like
Imagine the converter measures:
14.4 volts
But the battery terminals measure:
13.5 volts
under substantial charging current.
That’s enough difference that I’d investigate.
I wouldn’t immediately decide the wire is undersized because connections can create resistance too.
Check terminals.
Grounds.
Crimps.
Fuse holders.
Breakers.
Disconnects.
Cable condition.
Then determine whether the conductors themselves are appropriate for the current and distance.
Why Testing Under Load Matters
A poor connection can sometimes look fine when almost no current is flowing.
Then you put a substantial load on the circuit and the voltage falls apart.
That’s why electrical problems can be so irritating.
You test something with nothing running and it looks perfect.
Turn on the furnace blower, lights, pump, or another significant DC load and suddenly the system behaves badly.
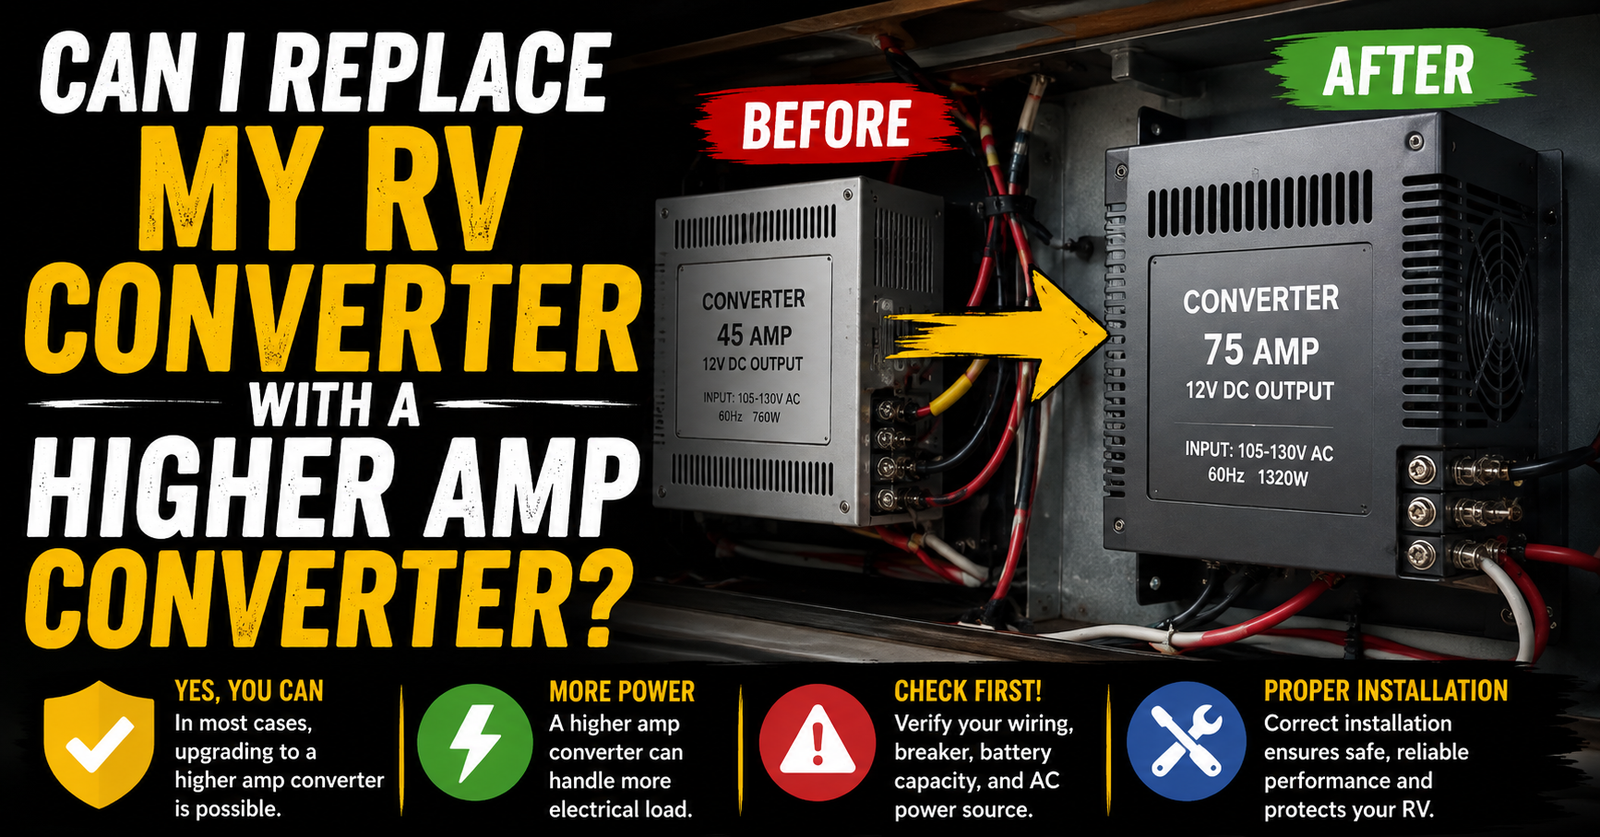
WFCO explains that as converter current approaches its maximum operating level, additional DC load can cause output voltage to decrease. That relationship is important when choosing a higher-output replacement converter, because the added capacity still has to support the RV’s existing DC loads.
So load conditions matter when interpreting your readings.
Can I Test Converter Amperage With My Multimeter?
This is where I want people to be careful.
Many handheld multimeters have an amperage setting.
That does not mean you should move the probe lead into the amp jack and stick the meter across your RV battery or converter output like you’re measuring voltage.
An ammeter is connected differently from a voltmeter.
Connecting a typical handheld meter incorrectly across a high-current source can blow the meter’s fuse, damage the meter, create sparks, or worse.
For basic RV converter diagnosis, voltage testing gets us a tremendous amount of useful information without trying to put a little handheld multimeter directly into a high-current charging circuit.
If you need charging-current measurements, use equipment and procedures appropriate for the current involved, such as a suitable DC clamp meter or properly installed battery monitor.
Don’t Put the Meter in Amp Mode and Probe the Battery Terminals
Seriously.
When measuring voltage, the meter is placed across the circuit.
When measuring current with a conventional meter, the meter becomes part of the circuit.
Those are completely different tests.
If you’re new to electrical testing, stick with the voltage procedures specified by the converter manufacturer.
They’re enough to answer the main question we’re trying to solve:
Is the converter producing the DC voltage it’s supposed to produce?
How to Check Whether the Converter Has AC Power
If the converter produces zero DC output and its fuses are good, the next logical question is:
Does the converter actually have AC electricity going into it?
Progressive Dynamics makes this Step 2 in its PD9100/PD9200 troubleshooting procedure.
First, check the 120-volt AC breaker supplying the converter.

If the breaker isn’t tripped, Progressive Dynamics instructs technicians to check the AC outlet feeding the converter for approximately 120 volts AC. When an RV outlet is energized differently from the others, diagnosing an RV outlet with no power provides a broader process for checking the receptacle, GFCI, and circuit.
This test separates an AC supply problem from a converter problem.
A Converter Can’t Work Without AC Input
This sounds obvious once you understand it, but it’s easy to overlook.
The converter takes AC electricity and produces DC electricity.
No AC input means no converter output.
WFCO states directly that the converter will not operate without AC input.
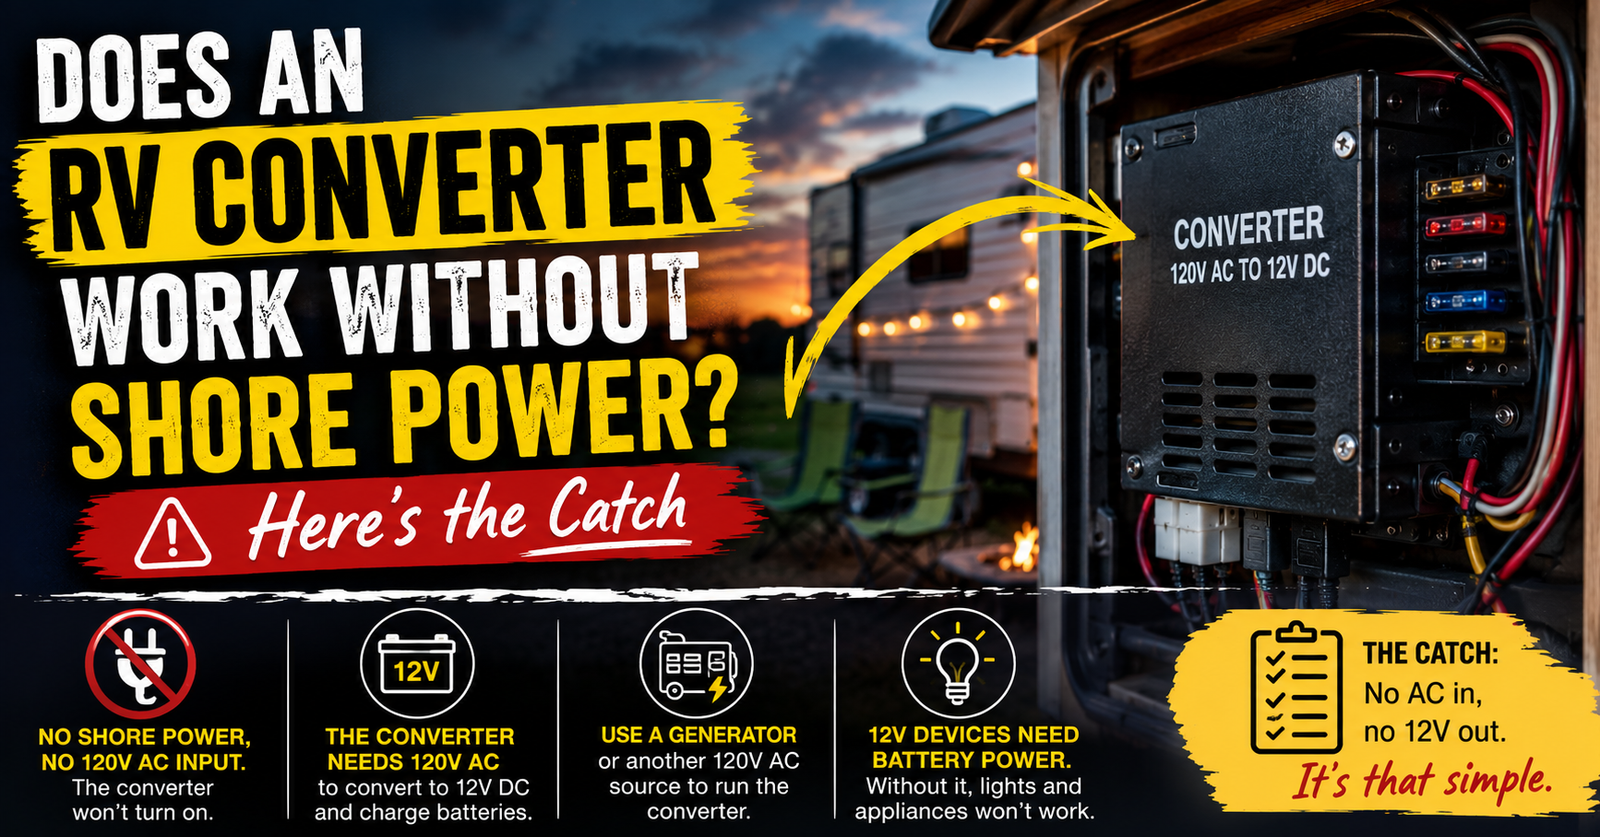
We recently covered this in detail in whether an RV converter works without shore power.
Remember, shore power isn’t necessarily the only AC source. A properly connected generator can supply the RV too.
The converter simply needs the appropriate AC input.
Check the Converter Breaker Before Doing Anything Complicated
I love easy fixes.
Find the breaker that supplies the converter.
Don’t just glance at it.
A tripped breaker doesn’t always look dramatically different.
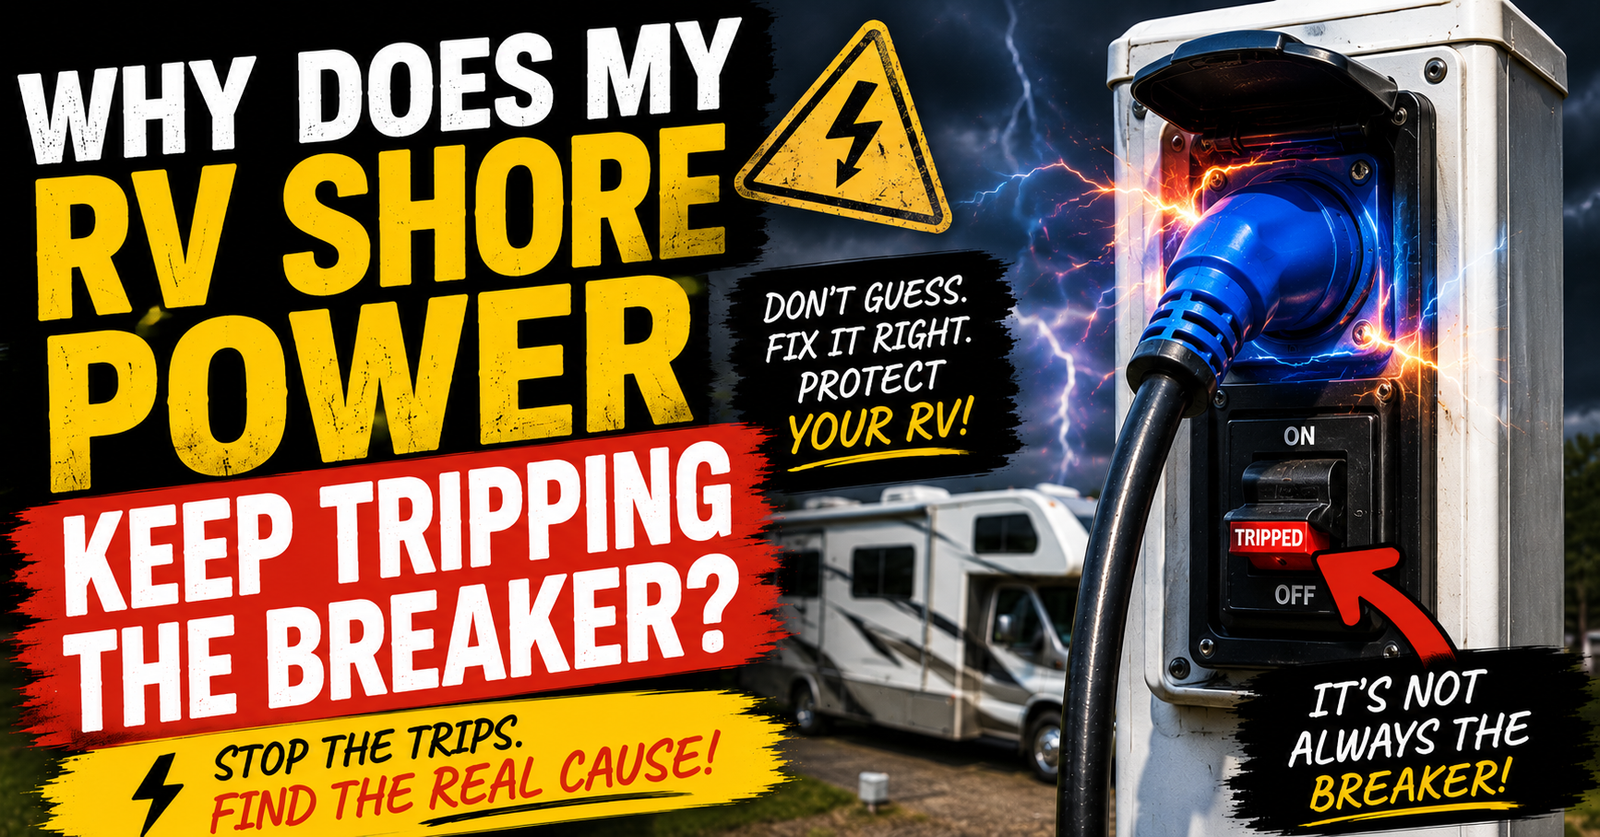
Reset it properly by moving it fully OFF and then back ON, assuming there isn’t an obvious electrical fault that makes resetting unsafe.
If it stays on and the converter begins operating, great.
But if it immediately trips again, don’t keep resetting it over and over.
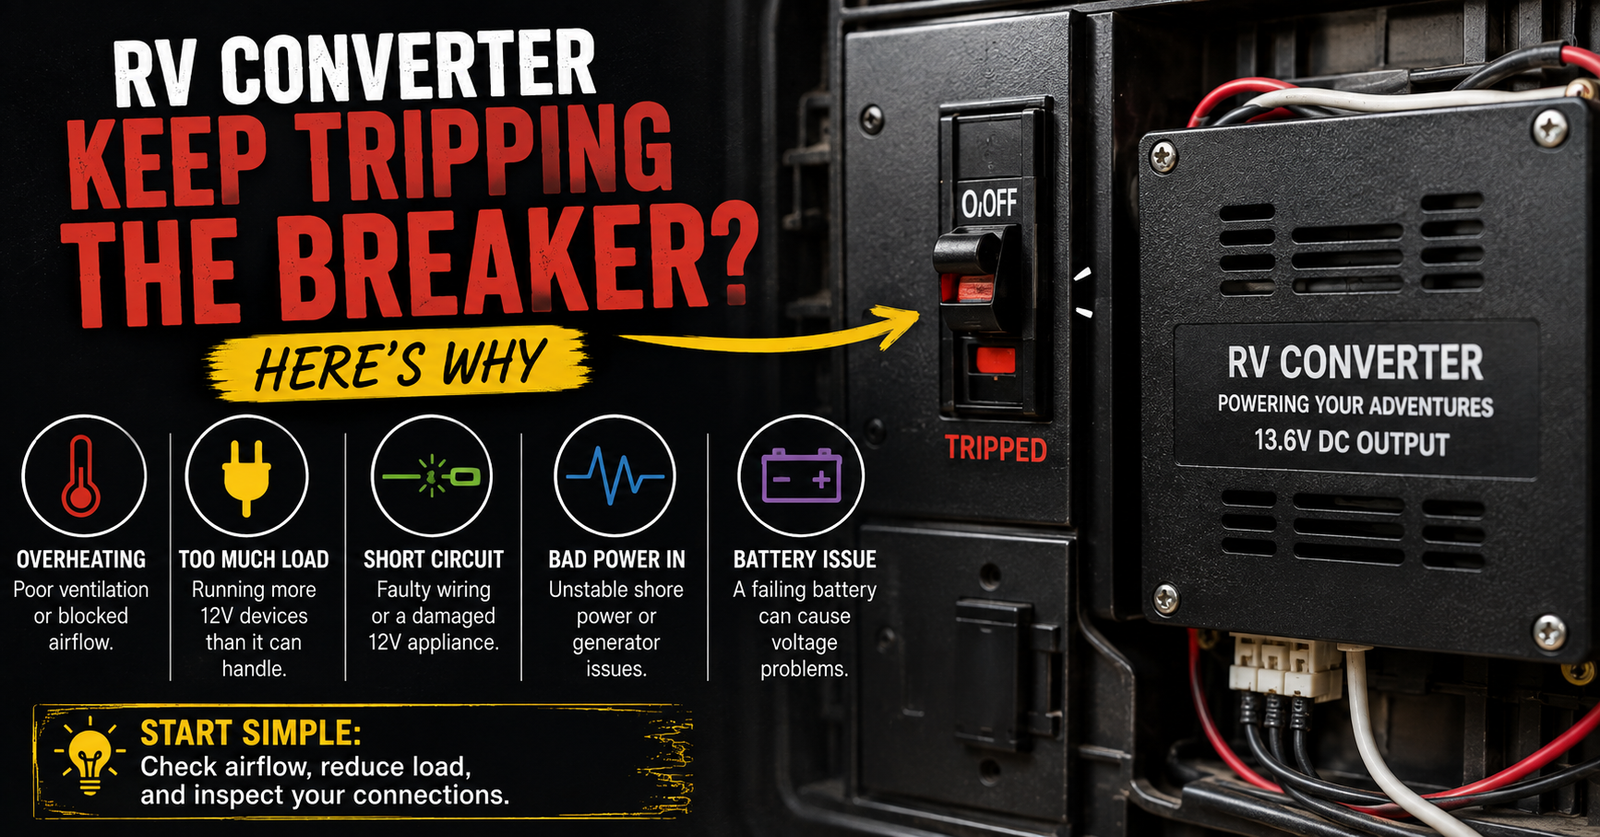
Progressive Dynamics says that if the breaker supplying certain converters trips immediately after being reset, the converter is bad and requires replacement under that specific troubleshooting procedure.
Our upcoming breaker-tripping article will go much deeper into that problem.
Testing 120-Volt AC Is Where I Draw a Harder Safety Line
Measuring battery voltage is one thing.
Working around exposed 120-volt AC wiring is another.
If your converter plugs into an ordinary accessible receptacle and you’re simply verifying that receptacle has power using appropriate equipment, that’s relatively straightforward for someone who knows how to use a meter safely.
Removing a power-center cover and probing energized terminals is a different situation.
Progressive Dynamics explicitly warns that troubleshooting some integrated power centers exposes you to live 120 VAC and should be performed by a qualified technician.
There’s no prize for proving you can do every test yourself.
What If the Converter Has 120 Volts In but Zero DC Out?
Now we’ve narrowed things down considerably.
Let’s say:
The converter has proper AC input.
The appropriate breakers are on.
Reverse-polarity fuses are good.
Connections are good.
You’ve followed the manufacturer’s isolation procedure.
And the converter still produces zero DC output.
At that point, converter failure becomes much more likely.
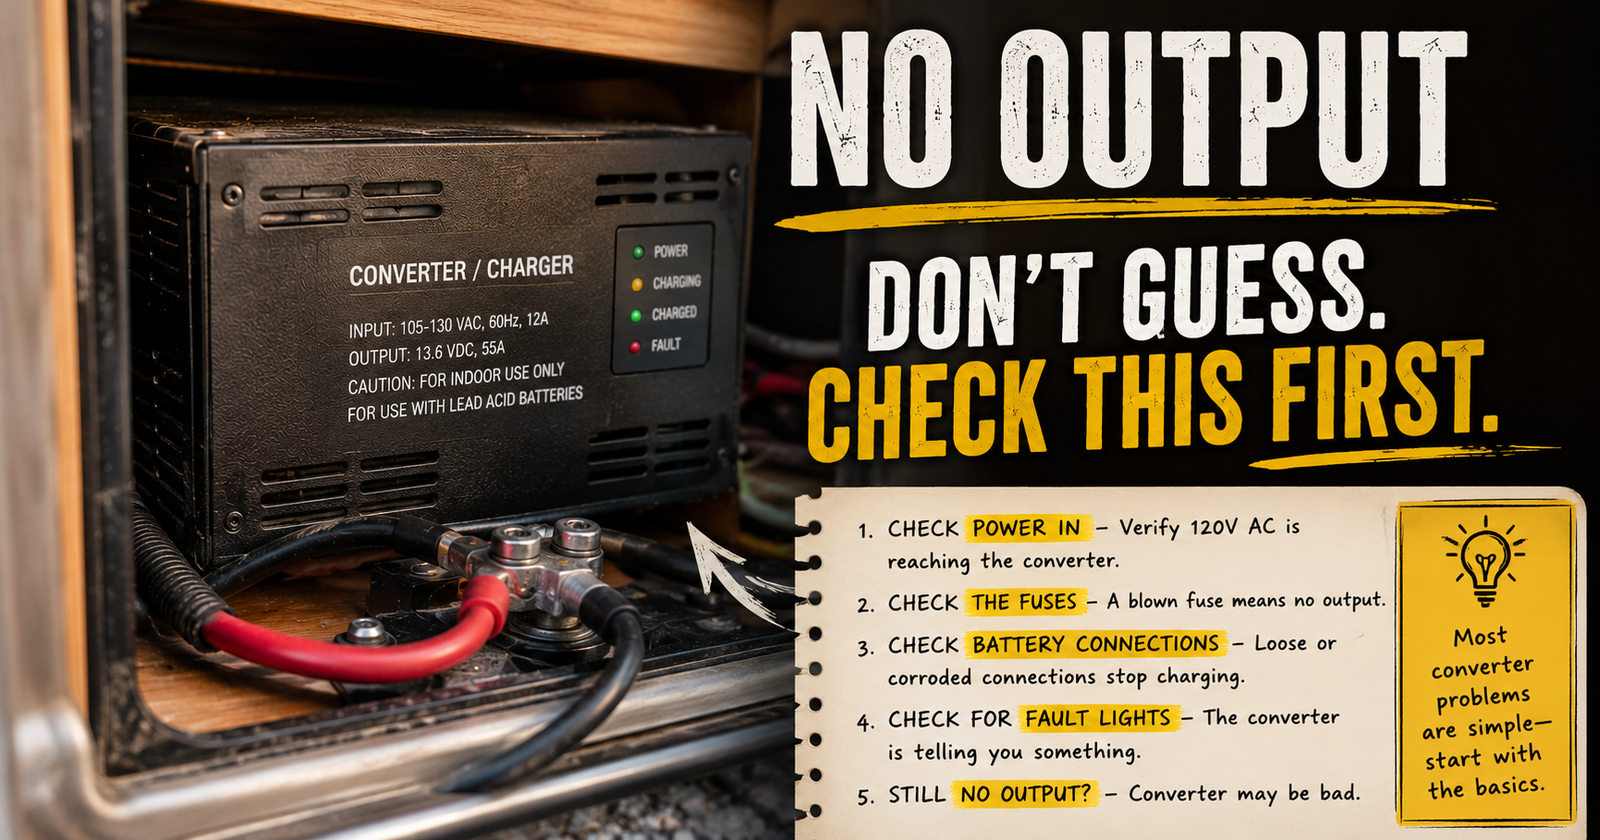
Progressive Dynamics says that if 120 VAC is present at the converter’s outlet but its applicable converter still has zero output after the preceding checks, the converter is bad and should be replaced. Before replacing it, compare that result with RV converter with no DC output and its recommended checks.
That’s the kind of diagnosis I like.
We proved it instead of guessing.
What If the Converter Has No AC Input?
Then replacing the converter probably won’t fix anything.
Now you work backward through the AC side.
Converter breaker.
Power-center main breaker.
Shore-power connection.
Campground pedestal.
Generator supply if you’re using one.
Transfer equipment on RVs that have it.
AC wiring.
The converter can’t produce output from electricity it never received.
That’s why the AC-input test is so valuable.
My Outlets Work, So Doesn’t That Prove the Converter Has AC?
No.
It proves at least some part of the RV’s AC system has power.
The converter may be on a different breaker or supplied by its own receptacle.
You can absolutely have working AC outlets while the converter receives no power.
That’s also how you can end up with a strange situation where:
The microwave works.
The television works.
The household-style outlets work.
But the battery isn’t charging.
Different circuits.
Different parts of the system.
My Lights Work, So Doesn’t That Prove the Converter Works?
No again.
Your 12-volt lights can operate from the battery.
You could have a completely dead converter and still have bright interior lights for a while if the house battery is charged.
Eventually the battery runs down.
Then the lights get dim.
Then they quit.
That’s why visual symptoms alone aren’t enough.
The multimeter tells us where the voltage is actually coming from.
A Very Useful Before-and-After Test
Here’s one of the simplest observations you can make.
Measure battery voltage with shore power disconnected.
Record it.
Connect shore power.
Measure again.
If voltage clearly rises into the appropriate charging range, that’s evidence the charging system is doing something.
If the reading doesn’t change at all, that’s when I investigate further.
But remember, a deeply discharged battery, heavy DC load, converter charging mode, battery chemistry, and wiring voltage drop can all affect what you see.
It’s a screening test.
Not the final verdict.
What If My Battery Voltage Goes Down While Plugged In?
That’s not what I want to see.
If the battery voltage continues falling while you’re supposedly connected to shore power, the battery may be carrying RV loads because the converter isn’t supplying enough power or isn’t charging it.
Possible causes include converter failure, lack of AC input, blown protection, an open charging path, excessive DC load, wiring problems, or battery problems.
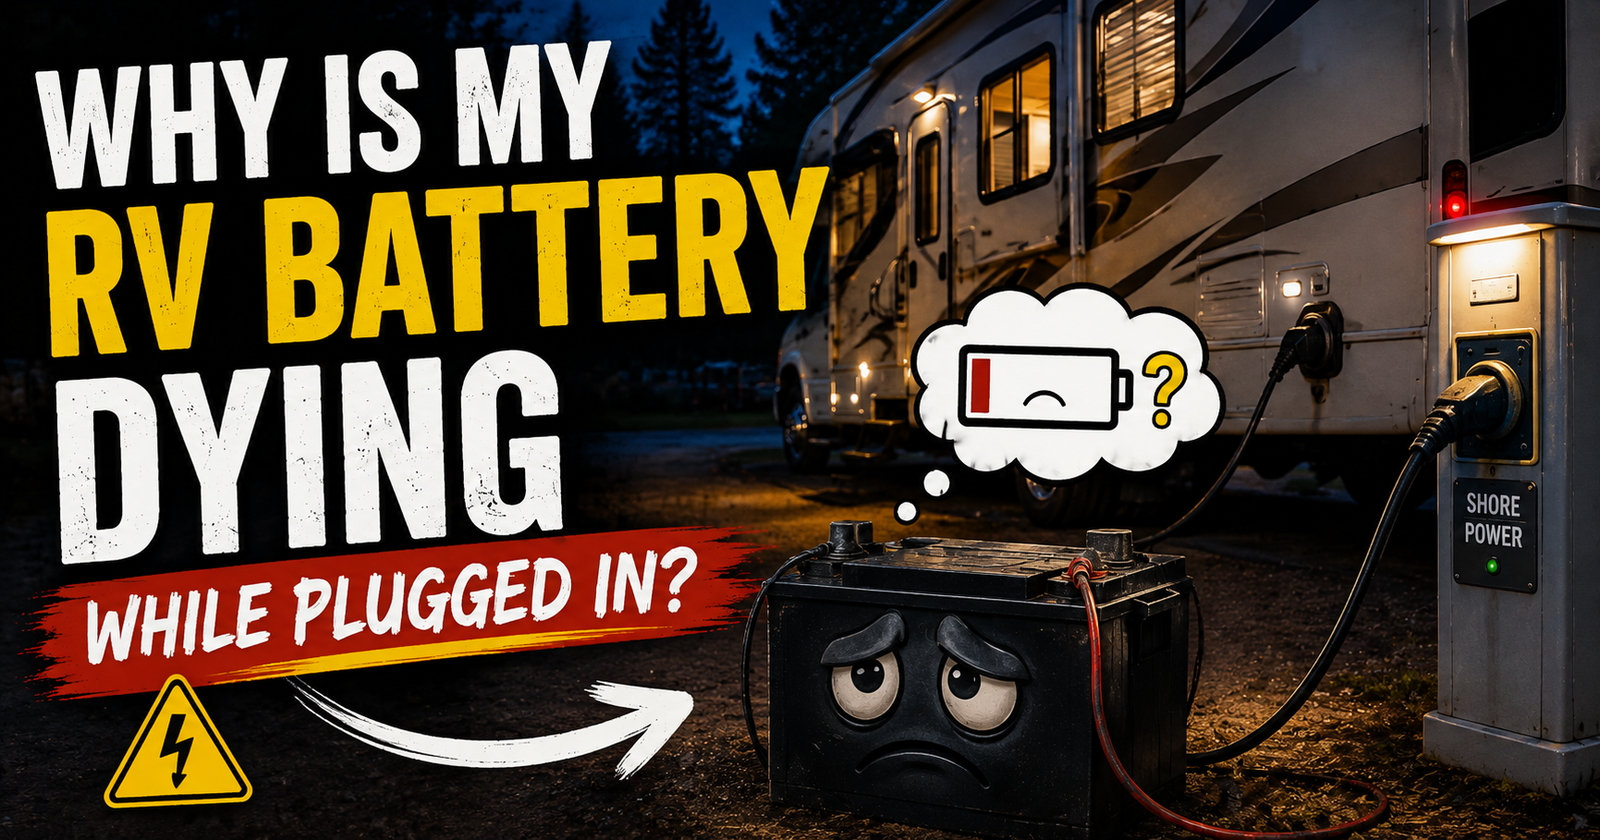
We already have a dedicated guide for an RV battery that dies while plugged in because that symptom can lead you in several directions.
The multimeter helps narrow them down.
What If Converter Voltage Is Good but Battery Voltage Is Low?
This is one of my favorite diagnostic results because it tells us a lot.
Converter:
Good voltage.
Battery:
Low voltage.
There’s a difference between those two points.
Now investigate what connects them.
Fuse.
Breaker.
Disconnect.
Positive cable.
Negative cable.
Ground.
Connections.
Corrosion.
Damage.
Voltage drop.
Don’t replace the converter that just passed its test.
What If Converter and Battery Voltage Are Both Good?
Then I’d be hesitant to blame the converter.
If the converter produces the proper output and the battery is receiving appropriate charging voltage, the converter is doing at least the basic job we’re testing.

If the battery still dies rapidly once shore power is removed, I’d turn my attention toward the battery’s actual capacity or excessive electrical draw. Those two possibilities are examined in the RV battery draining fast troubleshooting guide.
Our guide to telling whether an RV battery is bad is the next place I’d go.
A battery can show decent voltage and still have lousy usable capacity.
Voltage Does Not Tell You Battery Capacity
This distinction matters.
Suppose the converter brings your battery to a normal-looking charging voltage.
You unplug the camper.
Twenty minutes later the battery collapses under load.
That doesn’t automatically mean the converter failed to charge it.
The battery may simply be worn out and unable to store useful energy.
Voltage testing is incredibly useful.
But it isn’t a complete battery load or capacity test.
What If Converter Voltage Is Too High?
First, verify that it’s actually too high for the converter, battery chemistry, and charging mode.
Don’t call 14.4 volts excessive just because you expected 13.6.
But if output is genuinely outside the manufacturer’s specified range, that’s a problem.
Progressive Dynamics’ PD4500 troubleshooting procedure, for example, specifies an acceptable converter output range for its applicable models and says output outside that specified range indicates the converter section has failed and should be replaced.
Use the specification for your model.
That’s the number that matters.
What If Converter Voltage Is Too Low?
Same approach.
First reduce unnecessary DC loads and retest if the manufacturer’s instructions allow it.
WFCO explains that converter voltage can decrease as load increases because of the relationship between converter current and voltage.
So low voltage under heavy load doesn’t necessarily mean the converter’s electronics have failed.
But low output during the manufacturer’s proper isolated no-load test is much more meaningful.
Context changes everything.
Test With Major DC Loads Turned Off
For a clean diagnostic measurement, manufacturer procedures often isolate or minimize loads.
WFCO’s FAQ specifically tells owners performing one battery charging voltage check to turn off all DC loads in the RV.
That gives you a cleaner look at what the converter can produce without lights, pumps, fans, and other equipment consuming part of its capacity.
After establishing baseline performance, load testing can tell us something different.
Then See What Happens Under Load
Once you know the converter behaves properly under the specified baseline conditions, you can pay attention to what happens as normal DC loads operate.
If voltage remains stable, great.
If voltage falls dramatically whenever modest loads are added, something deserves investigation.
Could be converter capacity.
Could be wiring.
Could be a connection.
Could be a battery problem influencing the system.
The first clean test gives us a reference point.
Testing a Lithium RV Converter
The process is conceptually similar, but do not use lead-acid charging numbers to judge a lithium converter.
Progressive Dynamics’ troubleshooting guidance, for example, gives different test values for standard and lithium-specific converter models.
WFCO’s Auto-Detect equipment can also use different charging behavior depending on detected battery chemistry.
If you’ve recently converted the camper to LiFePO4, our guide to using an older RV converter with a lithium batteryexplains why converter compatibility matters.
Don’t Diagnose Lithium Charging From Voltage Alone
LiFePO4 has a relatively flat voltage curve over much of its usable capacity.
That means precise state-of-charge estimation from voltage isn’t as straightforward as many RV owners expect.
For lithium systems, I like having a properly configured battery monitor or the battery manufacturer’s app when available.
The multimeter still tells us whether the converter is producing appropriate voltage.
It just doesn’t tell us everything about how much usable energy is stored in the battery.
What About an Older RV Converter?
Identify it before testing.
Older converter designs can operate differently from modern electronic multi-stage converter/chargers.
Progressive Dynamics’ historical documentation shows older converters that used transformer, rectifier, relay, and separate battery-charging circuitry, including designs that switched RV circuits between converter and battery power. Those older components can produce different audible symptoms, so converter noise troubleshooting is a useful next step before assuming the converter has failed.
That’s another reason I’m careful with blanket statements like:
“Every RV converter should read exactly X volts.”
No.
Find the model.
Find its documentation.
Then test it.
A Multimeter Can Save You From Replacing a Good Converter
This is really the reason I wanted this article in our converter cluster.
Think about how many symptoms can point toward the converter:
Battery won’t charge.
Battery keeps dying.
Lights are dim.
Lights flicker.
Converter fan behaves strangely.
No 12-volt power.
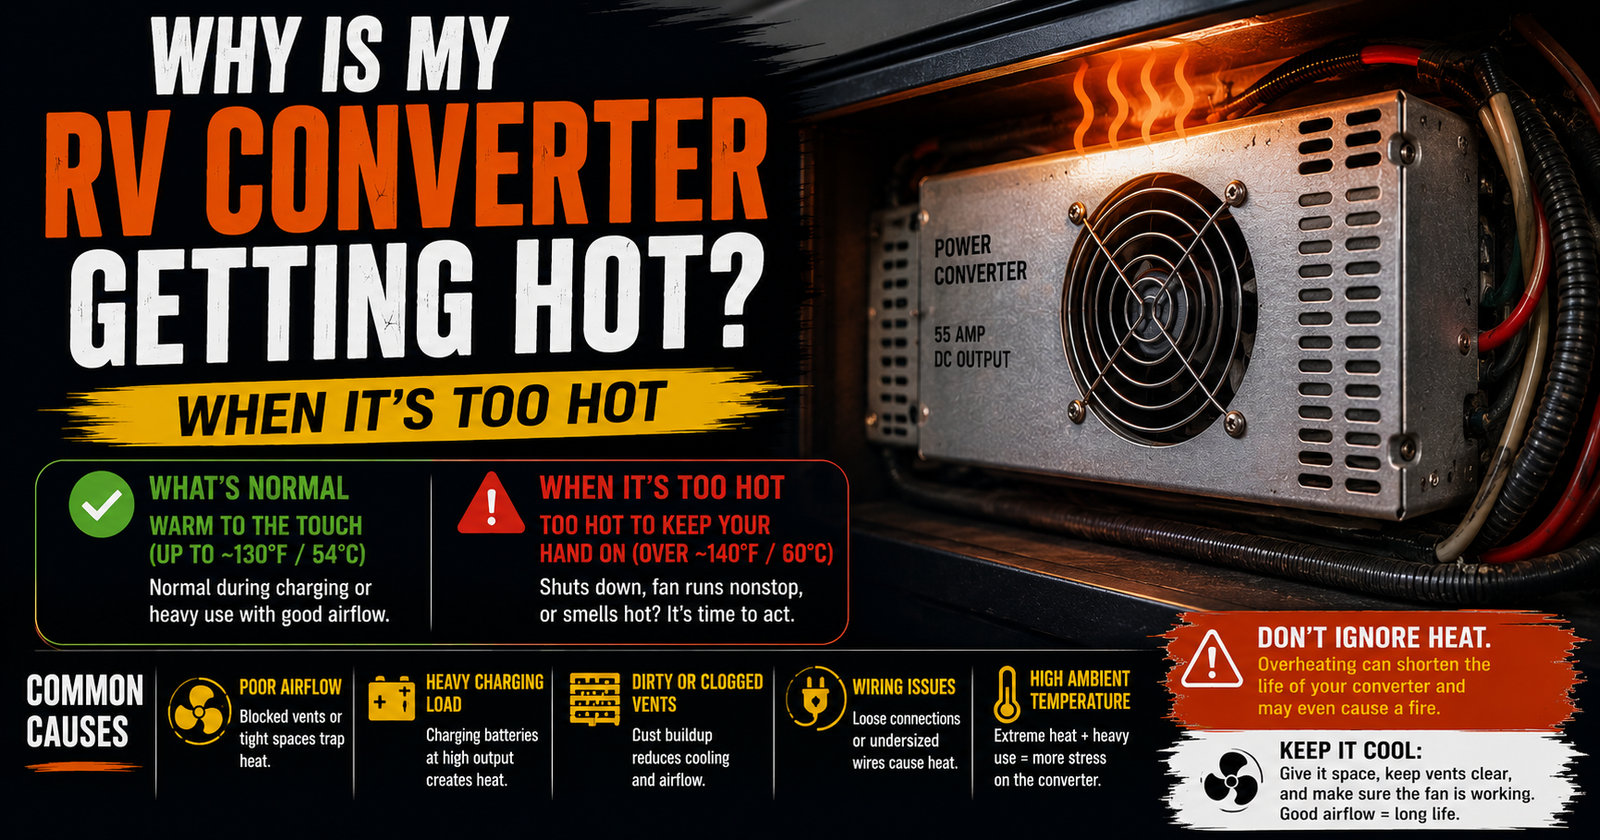
Converter seems hot.
Battery voltage looks weird.
You could replace the converter every time one of those things happens.
Or you can spend a few minutes figuring out whether the converter actually has AC input and whether it’s producing proper DC output.
That’s a much better way to troubleshoot.
My Basic Converter Testing Order
If I were standing in front of an RV with a suspected converter problem, this is the path I’d follow.
First, identify the exact converter.
Then check the obvious stuff such as shore power, breakers, fuses, battery connections, and disconnect position.
Measure battery voltage before and after connecting AC power.
Then perform the converter manufacturer’s specified isolated DC output test.
If output is zero, check the protection devices specified by the manufacturer.
If DC output remains wrong, verify the converter actually has proper AC input, provided that test can be performed safely.
If converter output is good but the battery isn’t charging, follow the DC charging path from the converter toward the battery.
That’s a logical diagnosis.
We’re narrowing the problem with each measurement.
A Quick Example
Imagine your battery reads:
12.2 volts unplugged.
You connect shore power.
It still reads:
12.2 volts.
Something isn’t right.
You perform the manufacturer’s converter output test.
Converter output:
13.6 volts.
Excellent.
The converter works.
Now you test farther down the charging circuit.
One side of the battery disconnect:
13.6 volts.
Other side:
12.2 volts.
Now we’ve found a place to investigate.
Replacing the converter would have accomplished nothing.
Another Example
Battery reads:
12.3 volts.
Connect shore power.
Still:
12.3 volts.
Manufacturer-specified converter output test:
0 volts.
Reverse-polarity fuses:
Good.
Converter breaker:
On.
AC supply to converter:
Proper 120-volt power.
Now the converter itself becomes a very strong suspect.
That’s how I want to arrive at “bad converter.”
With evidence.
And One More
Battery:
12.4 volts unplugged.
Plug into shore power.
Battery rises to:
14.2 volts.
Converter output is within the proper range for its current charging mode.
Everything looks normal.
But the battery dies thirty minutes after you unplug.
I’d stop blaming the converter and start testing the battery.
That’s why converter and battery diagnosis overlap so much.
When I’d Stop Testing and Call Someone
If the next troubleshooting step requires exposing live 120-volt conductors and you’re not experienced with electrical work, that’s where I’d stop.
Same if you find burned wiring.
Melted insulation.
A burning smell.
Repeated breaker trips.
Arcing.
Damaged terminals.
Or anything else suggesting significant electrical damage.
The multimeter’s job isn’t to convince you to keep going regardless of what you find.
Sometimes it tells you exactly when the DIY portion is over.
What a Good Converter Test Actually Proves
A good test isn’t:
“I plugged the camper in and the lights came on.”
It isn’t:
“The converter fan is spinning.”
It isn’t:
“I hear a humming sound.”
And it isn’t:
“The battery gauge says full.”
A useful converter diagnosis verifies that the converter has the input power it needs and produces the DC output its manufacturer specifies.
From there, you determine whether that output actually reaches the battery and RV circuits.
That’s how you separate a failed converter from a blown fuse, open disconnect, wiring problem, bad battery, poor connection, or missing AC supply.
Test It Before You Replace It
RV converters aren’t mysterious boxes once you break the system into two sides.
AC goes in.
DC comes out.
Your multimeter lets you check both.
Start at the battery.
See what changes when shore power is connected.
Then, if the readings don’t make sense, follow the manufacturer’s procedure to isolate and test the converter itself.
If the converter produces the correct output, stop blaming it and follow that voltage toward the battery.
If the converter has proper AC input but cannot produce the specified DC output after its fuses and connections have been checked, then you’ve got real evidence that the converter has failed.
That’s a whole lot better than buying a new converter because your lights looked a little dim last night.
Written by Evan Mercer
Evan Mercer writes about RV electrical systems, batteries, converters, shore power, and hands-on camper troubleshooting for CamperAnswers.com. He focuses on helping RV owners understand what their electrical readings actually mean so they can test the problem before spending money on parts.