
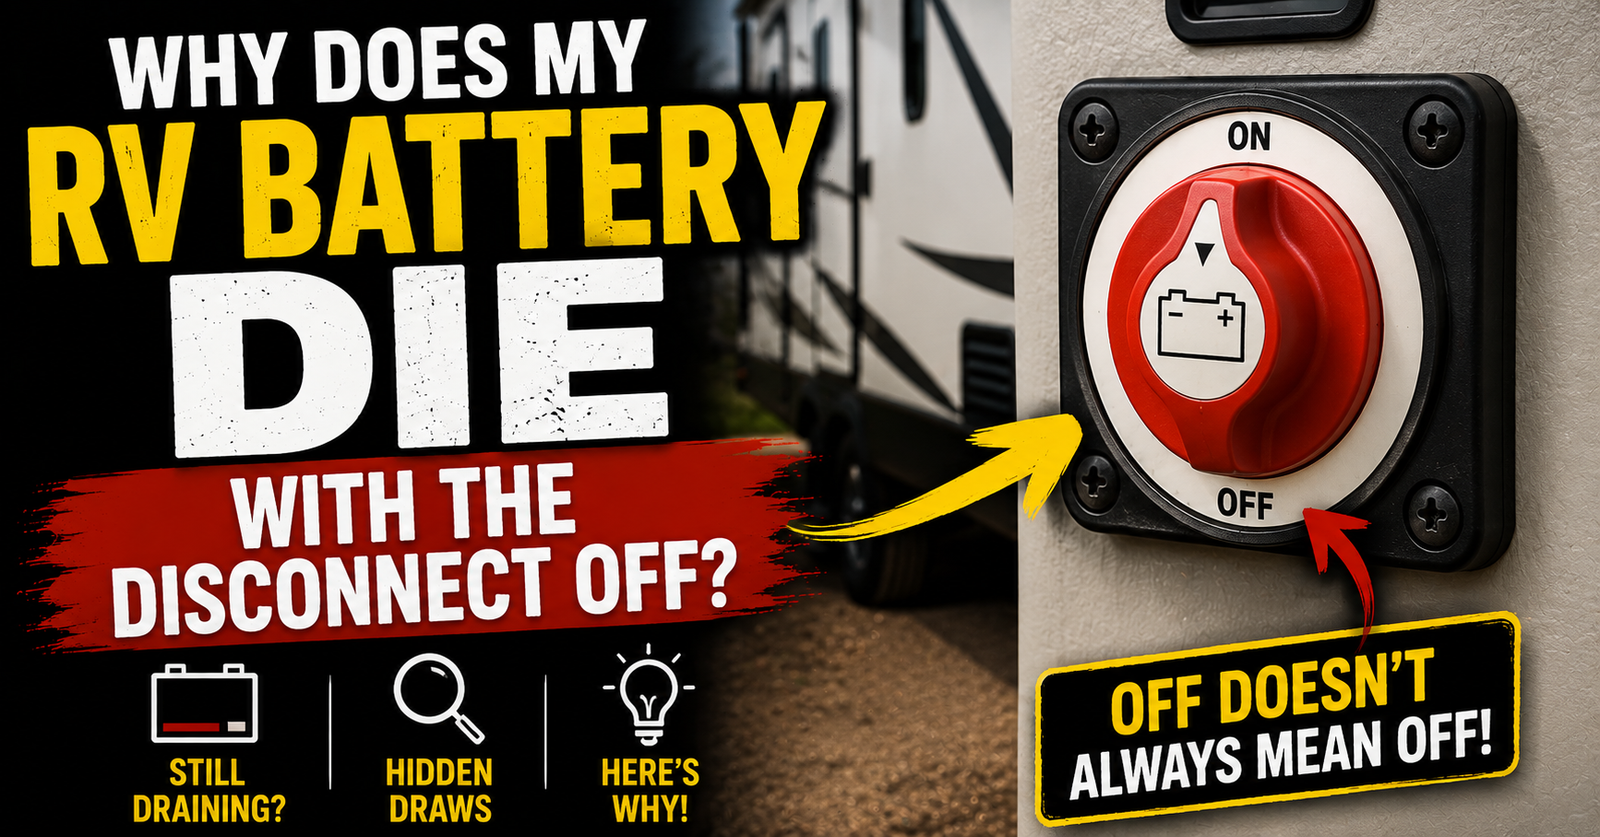
The first time an RV battery dies with the battery disconnect turned off, it feels like the switch has failed at its one and only job. I mean, it says battery disconnect. You turned it off. The camper is sitting there doing nothing. How is the battery dead again?
This is one of those RV problems that makes a lot more sense once you stop thinking of the disconnect as a giant master switch for absolutely everything connected to the battery. That kind of system-first explanation reflects Camper Answers' practical RV guidance.
On some campers, it isn’t.
Your RV battery can still die with the disconnect off because certain equipment may remain connected directly to the battery, the inverter may have its own separate connection, an aftermarket accessory may bypass the disconnect, or the battery itself may be losing charge even when properly isolated. A disconnect problem is possible too, but I wouldn’t replace the switch until I knew which of those situations I was dealing with. To separate those direct connections from other causes, use RV battery losing power quickly as a diagnostic next step.
Here’s how I’d narrow it down.
“Battery Disconnect” Doesn’t Always Mean Everything Is Disconnected
This is the part I wish was explained better to new camper owners.
You see a battery disconnect switch and naturally assume OFF means there is now nothing electrically connected to the battery.
Some RVs are wired differently.
Depending on the manufacturer and electrical design, the main disconnect may isolate most of the coach’s normal 12-volt loads while leaving certain circuits connected. That remaining current helps explain why an RV battery can still die with the disconnect off.
There can be legitimate reasons for that.
There can also be equipment added later that doesn’t pass through the factory disconnect at all.
So before deciding the switch is broken, I want to know what it’s actually supposed to disconnect on your camper.
Some RV Manufacturers Specifically Warn About This
This isn’t just an oddball theory that gets passed around campground forums.
Keystone explains in its owner documentation that the battery disconnect on applicable RVs is designed to disconnect most, but not necessarily all, DC fuse-panel loads from the battery.
It also identifies examples of equipment that may be connected ahead of the disconnect, including things such as radio memory, LP/CO detectors, leveling equipment, slide-related equipment and electronic control systems.
Your camper may be completely different.
That’s the important part.
Don’t take a list written for one RV and assume yours is wired exactly the same way.
Use it to understand the bigger lesson: the disconnect switch may not sit between the battery and every single wire leaving it.
Start With the Actual Battery Cables
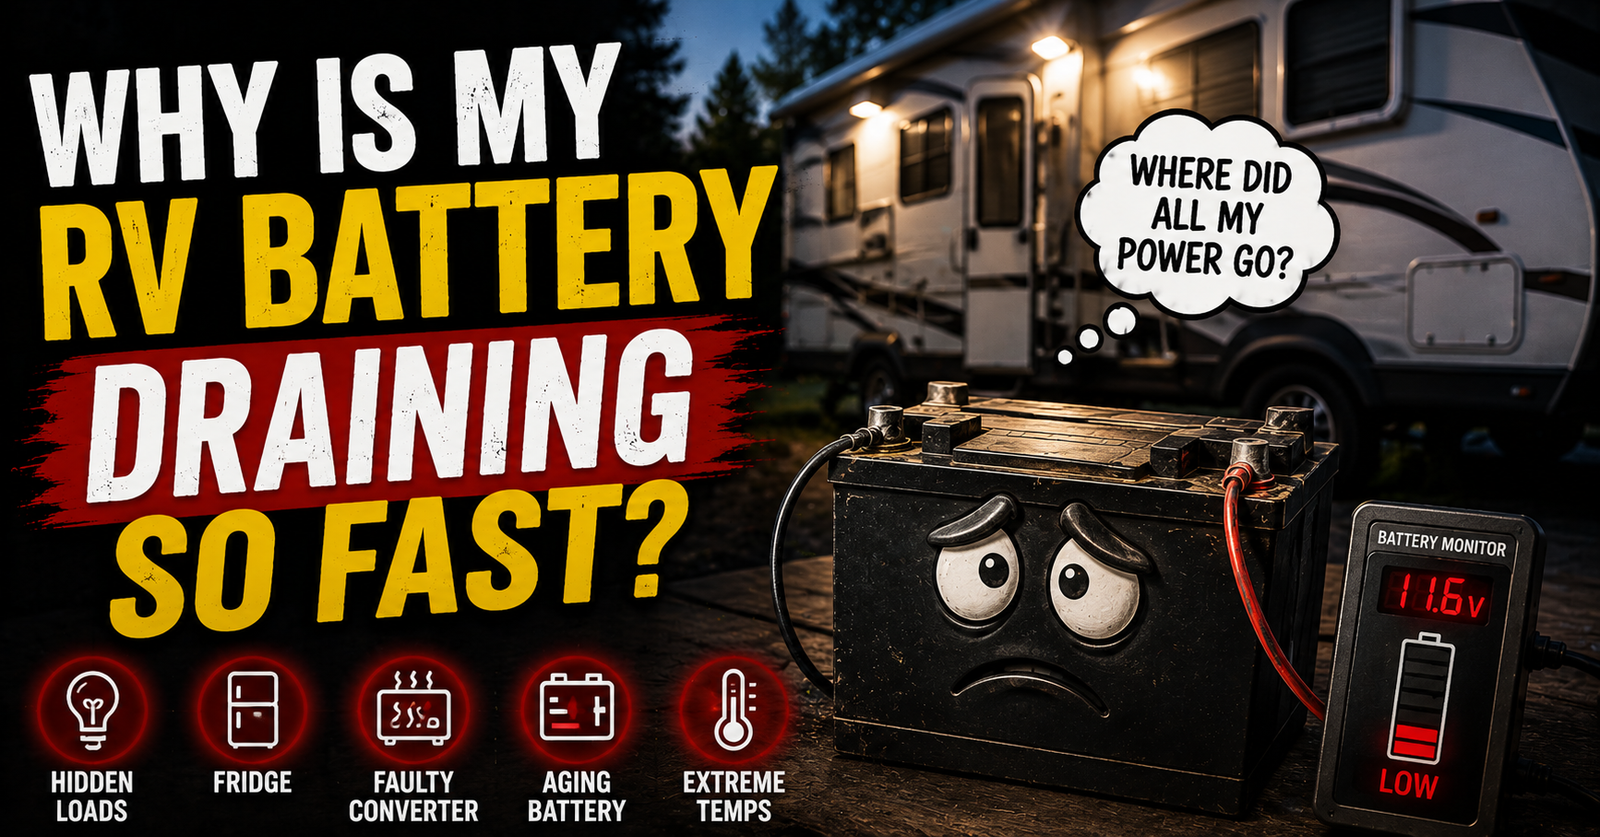
When I’m trying to understand a camper’s battery disconnect, I like to mentally start right at the battery.
Look at the connections.
You may have more than one positive cable or wire leaving the battery area.
Some may lead toward the primary 12-volt distribution system.
Others may supply equipment separately.
Depending on the camper, you could have connections associated with solar, an inverter, electric jacks, breakaway equipment or aftermarket accessories.
I’m not suggesting you start disconnecting unidentified wires.
Quite the opposite.
Look first.
Understand what you’re dealing with before changing anything.
A battery compartment can tell you a surprising amount about how the camper has been wired.
Your Inverter May Have Its Own Disconnect
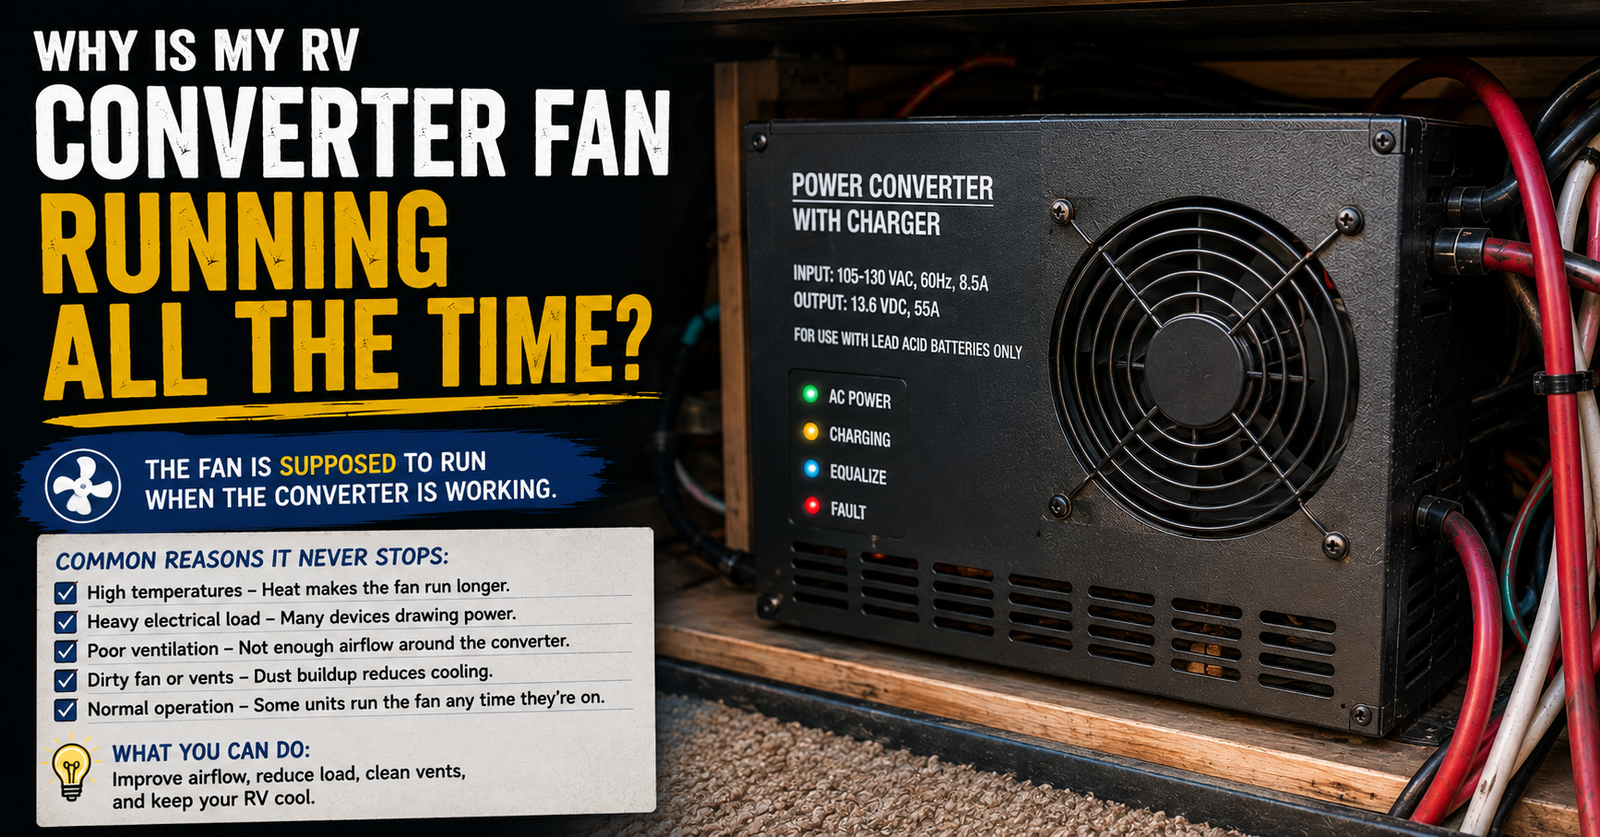
This is one of the first things I’d check on an RV equipped with an inverter.
The inverter can be a substantial electrical load compared with tiny standby electronics.
And on some RVs, the inverter has a disconnect separate from the main coach battery disconnect.
That matters tremendously during storage.
You can turn the RV’s battery disconnect off, walk away thinking you’ve isolated the battery, and still have an inverter connected.
Keystone specifically instructs owners of applicable inverter-equipped RVs to turn off both the inverter and its inverter disconnect during storage.
If your camper has an inverter, learn what its controls actually do.
The big red switch beside the inverter may not be the same disconnect you use for the rest of the coach.

Turning the Inverter Off and Disconnecting It Aren’t Always the Same Thing
This is another little detail that can matter.
An inverter may have an electronic ON/OFF control as well as a physical battery disconnect arrangement.
Depending on the system, those controls serve different purposes.
That’s why I follow the storage procedure for the specific inverter and RV instead of assuming pressing one button removes every connection to the battery.
If the battery started surviving storage after the inverter was properly shut down and isolated, you’ve learned something valuable without replacing a single part.
Solar May Still Be Connected With the Battery Disconnect Off
Solar makes this conversation more interesting because it can be connected to the battery independently of the normal coach loads.
That’s often exactly what you want.
Keystone’s Giggy Box system, for example, can disconnect 12-volt RV loads while still allowing an equipped solar system to charge the batteries.
That’s actually useful during storage.
But it also proves an important point.
The position of one disconnect switch doesn’t necessarily describe every electrical connection at the battery.
Your solar controller, inverter and coach loads can have different paths.
Once you understand that, the wiring starts making much more sense.
The Trailer Breakaway System Is Another Special Case
If you own a travel trailer or fifth wheel, you’ve probably seen the breakaway switch near the hitch.
Its job is important.
If the trailer separates from the tow vehicle, the breakaway system is designed to activate the trailer brakes.
Because this is safety equipment, don’t start disconnecting breakaway wiring simply because you’re trying to make every battery draw disappear.
Some modern RV electrical distribution designs intentionally maintain breakaway-switch power even when other 12-volt loads are disconnected. Keystone specifically describes this behavior in its Giggy Box system.
That’s a perfect example of why I don’t troubleshoot this problem by blindly removing wires until my meter reads zero.
You need to know what the wire does.
LP and Carbon Monoxide Detectors Can Be Part of the Picture
Hardwired safety detectors are commonly mentioned when people talk about RV battery drain.
Depending on the RV, these can remain among the connected loads.
They’re also safety equipment.
I don’t recommend defeating required safety equipment just to extend battery storage time.
Instead, understand how your camper is designed to be stored.
If the manufacturer expects the battery to be physically isolated, maintained by an appropriate charger, or disconnected in a particular way for long-term storage, follow that procedure.
The goal isn’t simply to make the battery last.
The goal is to store the RV correctly.


Leveling Equipment and Slides Can Have Their Own Connections
Heavy 12-volt equipment deserves attention too.
Leveling systems, stabilizers and slide equipment can be wired differently depending on the RV.
Even when the motors obviously aren’t running, related control equipment may remain connected.
Again, don’t assume this means your leveling system is secretly using enormous amounts of power.
We’re identifying what can remain connected.
Whether it’s actually responsible for your dead battery has to be determined through testing.
That’s an important difference.
Aftermarket Accessories Are Where Things Get Really Interesting
Factory wiring is only half the story on a used camper.
Previous owners love adding things.
So do dealers.
So do the rest of us.
Solar.
Battery monitors.
USB outlets.
Stereos.
Cameras.
Cellular boosters.
Wi-Fi equipment.
Inverters.
Exterior lights.
Electric jacks.
Security equipment.
If an accessory was connected directly to the battery, it may completely bypass the factory battery disconnect.
The switch can work perfectly and that accessory won’t care.
Look for Ring Terminals Added Directly to the Battery
This is one of my favorite simple inspections.
Without removing anything, look at the battery terminals.
Do you see several smaller wires stacked onto the main positive connection?
Those deserve identification.
Some may be completely normal factory connections.
Others may belong to equipment added later.
If the main disconnect is off but an accessory is wired straight to the positive battery terminal and has its own path back to negative, the factory disconnect may have no control over it.
That’s why tracing the actual wiring beats arguing with the label on the switch.
Don’t Assume Every Added Wire Is the Problem
Be careful here.
Finding a direct battery connection doesn’t mean you’ve found a fault.
Solar equipment, breakaway systems and other legitimate components may have good reasons for their wiring arrangement.
The question is whether that circuit is consuming power when it shouldn’t.
That’s where measurement comes in.
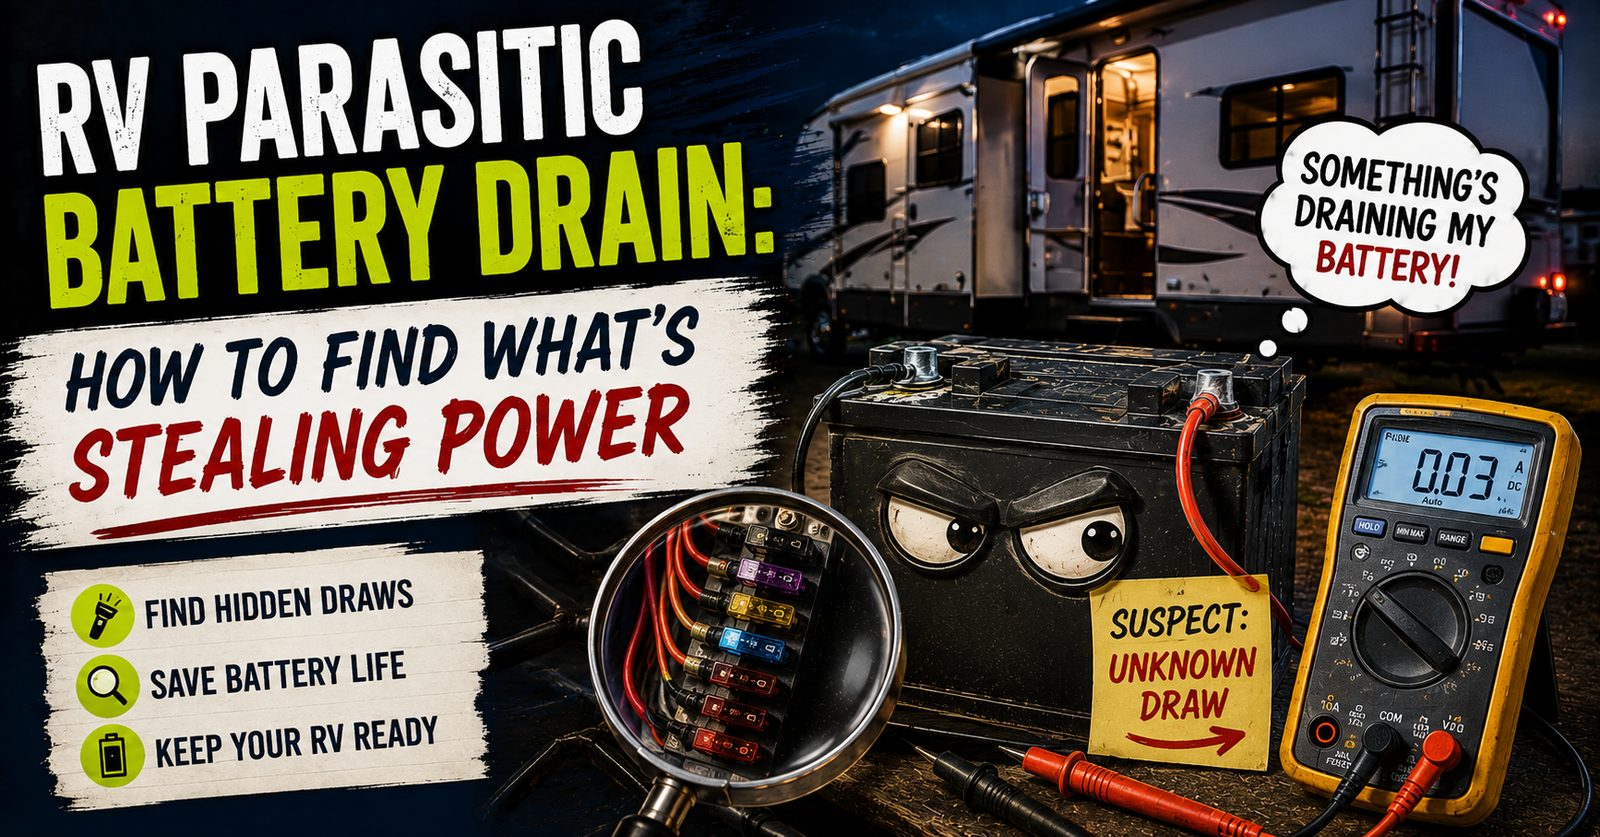
If you’re dealing with an unexplained draw, our guide to finding an RV parasitic battery drain goes through the process of measuring the draw and narrowing it down circuit by circuit.
I would much rather prove a wire is responsible than disconnect something important because it looked suspicious.
The Disconnect Switch Itself Can Fail
Yes, sometimes the obvious answer really is the answer.
Battery disconnect switches are mechanical or electrical components depending on the design, and components can fail.
Connections can loosen.
Contacts can develop problems.
A cable can be installed incorrectly.
Previous electrical work can even leave the switch bypassed.
But I don’t diagnose a failed disconnect merely because the battery went dead.
I want to verify whether turning the switch changes what it’s supposed to change.
If the RV’s normal 12-volt loads remain powered exactly the same way with the disconnect in both positions, now the switch or its wiring deserves much more attention.
Some Disconnect Switches Have Confusing Labels
RV battery switches aren’t always intuitive.
“ON” might mean the battery is connected.
“OFF” might mean disconnected.
Other styles use STORE and USE.
Some removable-key switches make the position visually obvious.
Others don’t.
And then there’s the classic situation where somebody has changed wiring during the RV’s life and the switch doesn’t behave quite the way the label suggests.
Don’t troubleshoot from the word printed on the panel alone.
Confirm what actually happens electrically.
Check Whether the Interior 12-Volt Equipment Shuts Down
Here’s an easy observation.
With shore power removed and the RV relying on the house battery, operate something you know is part of the normal 12-volt coach system.
An interior light is often convenient.
Then operate the battery disconnect according to the RV manufacturer’s instructions.
Does that equipment lose power?
If yes, you’ve at least confirmed the disconnect is affecting part of the coach electrical system.
That doesn’t prove every load has been disconnected.
But it’s useful information.
If nothing changes, investigate the disconnect operation and wiring more closely.
Unplug Shore Power Before Drawing the Wrong Conclusion
This is important.
If you’re plugged into shore power, the converter may be supplying the RV’s 12-volt circuits.
That can make lights and other DC equipment continue working even when the battery itself has been disconnected from certain portions of the system.
Then you flip the battery disconnect, see the lights stay on and assume the switch is broken.
Not necessarily.
The converter may simply be powering them.
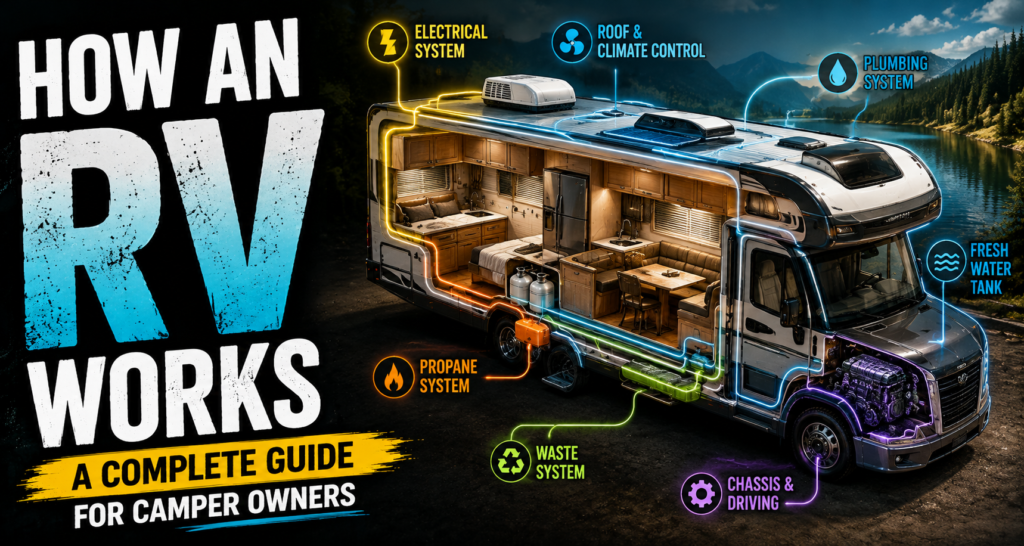
This is why understanding how the RV’s 12-volt and 120-volt systems work together makes electrical troubleshooting so much easier.
Always know which power source is actually supplying the equipment you’re watching.
The Converter Can Hide What’s Happening at the Battery
Shore power hides a lot of battery problems.
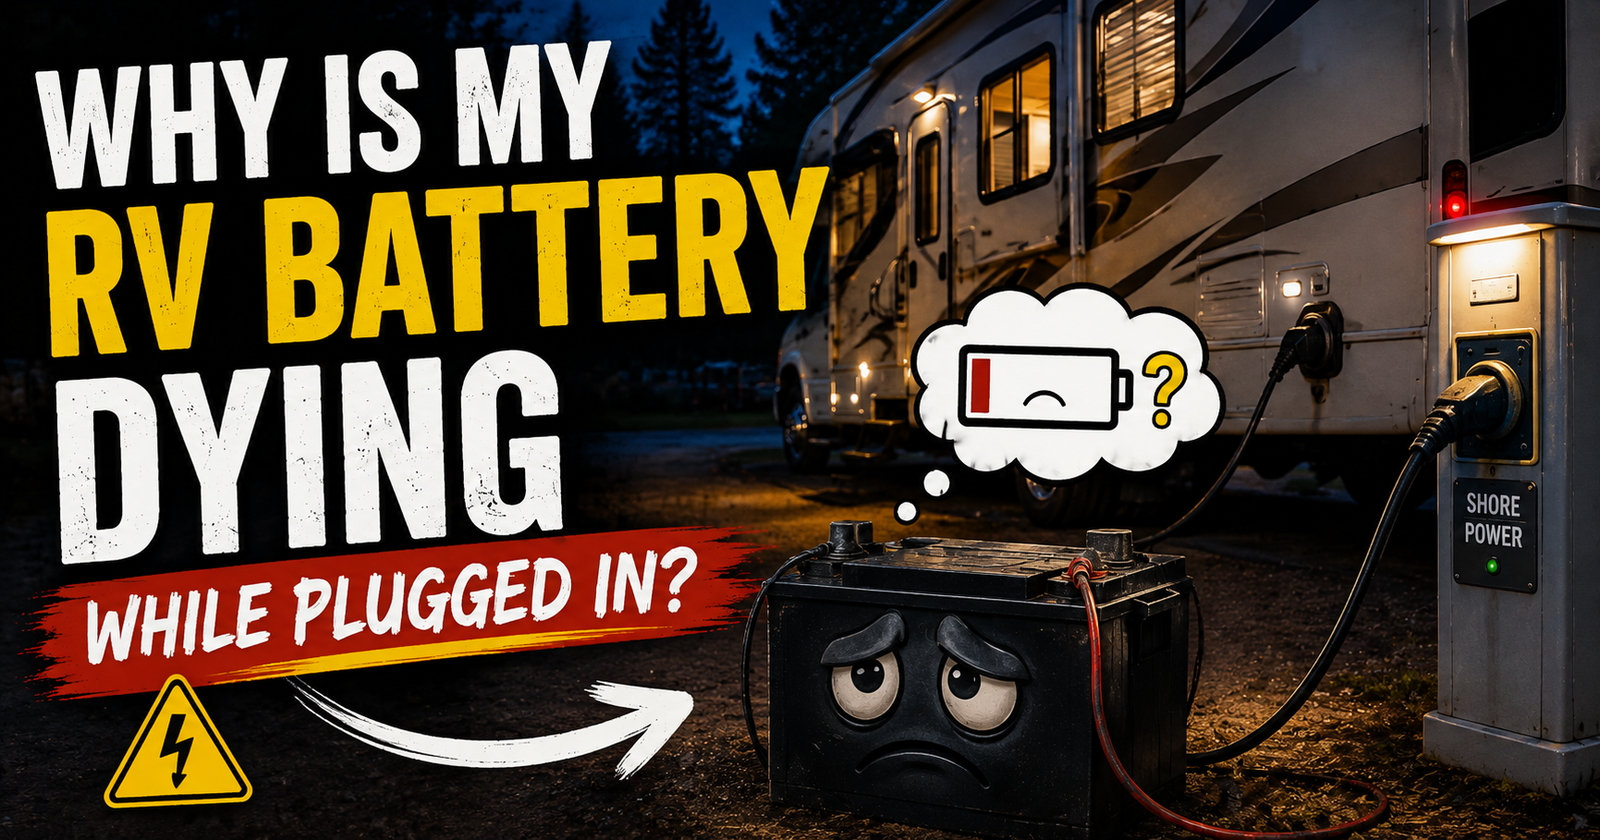
The converter can keep the 12-volt system operating while the battery is disconnected, weak or otherwise unable to carry the camper on its own, depending on the RV’s design. When the converter is supporting the loads but the battery remains weak, RV battery that dies even while plugged in explains how to separate charging problems from a battery that cannot hold energy.
You may not discover anything is wrong until you unplug.
That’s why I like doing battery-disconnect observations with the charging sources accounted for.
Solar can complicate the picture too.
So can a generator.
So can vehicle charging.
You need to know what electricity is entering the system before deciding what the battery is doing.
What If the Battery Still Dies When It’s Truly Disconnected?
This is where the diagnosis changes.
Suppose you’ve verified that the battery is genuinely isolated from the RV.
No camper loads.
No inverter connection.
No aftermarket accessory drawing from it.
And the battery still loses its charge much faster than it reasonably should.
Now I become much more suspicious of the battery.
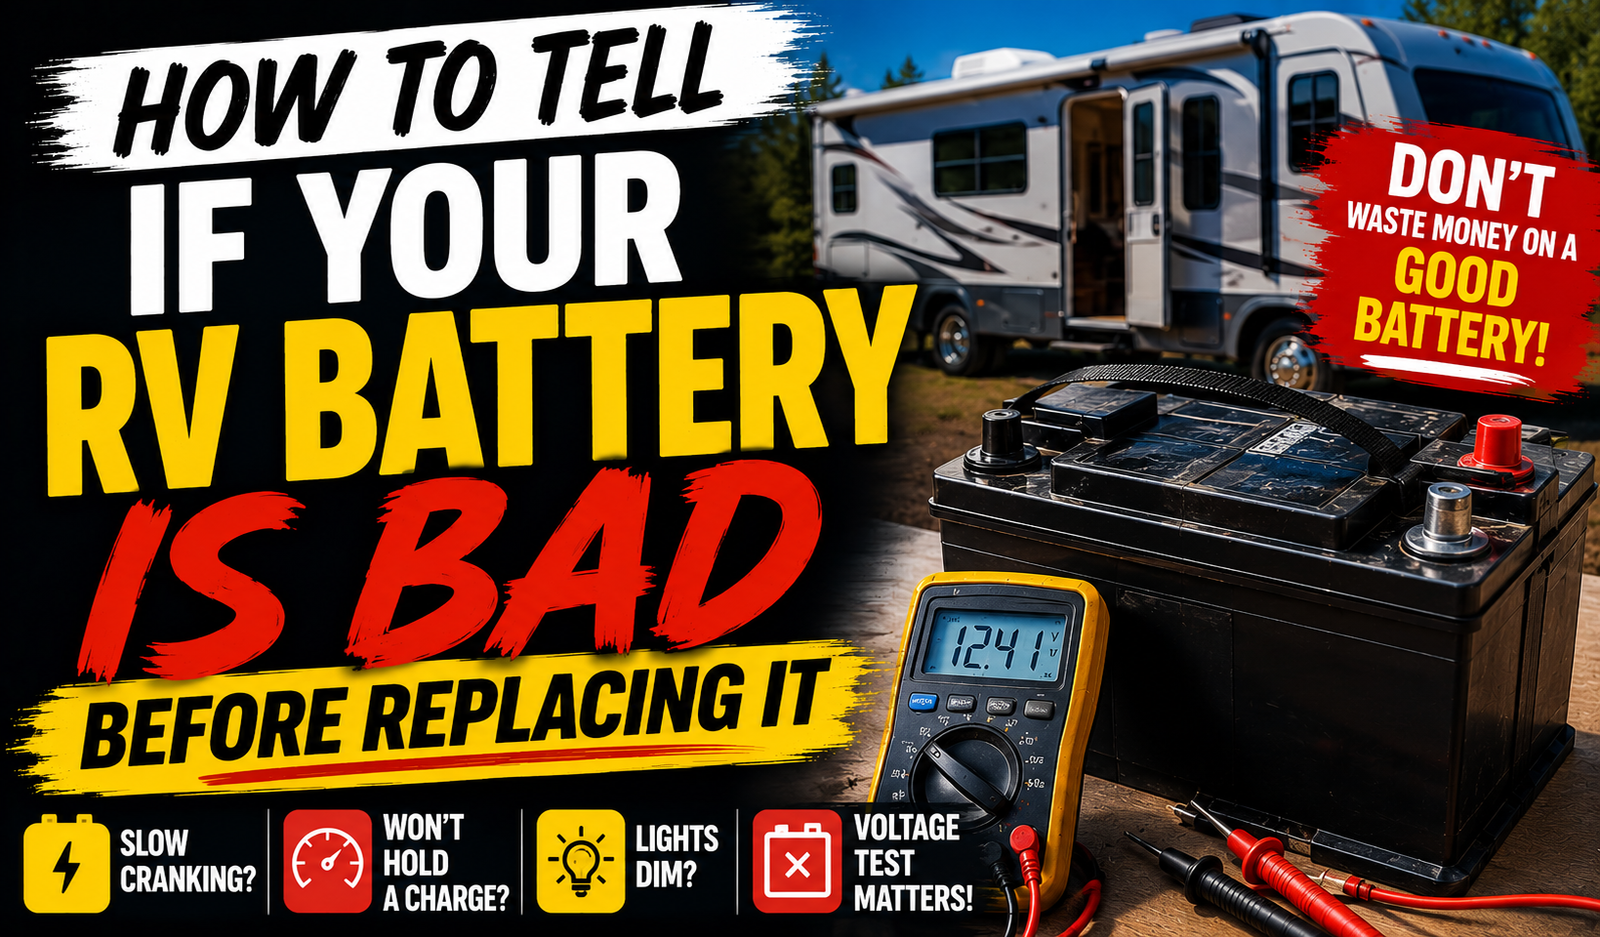
All batteries can experience some self-discharge, but a battery that can’t retain useful charge while isolated may have a condition or capacity problem. A closer evaluation of battery condition and usable capacity can help separate normal self-discharge from battery failure.
At that point, chasing the RV fuse panel isn’t where I’d spend my time.
Battery Self-Discharge Is Real
A battery doesn’t necessarily remain at exactly the same state of charge forever just because nothing is connected to it.
Self-discharge varies with battery chemistry, condition, temperature and storage circumstances.
That’s why long-term battery storage needs to follow the battery manufacturer’s recommendations.
But there’s a big difference between gradual expected self-discharge and a battery becoming unusably dead in a surprisingly short period.
If that happens while the battery is genuinely isolated, have the battery properly tested.
An Older Battery Can Make a Tiny Draw Look Huge
This is something I keep coming back to because it explains so many confusing battery complaints.
Imagine your battery once had plenty of usable capacity.
A small standby load took weeks to become noticeable.
Years later, that same battery may have much less usable capacity.
The standby load hasn’t changed at all.
But now the battery goes dead much sooner.
Naturally, you assume the camper developed a new parasitic drain.
Maybe it didn’t.
The size of the bucket got smaller.
That’s why I want to know both the measured draw and the condition of the battery.
Make Sure the Battery Was Actually Full Before Storage
Here’s another easy mistake.
You finish camping.
The battery looks okay.
You park the RV and turn the disconnect off.
Two weeks later it’s dead.
It feels like the disconnect failed.
But what if the battery entered storage at a low state of charge?
You aren’t measuring how much energy disappeared from a full battery.
You’re measuring how long an already depleted battery lasted.
Before evaluating storage performance, start with a battery properly charged according to its manufacturer’s requirements.
A Charging Problem Can Start the Whole Cycle
If the battery never reaches a proper charge, every storage period begins at a disadvantage.
Maybe the converter isn’t charging correctly.
Maybe a fuse or breaker has opened.
Maybe the battery disconnect position itself affects charging on your particular RV.
Maybe there’s a bad connection.
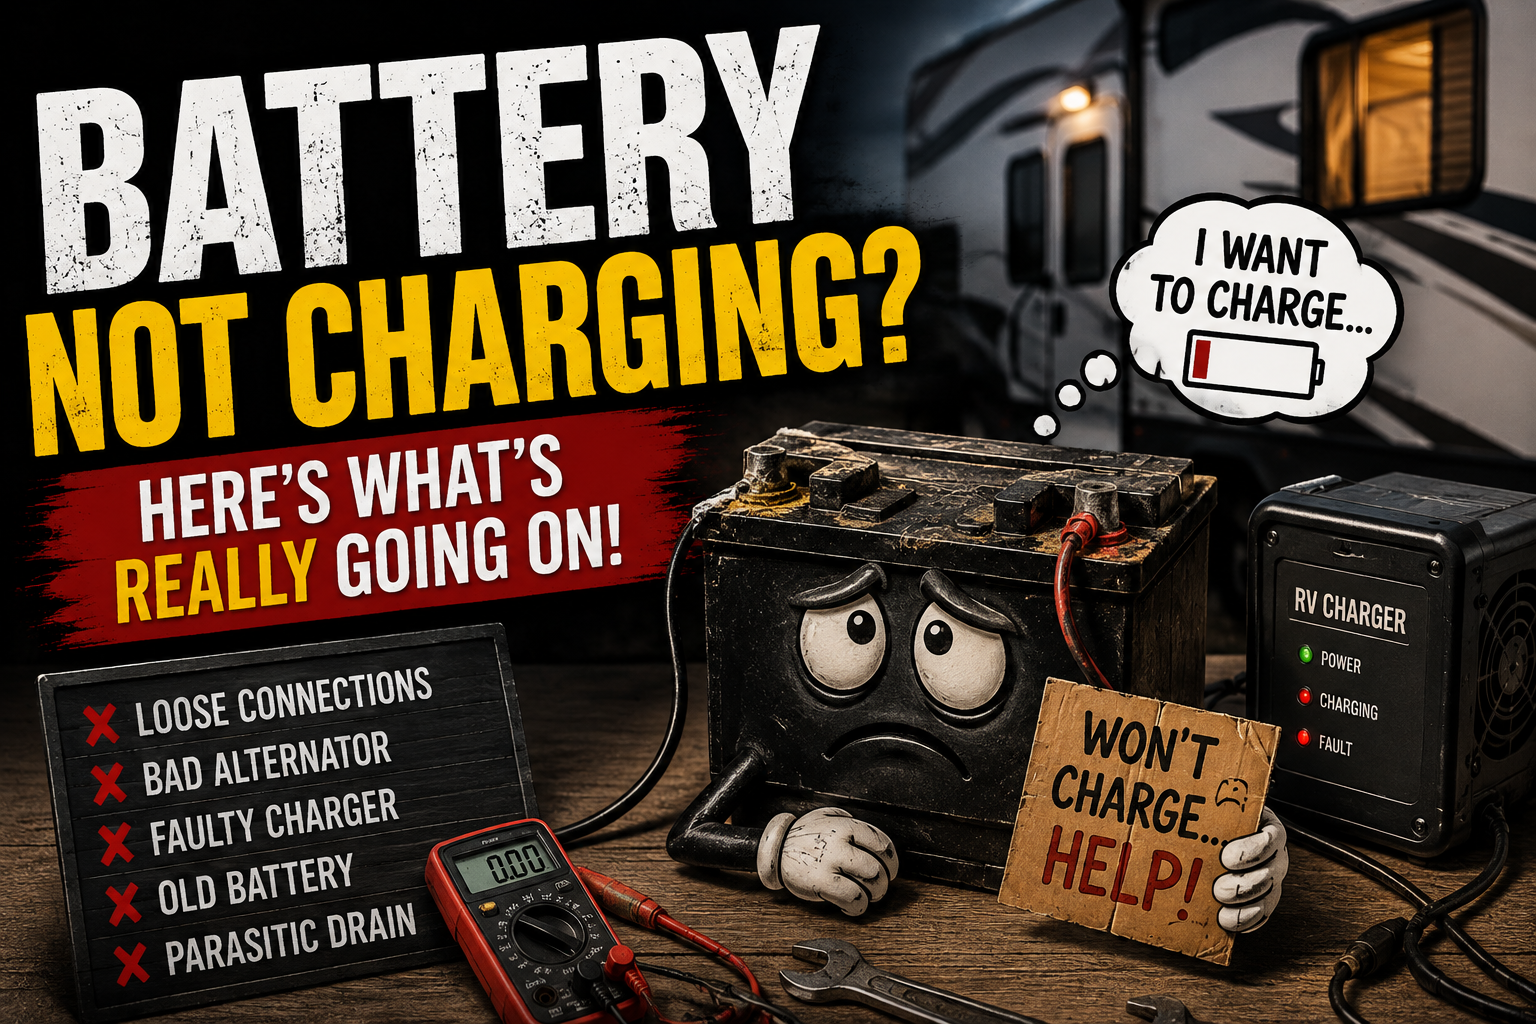
If you’re unsure whether the battery is actually reaching full charge, our walkthrough for an RV battery that won’t chargeis where I’d go before blaming storage drain.
You need a known starting point.
Should the Battery Disconnect Be On or Off While Charging?
There isn’t one answer I would blindly apply to every RV and every charging source.
It depends on how the camper is wired.
For example, Keystone’s owner information for some models says the battery disconnect should be on while driving so the battery can charge, while its newer Giggy Box design can allow solar charging with the disconnect off.
That’s a great example of why generic RV advice can get people in trouble.
Same general device.
Different system designs.
Check the instructions for your actual camper and charging equipment.
What If the Battery Dies With the Disconnect On but Not Off?
That’s actually useful.
If the battery survives storage much better with the disconnect off, the switch is probably removing a meaningful portion of the camper’s standby consumption.
That suggests the battery is being drained primarily by connected RV loads when the coach is active.
Whether that consumption is normal still needs to be determined.
But you’ve learned that the disconnect is doing something useful.
What If It Dies at Almost the Same Speed Either Way?
Now I’d get interested.
Maybe there’s a substantial load connected ahead of the disconnect.
Maybe an inverter remains connected.
Maybe aftermarket equipment is wired directly to the battery.
Maybe the disconnect isn’t actually opening the circuit.
Or maybe the battery itself has very little usable capacity.
This is where an actual current measurement is far more valuable than another week of guessing.
A Battery Monitor Can Make This Easy to See
A properly installed shunt-based battery monitor is incredibly useful for this kind of troubleshooting.
Watch the current leaving the battery with the camper configured normally.
Turn the battery disconnect off.
What happens?
If current drops dramatically but doesn’t reach zero, something remains connected.
Now turn off the inverter according to its proper procedure.
Did it change again?
This turns the disconnect switch from a mystery into something you can actually observe.
Fuse Pulling Won’t Find Every Direct Battery Load
This is another trap.
You start pulling fuses from the RV’s 12-volt distribution panel.
Nothing eliminates the remaining draw.
That doesn’t mean the draw isn’t real.
A device connected directly to the battery doesn’t necessarily pass through those branch fuses.
You may have separate inline fuses or DC breakers for those circuits.
That’s why battery-area inspection and wiring diagrams become important when the normal fuse panel doesn’t explain the current.
Follow the Wire, Not Your Assumptions
This is probably my favorite rule for RV electrical troubleshooting.
If you want to know whether the battery disconnect controls something, figure out how that equipment receives battery power.
Does its positive feed pass through the disconnect?
Does it connect before the disconnect?
Does it have its own switch?
Does it have a separate fuse or breaker?
Once you know the path, the behavior usually stops being mysterious.
Electricity is remarkably predictable when you know where the wires go.
Be Careful Around the Battery
Following wiring doesn’t mean randomly loosening battery terminals with a wrench.
RV batteries can supply extremely high current during a short circuit.
A metal tool accidentally bridging positive power to ground can create sparks, severe heat and damage very quickly.
Remove jewelry and follow proper battery-service procedures if you’re qualified to work on the system.
If you’re unsure what a connection does, don’t disconnect it simply to see what happens.
That’s especially true around trailer safety equipment and high-current inverter cables.
Don’t Install a Bigger Disconnect to “Fix” the Problem
I’ve seen the temptation.
The factory disconnect doesn’t isolate everything, so the obvious solution seems to be installing one giant switch that physically removes the battery from every wire.
That can be appropriate in some properly designed systems.
But don’t do it blindly.
Some equipment may intentionally require a particular connection arrangement.
Solar charging, breakaway equipment, battery monitoring, inverter systems and other devices need to be considered.
Changing battery wiring is a system modification, not just a switch upgrade.
Make sure the resulting system remains safe and works the way all connected equipment requires.
For Long-Term Storage, Know What Your Battery Needs
Different batteries have different storage requirements.
Flooded lead-acid, AGM and lithium batteries shouldn’t automatically be treated identically.
Temperature matters.
State of charge matters.
Charging equipment matters.
Some owners maintain batteries with an appropriate charging source.
Others physically isolate or remove batteries depending on the storage situation and manufacturer recommendations.
I’m much more comfortable following the battery and RV manufacturers’ storage instructions than using one campground trick for every battery chemistry.
If Your Battery Is Dead Every Time You Come Back to the Camper
At this point I’d stop repeating the same storage routine.

A battery that keeps going dead over and over is giving you a pattern worth diagnosing.
Start with a known-good, properly charged battery.
Measure the standby draw.
Turn the disconnect off and measure again.
Account for the inverter.
Identify direct battery connections.
Check aftermarket equipment.
Compare how the battery behaves while connected versus genuinely isolated.
Those few observations can tell you much more than simply charging the battery again and hoping it lasts this time.
When I Suspect the Disconnect Switch
The switch moves higher on my list when the normal coach loads remain battery-powered despite the disconnect being placed in its proper off or storage position, testing shows the switch isn’t opening the circuit it is supposed to control, connections at the switch are damaged or loose, or previous electrical work has altered the original wiring.
That’s evidence.
A dead battery by itself isn’t.
When I Suspect a Load That Bypasses the Disconnect
I look harder for a bypassed load when the disconnect clearly shuts down the normal coach circuits but measurable current continues leaving the battery.
The inverter is high on the list if equipped.

Then I look at direct battery wiring, separate DC breakers and fuses, factory equipment that may intentionally remain connected, and aftermarket additions. When that inspection finds a fuse that keeps opening, RV converter fuse problems offers a focused way to separate a converter fault from a branch-circuit problem.
This is where a wiring diagram can save a ridiculous amount of time.
When I Suspect the Battery
The battery moves higher on my list when it loses charge unusually quickly even after I’ve confirmed it is truly isolated from the camper.
I’d also consider its age, service history and tested capacity.
If a battery has repeatedly been deeply discharged, fixing the original RV drain doesn’t magically restore capacity that has already been lost.
Sometimes there are two problems by the time you finally investigate.
The camper has been draining the battery, and the repeated discharges have left you with a weakened battery.
The Switch Is Only One Part of the System
That’s the big thing I’d remember.
Your RV battery disconnect controls whatever it’s wired to control.
Nothing more.
If something is connected before that switch, has its own direct battery connection or uses a separate disconnect, flipping the main switch doesn’t magically move that wiring to the other side.
Once I realized that years ago, battery-disconnect problems became much easier to understand.

If your RV battery dies with the disconnect off, don’t immediately replace the switch. Find out whether the battery is truly isolated, measure what’s still leaving it, identify any direct connections, and compare the battery’s behavior when it’s completely removed from RV loads. If the battery still behaves unexpectedly after you account for connected loads, RV battery says full and then dies surprisingly fast offers another way to investigate the battery itself.
The word OFF on the switch is a clue.
The wiring tells you the truth.
Written by Evan Mercer
Evan Mercer writes about RV systems, camper troubleshooting, maintenance and everyday ownership questions for CamperAnswers.com. His work focuses on turning technical information and manufacturer guidance into practical answers ordinary RV owners can actually use.