
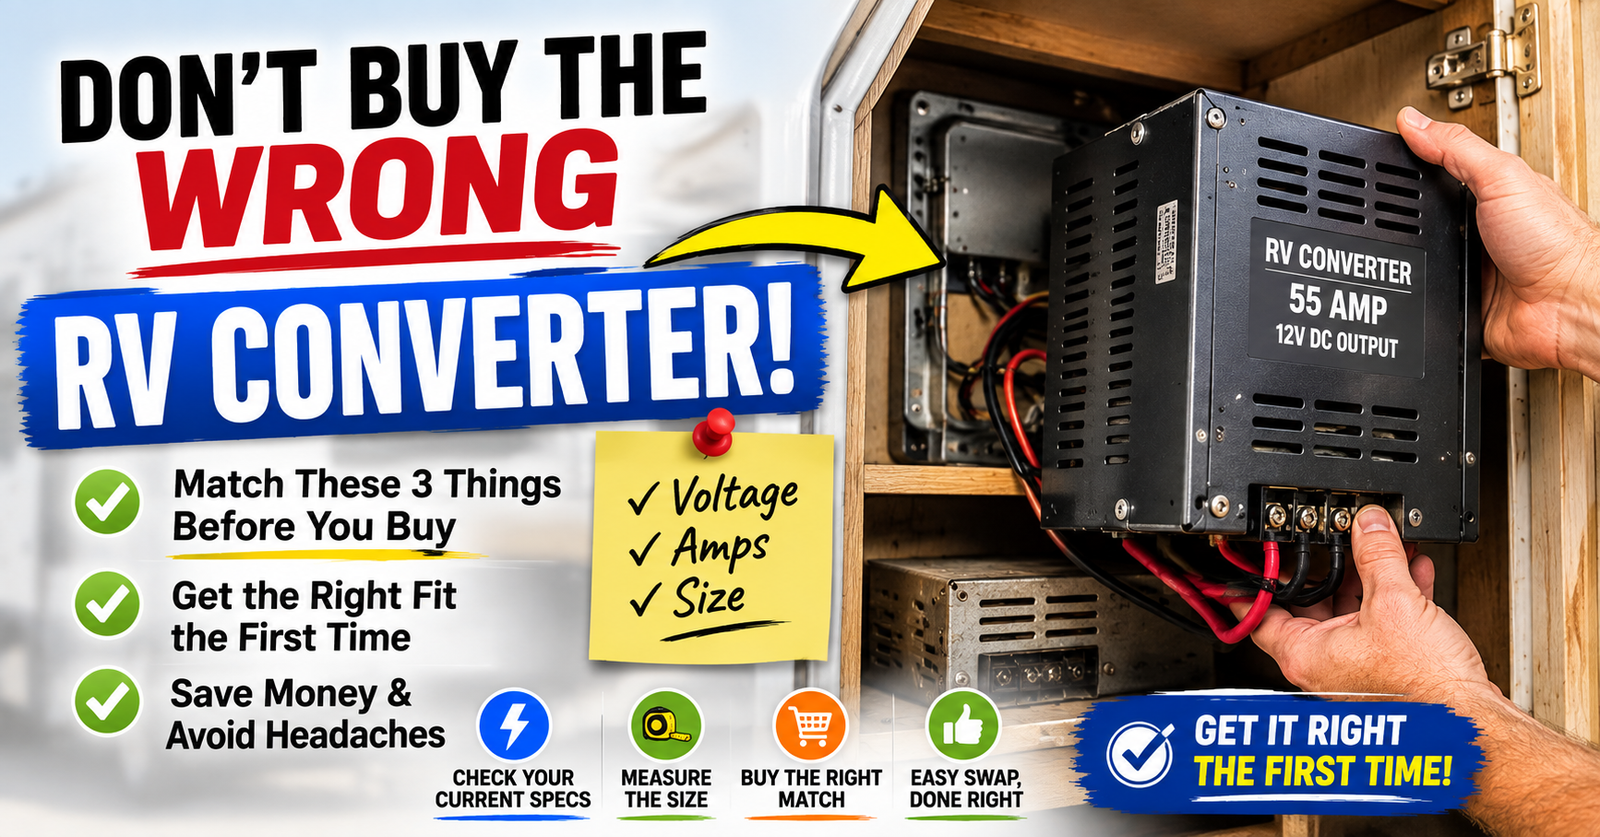
Replacing an RV converter can look intimidating the first time you open the power center and see breakers on one side, fuses on the other, and a bunch of wires disappearing behind everything. But the actual converter is usually only one part of that entire assembly, and in many campers you don’t have to replace the whole power center just because the converter failed.
The part that worries me most isn’t physically getting the old converter out.
It’s installing the wrong replacement.
Before I replace an RV converter, I want to know exactly what failed, the model that’s currently installed, its DC amperage rating, what type of battery the camper uses, and whether I’m replacing a standalone converter or only the converter section inside an existing power center.
That’s where this job really starts.
And if you haven’t actually proven the converter is bad yet, don’t replace it just because the battery isn’t charging. We just covered how to test an RV converter with a multimeter, and I’d do those checks first.
A converter is too expensive to replace on a guess.
First Make Sure the Converter Is Actually Bad
This deserves more attention than it usually gets.
A battery that won’t charge does not automatically mean the converter failed.
Neither do dim lights.
Neither does a dead battery.
Neither does a converter fan that isn’t running.
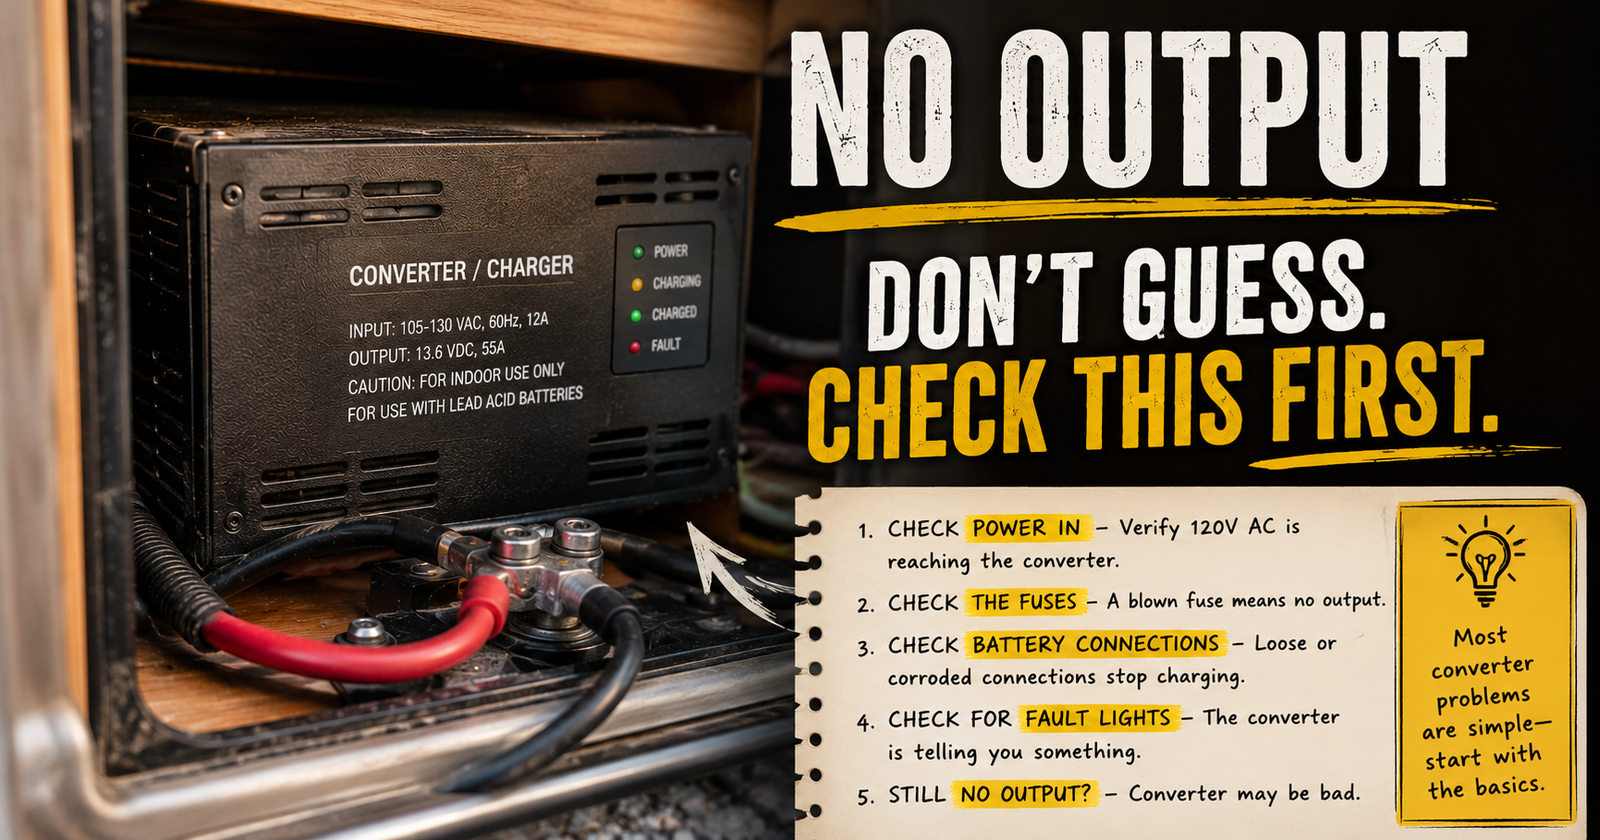
You can have similar symptoms from a tripped AC breaker, blown reverse-polarity fuse, open battery disconnect, bad connection, damaged charging cable, blown inline battery fuse, bad ground, failed battery, or simply no AC power reaching the converter. Checking those possibilities first is the purpose of this guide to an RV converter that has no output.
That’s why I want a real diagnosis first.
If the converter has the proper AC input and you’ve followed the manufacturer’s troubleshooting procedure but it still can’t produce the specified DC output, now replacement makes sense.
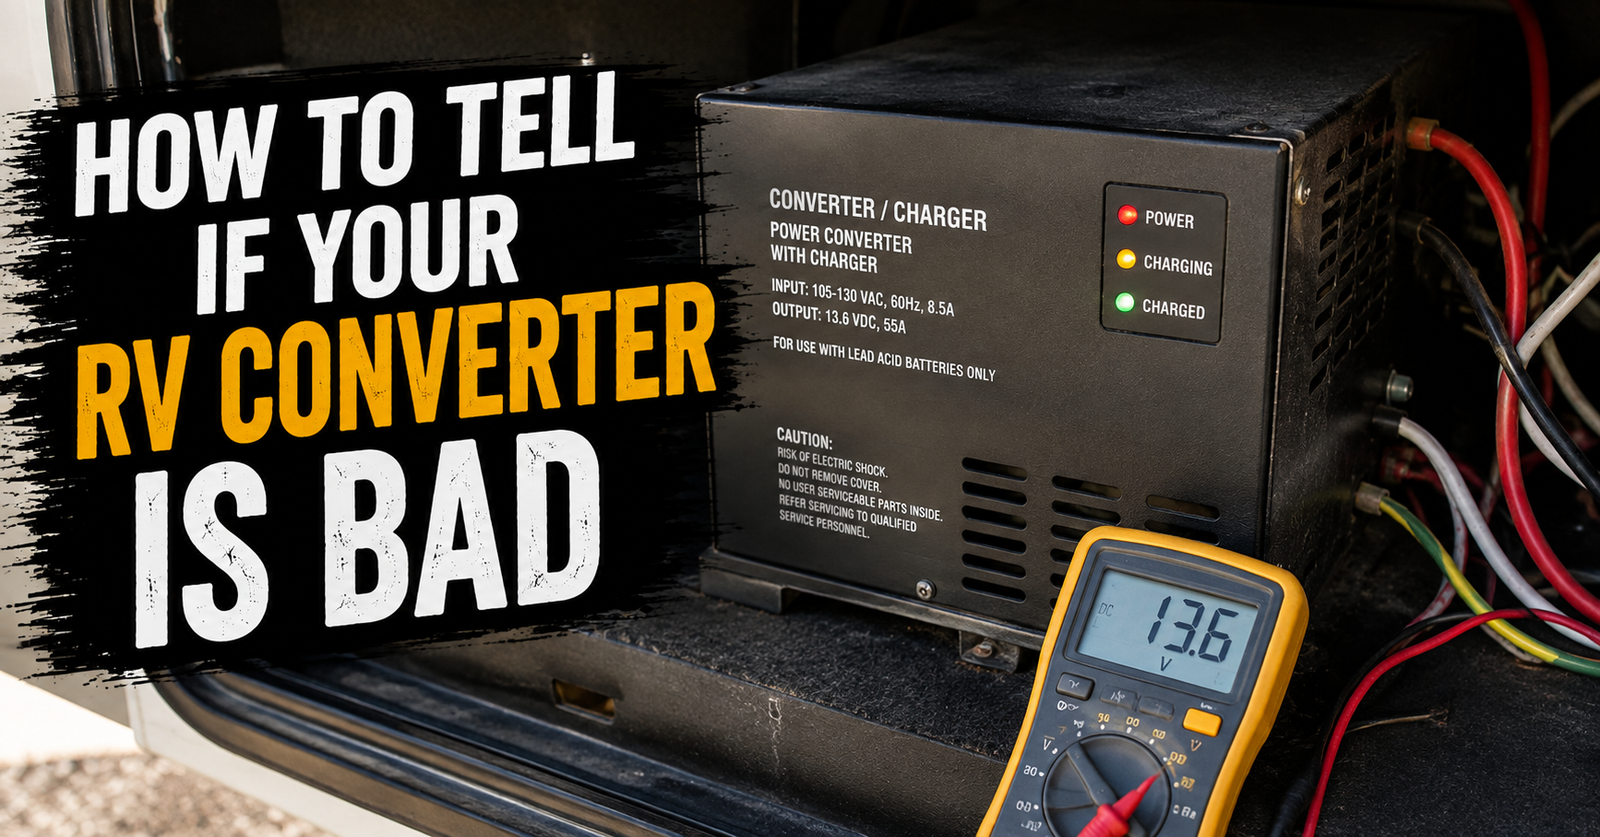
Our guide to telling whether an RV converter is bad goes through those symptoms and tests in much more detail.
Find the Converter Before Ordering Anything
This sounds ridiculously obvious.
Yet it’s one of the easiest ways to buy the wrong part.
Don’t order a replacement based solely on the camper’s year, make, and model.
Find what’s actually installed.
There are two broad arrangements you’re likely to encounter.
A deck-mounted converter is a separate converter/charger mounted somewhere in the RV.
A power-center converter is integrated into or installed as a replaceable section of the electrical distribution center that also contains AC breakers and DC fuses.
Progressive Dynamics describes these as floor-mount and wall-mount converter/charger arrangements in its replacement guidance. It recommends locating the existing converter and identifying its model number and DC amperage before choosing a replacement.
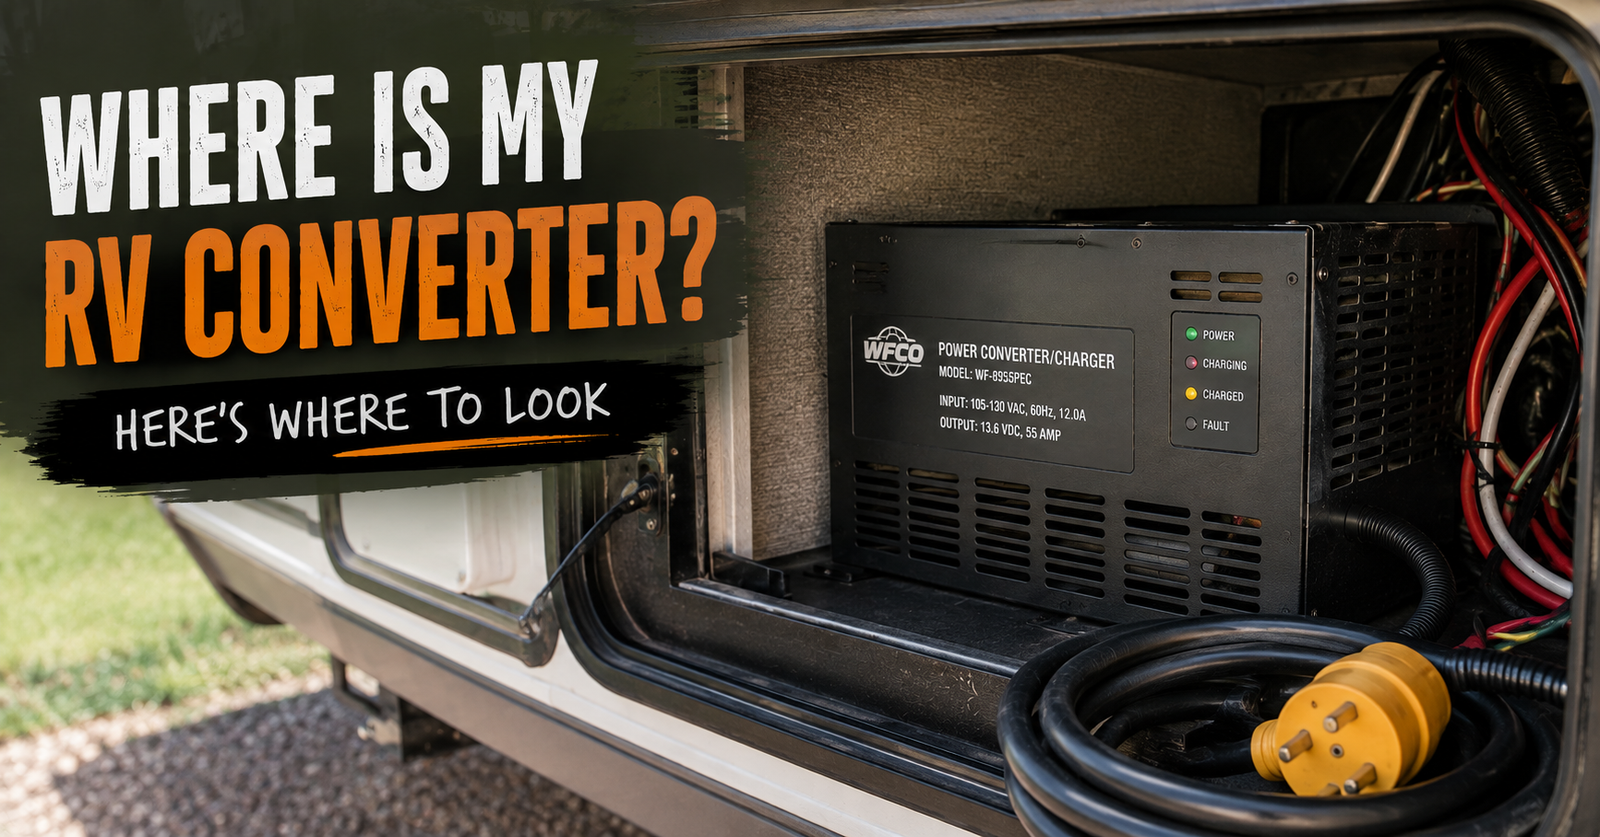
If you’re still wondering where the thing is hiding, use our guide to finding your RV converter before going any farther.
Get the Exact Model Number
Once I find the converter, I take a clear picture of the label.
I want:
Manufacturer.
Model number.
DC output amperage.
Input specifications.
Output specifications.
Battery charging information if listed.
Serial number if it could help identify a revision.
I also take pictures of the surrounding installation.
Those pictures can become incredibly useful once things start coming apart.
Don’t trust yourself to remember exactly where six similar-looking wires were connected twenty minutes later.
Your phone has a camera.
Use it.
Don’t Assume the Converter Is Original
Campers live long lives.
Someone may have replaced the converter ten years ago.
Someone may have upgraded it.
Someone may have installed a completely different power center.
Someone may have converted the RV to lithium.
Someone may have made modifications that aren’t shown anywhere in the camper’s original documentation.
That’s why the label on the installed equipment matters more to me than what an old RV brochure says the camper originally had.
Work with what is actually in front of you.
Do I Replace the Converter or the Whole Power Center?
This is probably the first big decision.
In many RV power centers, the converter section itself is replaceable.
Progressive Dynamics says its power centers use replaceable converter sections, and it sells retrofit converter assemblies intended to replace converter sections in several existing power centers.
That means your AC breaker panel and DC fuse panel may be perfectly usable.
If only the converter failed, replacing the entire power center could create a much larger job than necessary.
On the other hand, some installations may not offer a practical converter-only replacement, or the power center itself may be damaged, obsolete, improperly modified, or due for replacement for other reasons.
Don’t decide until you identify the equipment.
What Is a Converter Replacement Section?
Think of your power center as several electrical components living together.
You may have:
120-volt AC circuit breakers.
12-volt DC fuses.
DC distribution.
Converter/charger electronics.
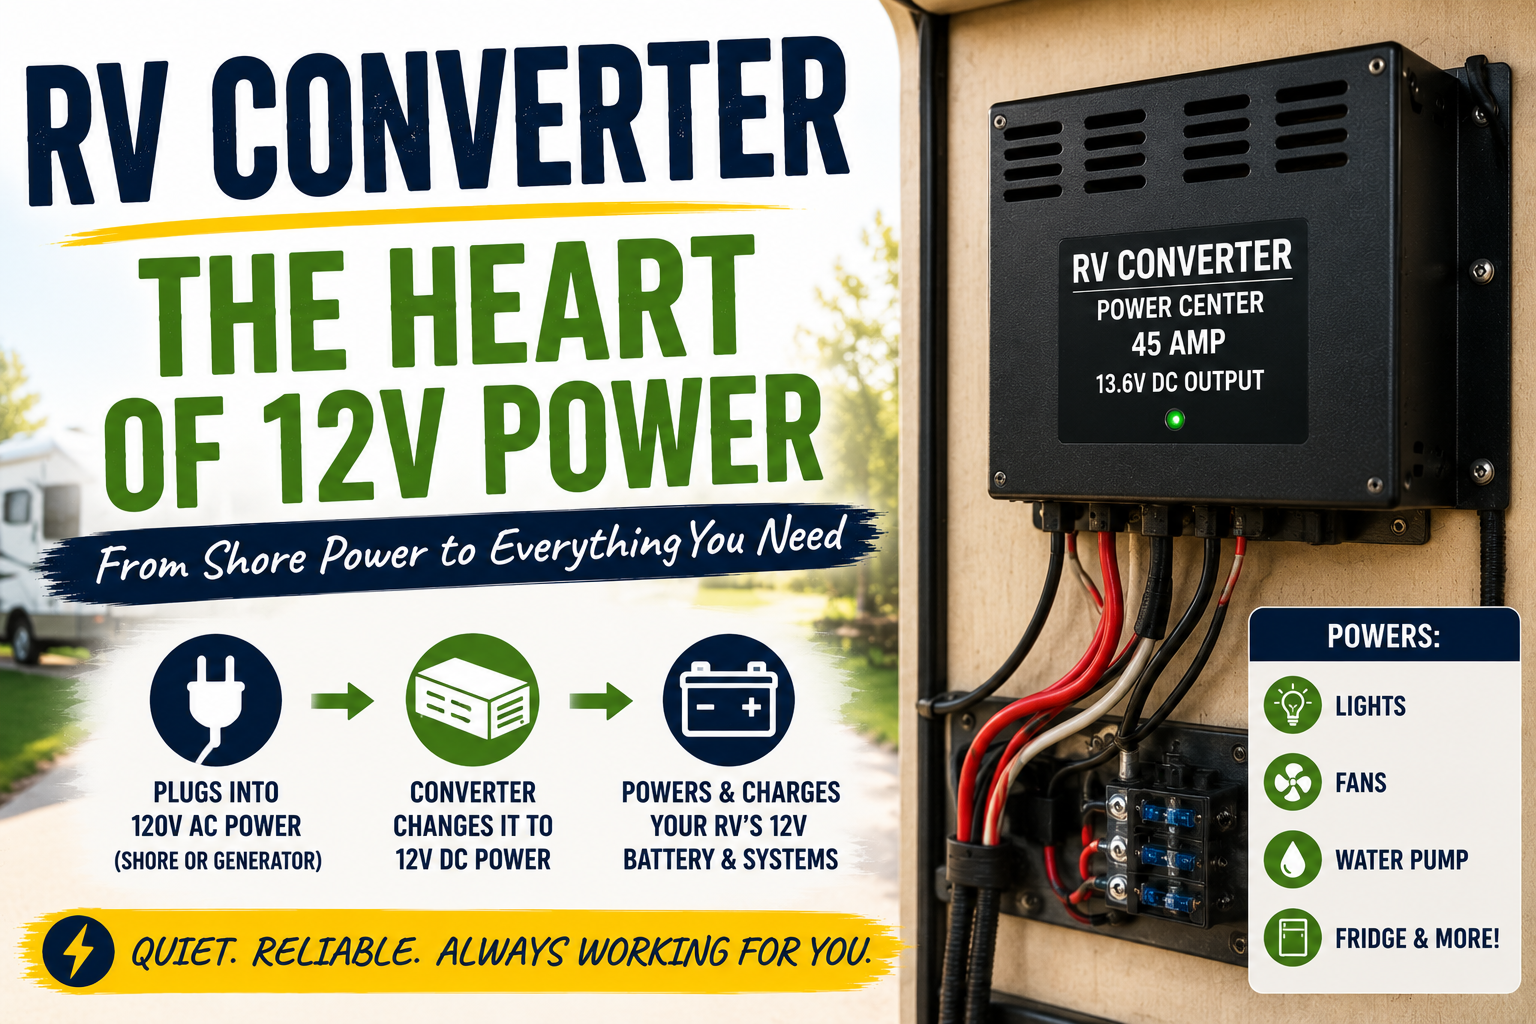
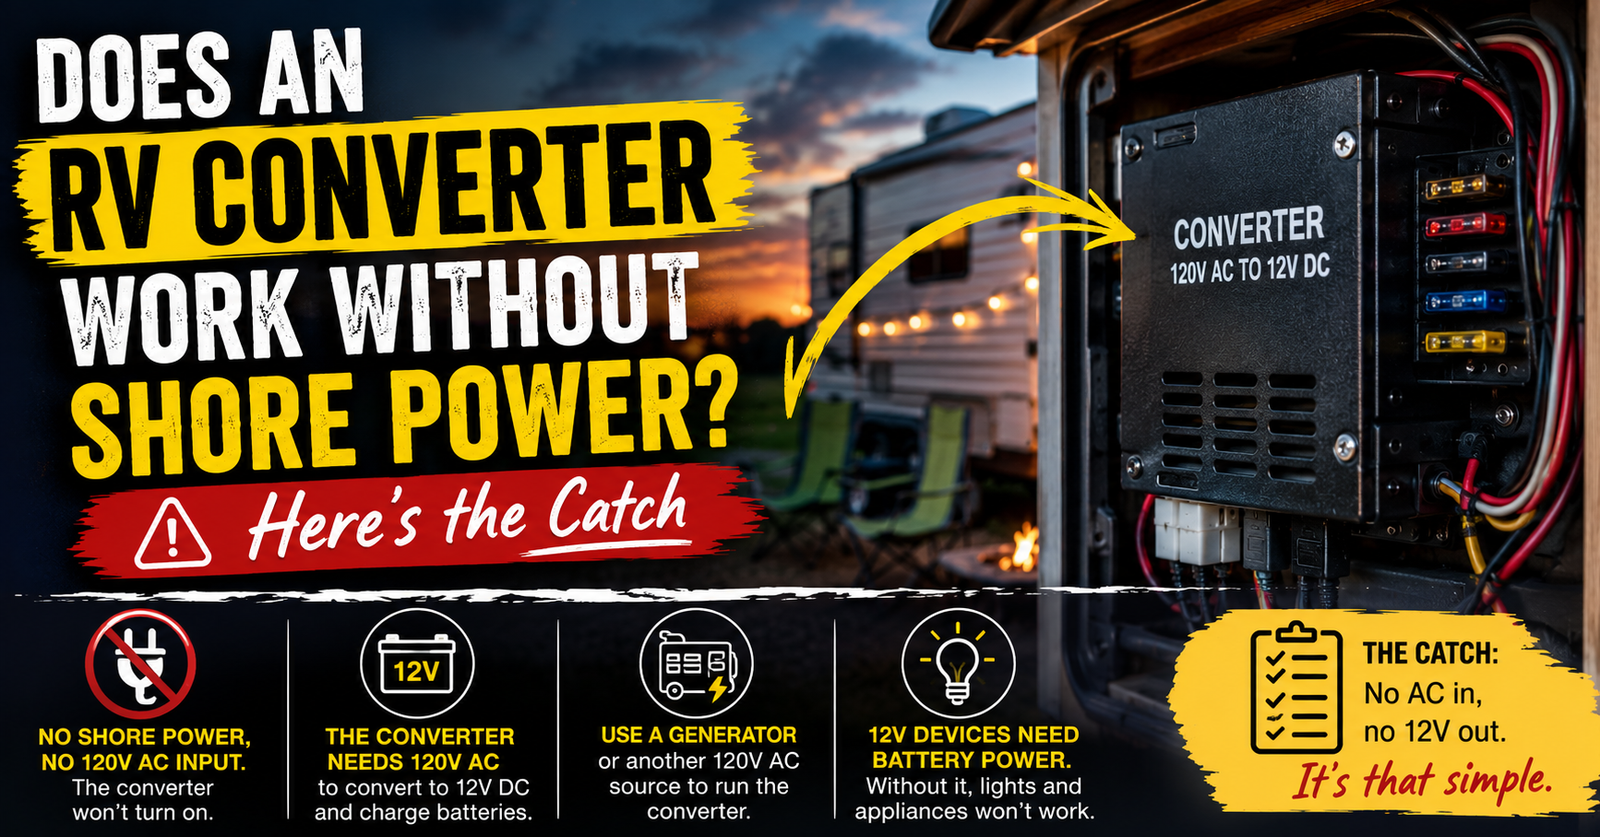
The converter section takes incoming AC electricity and supplies the RV’s DC system while charging the house battery. A plain-language overview of the converter’s role in the RV electrical system provides useful context before choosing a replacement.
If that electronic converter section dies, some power centers allow you to remove it and install a new converter section while leaving much of the distribution equipment in place.
That’s a very different project from replacing the entire electrical distribution center.
Can I Use a Different Brand of Converter?
Potentially, yes.
You don’t necessarily have to replace Brand A with Brand A.
Replacement and retrofit products exist specifically for this purpose.
For example, Progressive Dynamics publishes a converter crossover guide that matches various existing IOTA, Parallax, WFCO, and Progressive Dynamics units with compatible replacement equipment.
Its PD4600 replacement kits are specifically designed to replace several existing Parallax/Magnetek and WFCO converter sections.
But don’t interpret that as:
“Any converter with the same amps will fit.”
It won’t.
Physical dimensions, electrical connections, power-center design, battery compatibility, and installation requirements still matter.
Match the Converter Amperage Carefully
This is one place I wouldn’t casually “upgrade.”
If the old converter is 45 amps, my starting point is an appropriate 45-amp replacement.
If it’s 55 amps, I start by looking for the appropriate 55-amp replacement.
Progressive Dynamics specifically warns owners not to replace an existing converter with a higher-amperage unit simply because a larger converter is available. The company warns that the existing RV wiring may not be capable of safely handling the additional current.
That’s an important warning.
Bigger isn’t automatically better.
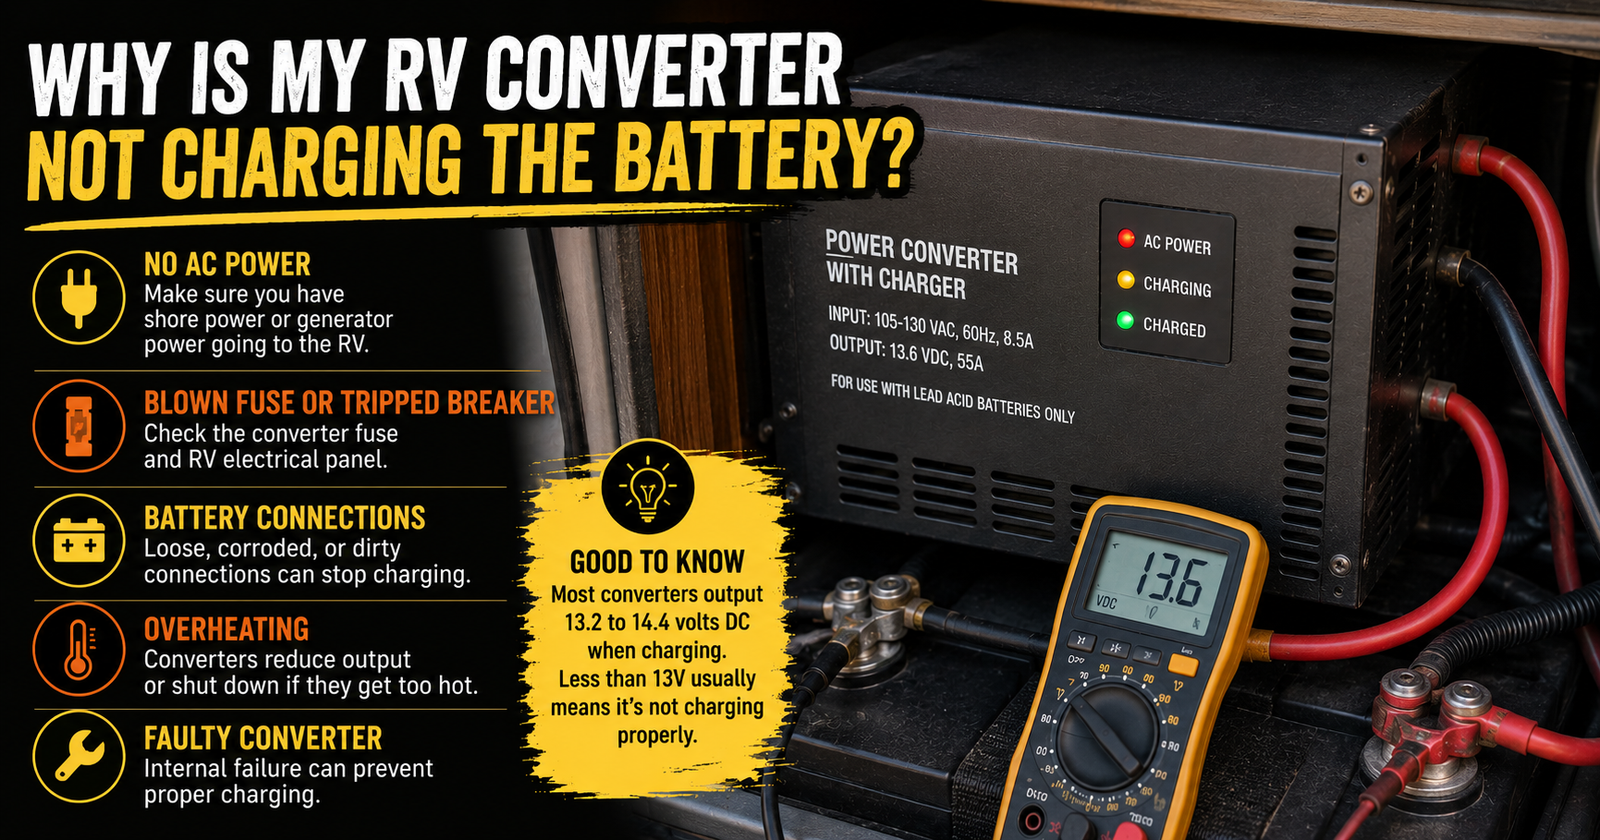
Why Can’t I Just Install a Bigger Converter?
Because the converter isn’t sitting alone in a vacuum.
Its output has to travel through wiring.
Connections.
Distribution equipment.
Fuses or breakers.
Battery cables.
Ground paths.
And ultimately the battery itself.
If the RV was designed around a certain converter capacity, blindly increasing output can ask more from that wiring than the original system was designed to handle.
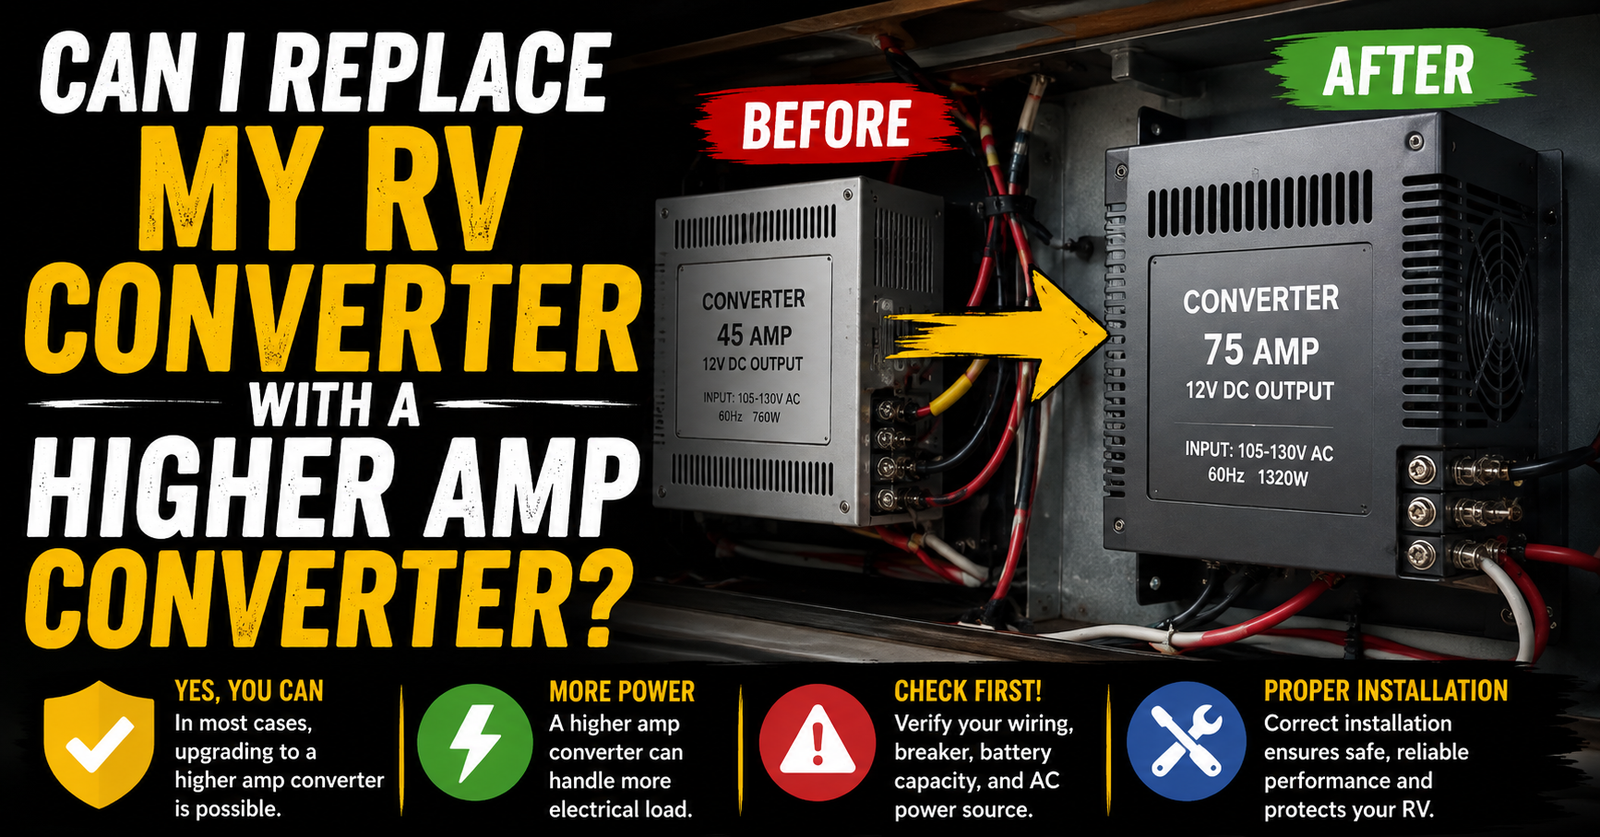
We’ve already gone deep into whether you can replace an RV converter with a higher-amp model.
A higher-output converter can absolutely be part of a properly designed upgrade.
It’s just not something I’d sneak into a routine replacement.
What Size Converter Should I Buy?
If you’re simply replacing a failed converter and aren’t redesigning the electrical system, matching the appropriate original capacity is usually the logical place to begin.
But size isn’t just physical size.
We’re concerned with:
DC amperage.
Battery-bank requirements.
Charging performance.
Wiring capacity.
AC input requirements.
Physical dimensions.
Ventilation.
Mounting style.
Battery chemistry.
Connector and terminal compatibility.
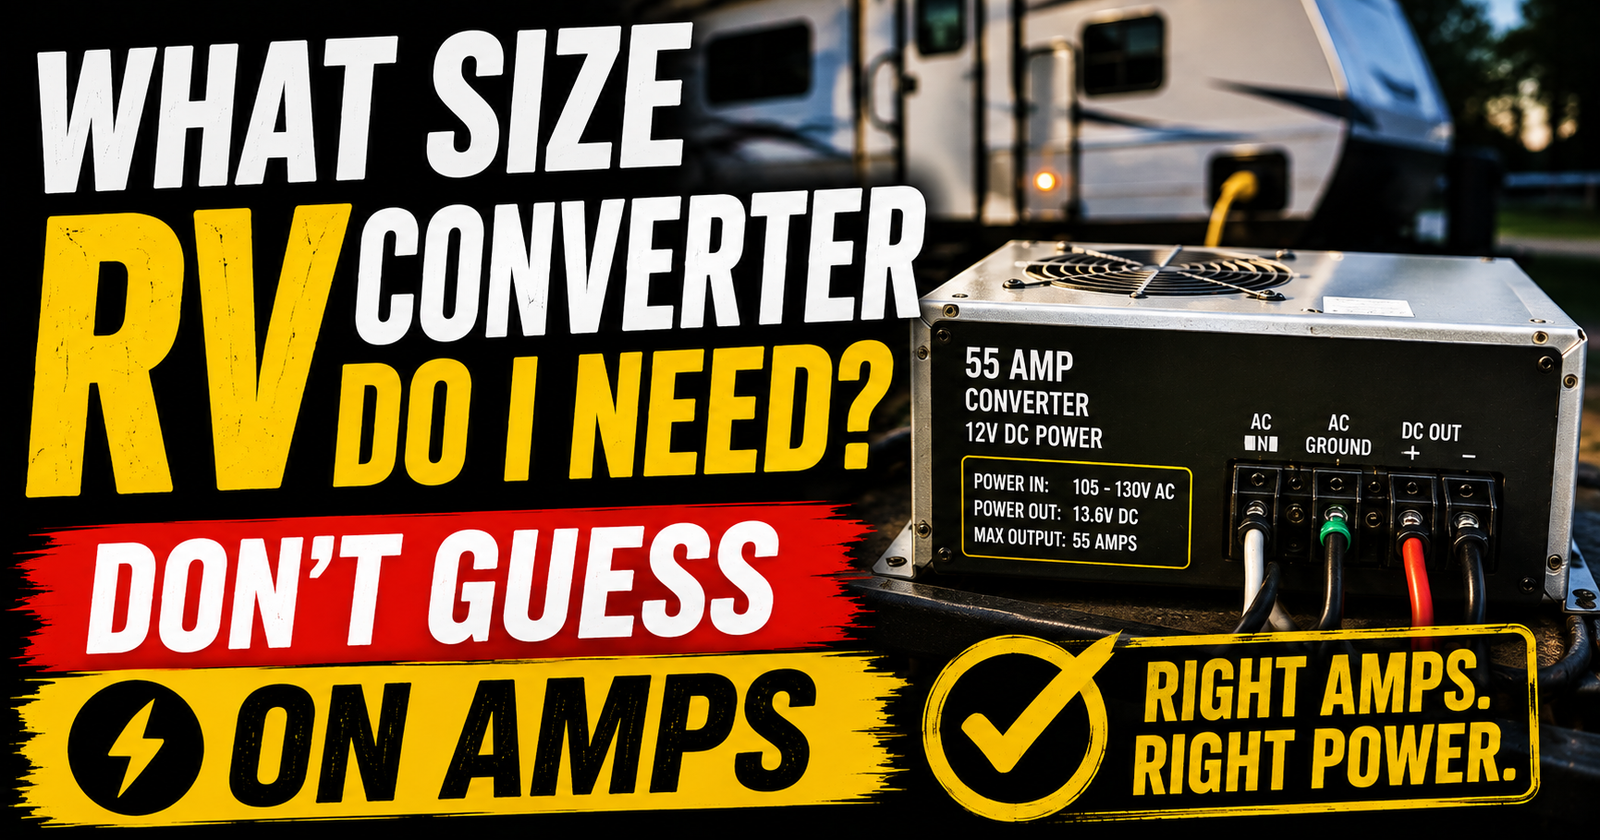
If you aren’t sure what those amp numbers mean, read our guide to choosing the right RV converter size before ordering anything.
Battery Chemistry Matters Too
This has become much more important as RV owners switch to LiFePO4 batteries.
Don’t buy a converter replacement without thinking about the battery it will charge.
You may have:
Flooded lead-acid.
AGM.
LiFePO4.
Some newer converter/chargers offer selectable charging profiles for different battery chemistries.
Others may have automatic battery detection.
Others are designed around a particular charging strategy.
If you’re already running lithium or plan to switch soon, this is the perfect time to think ahead.
There’s little sense in replacing a failed converter today and then realizing six months from now that you want a different converter for your lithium upgrade.
Replacing a Converter During a Lithium Upgrade
This is one situation where converter replacement can be part of a larger project.
Maybe the old converter still technically works.
But you’ve installed LiFePO4 batteries and want charging equipment specifically suited to them.
Progressive Dynamics’ lithium replacement guidance tells owners to identify the existing converter type, model, and DC amperage before selecting the appropriate lithium replacement. It also warns against increasing converter amperage beyond the existing rating unless the RV wiring is capable of safely handling it.
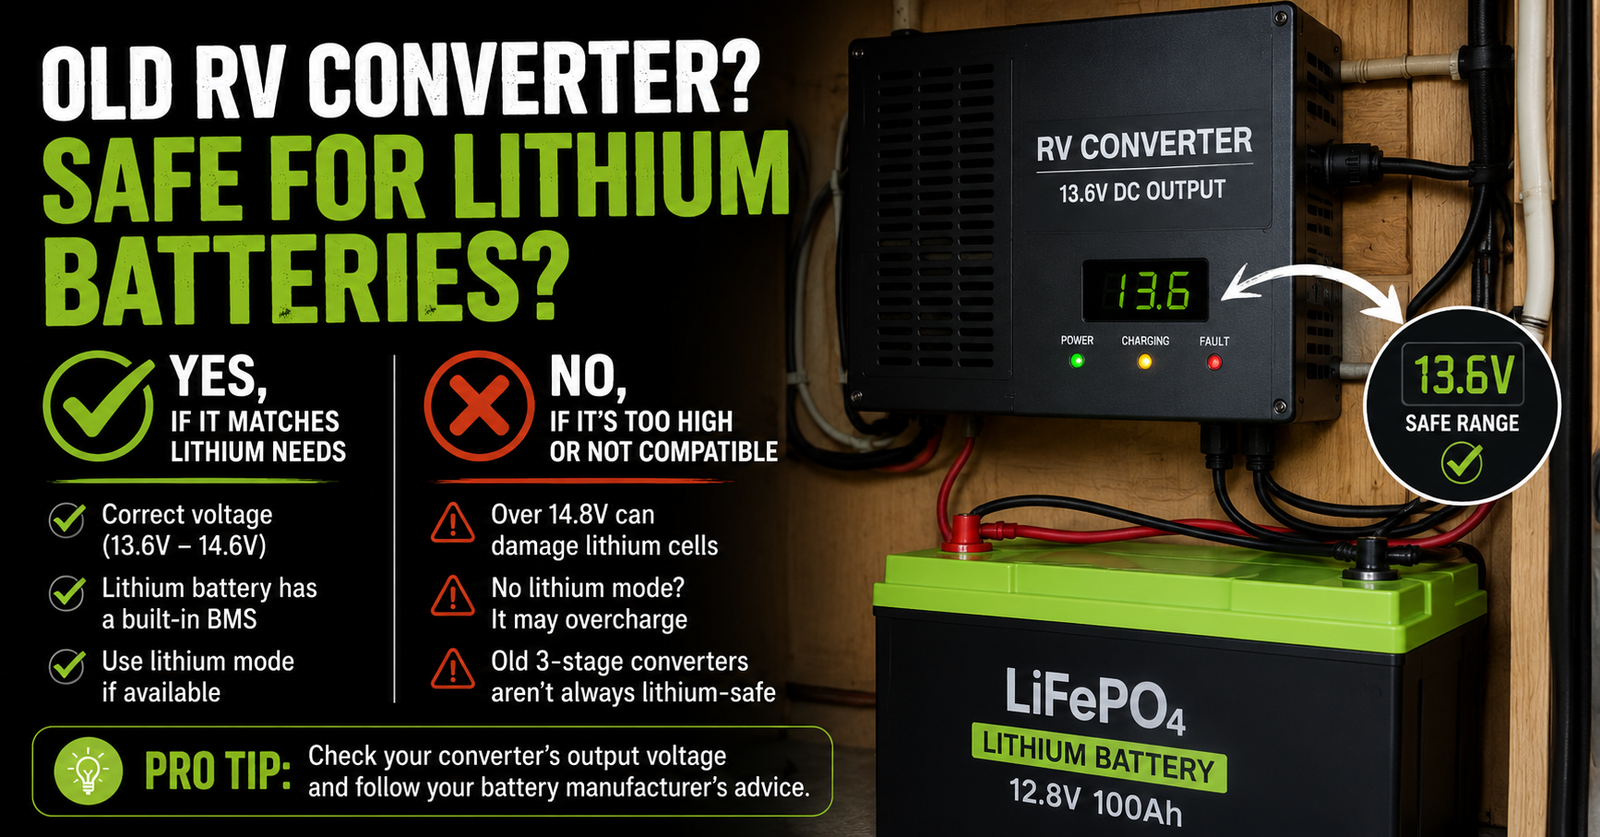
We recently covered whether an old RV converter can be used with a lithium battery.
Don’t replace a working converter solely because somebody said every lithium battery requires it.
Compare the actual equipment specifications.
Make Sure the Replacement Physically Fits
Electrical compatibility doesn’t guarantee physical compatibility.
Measure.
Look at the manufacturer’s dimensional drawings.
Check mounting holes.
Check clearance.
Check ventilation requirements.
Check wire-entry locations.
Check whether an adapter bracket or replacement distribution board is included.
Progressive Dynamics’ crossover guidance specifically tells owners to compare the dimensions of the existing installation with the replacement, noting that wall-mounted replacements can sometimes require changes to the opening.
I’d rather discover that while researching than after the old converter is lying on the floor.
Ventilation Is More Important Than It Looks
Converters make heat.
That heat has to go somewhere.
If the old converter cooked itself because it was buried behind stored blankets with almost no airflow, putting a shiny new converter in the exact same situation isn’t much of an improvement.
Progressive Dynamics says its 9100/9200 converters need sufficient ventilation and recommends at least five inches of clearance or enough airflow into and out of the converter compartment.
Your replacement may have different requirements.
Follow its instructions.
Don’t pack storage around it afterward.
Before Removing the Old Converter, Kill Every Power Source
This is the most important part of the entire replacement.
An RV can have more than one source of electricity.
Unplugging the shore-power cord may not make everything dead.
You may have:
House batteries.
Onboard generator.
Solar.
Inverter equipment.
Tow-vehicle connection.
Other charging equipment.
Progressive Dynamics’ PD4600 replacement instructions specifically require disconnecting power sources before removing the old converter, including 120-volt shore power, the onboard generator, and 12-volt battery power.
Follow the installation instructions for your exact equipment.
Don’t Assume Turning Off the Main Breaker Is Enough
If I’m physically replacing electrical equipment, I don’t want to rely on one switch and hope everything downstream is dead.
Disconnect power according to the manufacturers’ instructions.
Shore cord unplugged.
Generator disabled as required.
Battery disconnected correctly.
Solar isolated if it can energize the system.
Other electrical sources handled appropriately.
Then verify that the circuits you’re about to work on are actually de-energized.
An RV can surprise you because AC and DC sources coexist in the same general area.
The Battery Can Still Make a Serious Spark
People sometimes respect the 120-volt AC side but get casual around the 12-volt battery because it’s “only 12 volts.”
Don’t.
An RV battery can deliver a tremendous amount of current into a short circuit.
Drop a wrench across the wrong terminals and things can get exciting very quickly.
Remove jewelry.
Keep tools controlled.
Follow proper battery-disconnection procedures.
Protect exposed conductors from accidental contact.
Low voltage doesn’t mean low available current.
Take Pictures Before Disconnecting Anything
This is one of the easiest ways to make the job less stressful.
Take a picture of the whole power center.
Then closer pictures.
Converter AC connections.
DC connections.
Ground.
Neutral.
Positive.
Negative.
Fuse locations.
Breaker positions.
Any plugs or harnesses.
Wire routing.
Labels.
Then take more pictures than you think you’ll need.
If something doesn’t make sense during installation, you can look back at how the original equipment was connected.
Label Wires If Necessary
If several wires are going to be disconnected, label them before removing them.
Don’t depend on wire color alone.
The replacement instructions may identify specific conductor colors, but the wiring in your actual camper could have been altered during previous repairs.
Labels and pictures cost essentially nothing.
Trying to reconstruct an electrical system from memory costs considerably more frustration.
Read the Replacement Instructions Before Taking Anything Apart
Not halfway through.
Not when the new converter won’t fit.
Before.
Some retrofit kits replace more than the converter itself.
For example, Progressive Dynamics’ PD4600 retrofit procedure for certain power centers involves removing the existing converter, replacing or transferring connections to a new DC distribution board, installing the replacement converter assembly, connecting AC and DC wiring, and connecting the supplied harness.
That’s not something I’d want to discover after the old unit is already torn apart.
Know the whole procedure first.
A Typical Converter Replacement Is More Than Unplugging a Box
Depending on the converter design, replacement can involve both sides of the RV electrical system.
On the AC side, you may be dealing with:
Hot conductor.
Neutral.
Ground.
Circuit breaker connection.
On the DC side:
Converter positive.
Converter negative.
Battery positive.
Battery negative.
Distribution board connections.
Then there may be a communication or charging-control harness depending on the replacement system.
That’s why exact model-specific instructions matter.
Replacing a Deck-Mounted Converter Can Be Different
A standalone deck-mounted converter may look much simpler.
The converter itself is separate from the breaker/fuse panel.
Some models plug into an AC receptacle rather than being directly connected to the AC distribution equipment.
They then connect to the DC system with substantial positive and negative conductors.
That can make physical replacement more straightforward.
But the same compatibility rules apply.
Correct voltage.
Correct amperage.
Correct battery profile.
Correct wire size.
Correct protection.
Correct ventilation.
Correct installation.
“Standalone” doesn’t mean “anything goes.”
Replacing an Integrated Power-Center Converter
This can be more involved because the converter section lives inside the same enclosure as the RV’s electrical distribution equipment.
For example, Progressive Dynamics’ instructions for replacing certain WFCO 8935, 8945, and 8955 converter sections require disconnecting converter AC wiring, pulling out the DC board, moving battery and branch-circuit connections to the replacement board, removing the old converter assembly, installing an adapter bracket, installing the new converter, and reconnecting the system.
That is absolutely doable for someone with the proper electrical skills.
But it isn’t a blind plug-and-play swap.
You May Not Need to Replace Every Breaker and Fuse
That’s one advantage of a converter-section retrofit.
The distribution center may remain in service while the failed charging section gets replaced.
Depending on the retrofit kit, some components may transfer to a replacement DC board while others remain in place.
Follow the replacement manufacturer’s exact instructions.
Don’t tear out more of the camper’s electrical system than necessary.
Pay Attention to AC Hot, Neutral, and Ground
These conductors have different jobs.
They aren’t interchangeable.
On applicable PD4600 retrofit installations, Progressive Dynamics specifies connecting the converter’s neutral conductor to the neutral distribution block, the ground conductor to the ground bar, and the hot conductor to the appropriate AC branch breaker.
Your converter may be different.
Follow its wiring diagram.
If you aren’t completely comfortable identifying and properly terminating AC conductors, this is the point where I’d hire someone.
This Is Not the Job for Guessing Which Wire Goes Where
If the instructions say one thing but your RV wiring looks completely different, stop.
Don’t improvise because:
“Black is probably this.”
Or:
“This white one must go there.”
Previous modifications can make old RV wiring particularly interesting.
Identify the circuit.
Use documentation.
Verify what you’re looking at.
If the installation doesn’t match the documentation and you can’t confidently determine why, get qualified help.
Tight Connections Matter
A loose electrical connection can create resistance.
Resistance creates heat.
Heat can damage terminals and wiring.
That matters on both AC and high-current DC connections.
Follow the manufacturer’s torque specifications when provided.
Don’t leave terminals loose.
Don’t crank down on something until you destroy it either.
Progressive Dynamics specifically warns against using an air or electric hex driver on certain converter battery terminals because overtightening can damage the DC terminal block.
Electrical connections aren’t a strength contest.
Check the Battery Cables While You’re Already There
Converter replacement is a great time to inspect the charging path.
Look for:
Corroded terminals.
Loose connections.
Damaged insulation.
Heat discoloration.
Poor crimps.
Improvised repairs.
Undersized wiring from previous modifications.
Damaged fuse holders.
Questionable grounds.
If you’ve been having charging problems, don’t automatically assume every problem disappears because the converter is new.
The new converter still has to get power to the battery.
Check the Reverse-Polarity Protection
Converters commonly have reverse-polarity protection fuses.
If the battery gets connected backward, those fuses can blow.
That can make a brand-new converter appear completely dead on the DC side.
Before reconnecting the battery, verify polarity.
Then verify it again.
Positive goes where positive belongs.
Negative goes where negative belongs.
This is not the part of the job where I move quickly because I’m almost finished.
Don’t Reconnect the Battery Backward for Even a Second
A quick accidental touch can be enough to blow protection fuses.
And depending on the equipment involved, mistakes can cause more serious damage.
If you’re unsure which cable is which because the RV has nonstandard colors or modifications, identify them before reconnecting anything.
Don’t guess based solely on insulation color.
What About the Battery Disconnect?
Know what position it needs to be in during installation and testing.
Your RV’s battery disconnect may affect whether the battery is connected to the converter charging path.
That can create a confusing situation after installation where the converter appears to work but the battery doesn’t charge.
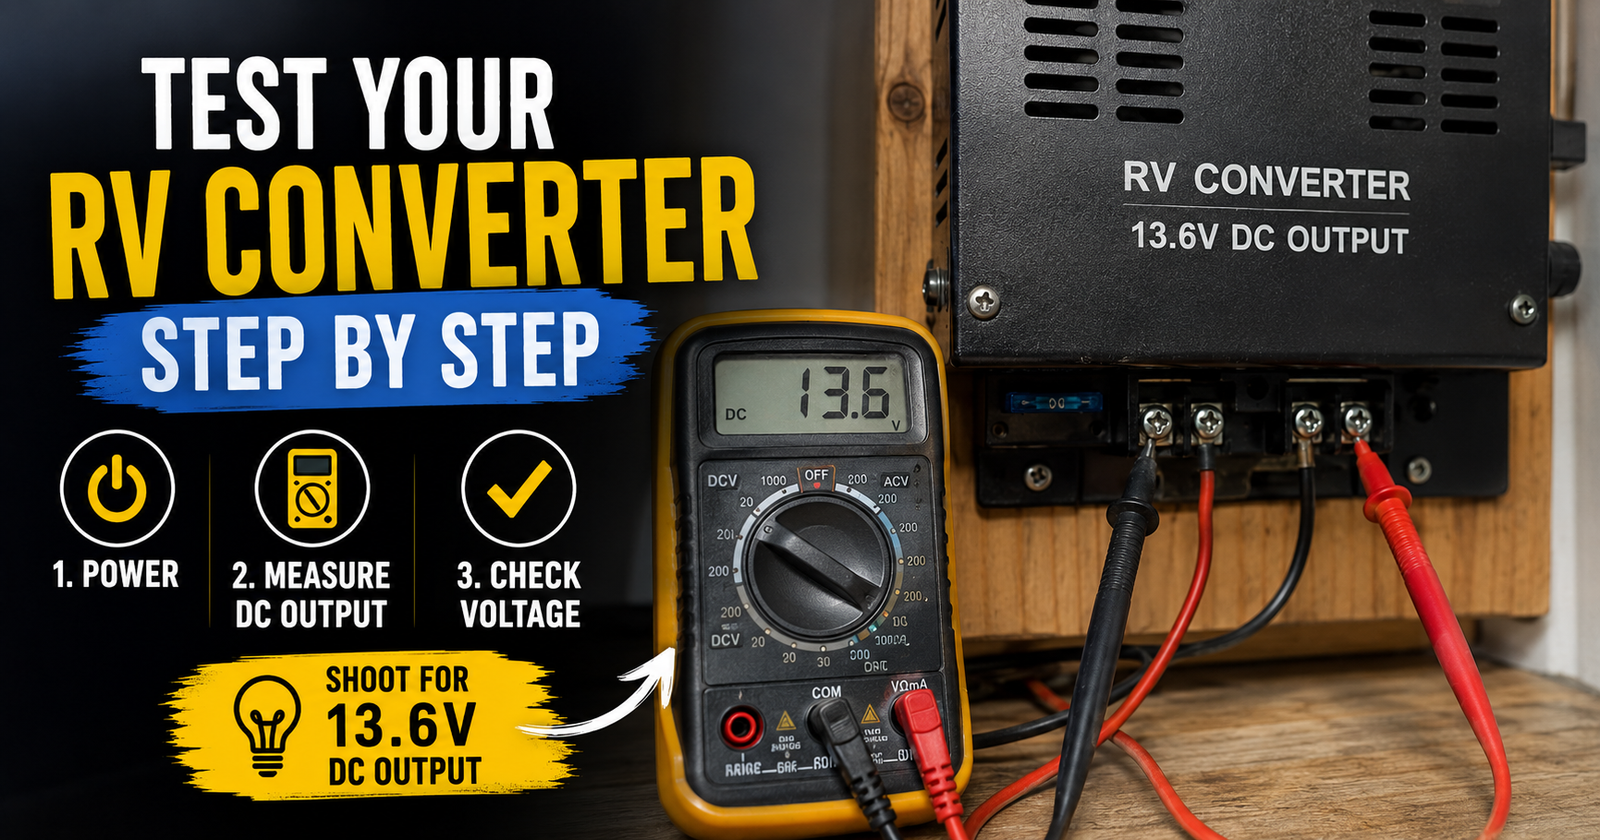
We’ve already seen how important that circuit becomes when testing converter output with a multimeter.
A brand-new converter can’t charge a battery through an open circuit.
Should I Replace the Converter With the Battery Connected?
Follow the manufacturer’s instructions.
For the PD4600 retrofit, Progressive Dynamics specifically instructs installers to disconnect the 12-volt battery before removal.
That’s the approach I want.
You don’t want battery power sitting on DC conductors while you’re moving converter connections around.
Disconnect it properly.
Protect the cable from accidentally touching anything.
Reconnect only when the installation instructions call for it.
What About Solar Panels?
Solar makes this more interesting.
Turning off shore power and disconnecting the battery doesn’t necessarily mean your entire solar system stopped producing electricity.
Depending on the installation, the solar controller and associated wiring may still be energized.
Follow the solar equipment manufacturer’s shutdown procedure.
The same goes for inverter/chargers and other equipment.
Modern RV electrical systems can have energy coming from several directions.
What About the Generator?
Disable it according to its manufacturer’s instructions before working on the converter.
You don’t want someone starting the generator while you’ve got AC conductors disconnected.
The PD4600 replacement instructions specifically list the onboard generator among the power sources that must be disconnected before removal.
Treat every possible AC source seriously.
Should I Replace My Converter Myself?
That depends much more on your electrical experience than on your ability to use a screwdriver.
If you’re comfortable identifying circuits, verifying absence of voltage, working with AC and DC distribution equipment, following wiring diagrams, making proper terminations, and testing the finished installation, you may be comfortable with an appropriate converter replacement.
But manufacturer guidance can be more conservative.
Progressive Dynamics says installation of its PD4600 replacement kit should be completed by a licensed electrician or certified RV technician.
If you aren’t comfortable around 120-volt AC electrical systems, I’d follow that advice.
When I Would Definitely Hire an RV Technician
If I opened the power center and found melted wiring, burned insulation, heavily modified circuits, unidentified conductors, damaged breaker connections, or evidence of significant overheating, I’d be much more interested in finding out why than simply installing a new converter.
Same if the replacement requires major rewiring.
Or the original converter failed catastrophically.
Or breakers have repeatedly tripped.
Or the RV has unusual inverter, generator, transfer-switch, or solar integration.
Sometimes the converter failure is the symptom.
You still need to find the cause.
Why Did the Old Converter Fail?
That’s worth asking before installing the new one.
Converters can fail simply from age or internal component failure.
But I also look for environmental and electrical factors.
Poor ventilation.
Excessive heat.
Dust buildup.
Moisture.
Chronic heavy loading.
Bad battery.
Loose electrical connections.
Improper previous installation.
Voltage problems.
Physical damage.
If the converter was repeatedly overheating before it died, I wouldn’t install the replacement and ignore the airflow problem.
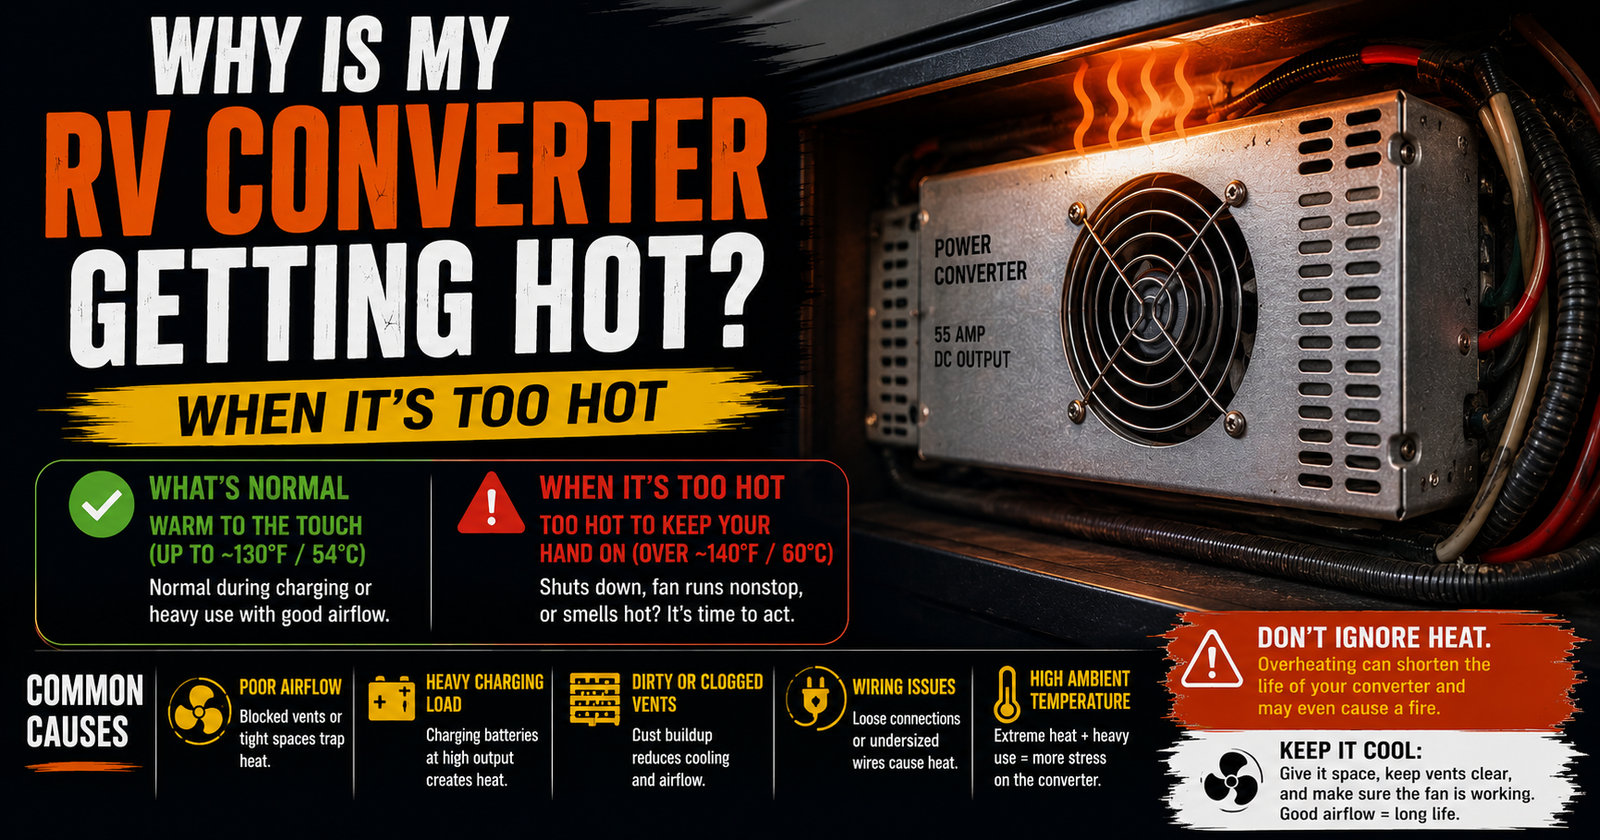
We’ve already covered why an RV converter can get unusually hot, and heat is something I take seriously around power electronics.
A Burnt-Smelling Converter Deserves Extra Inspection
If the old converter smelled burned, don’t assume all the damage is contained inside the converter case.
Inspect the surrounding wiring and terminals.
Look for discoloration.
Melted insulation.
Damaged connectors.
Burned fuse holders.
Heat damage at breakers.
Anything that looks questionable.
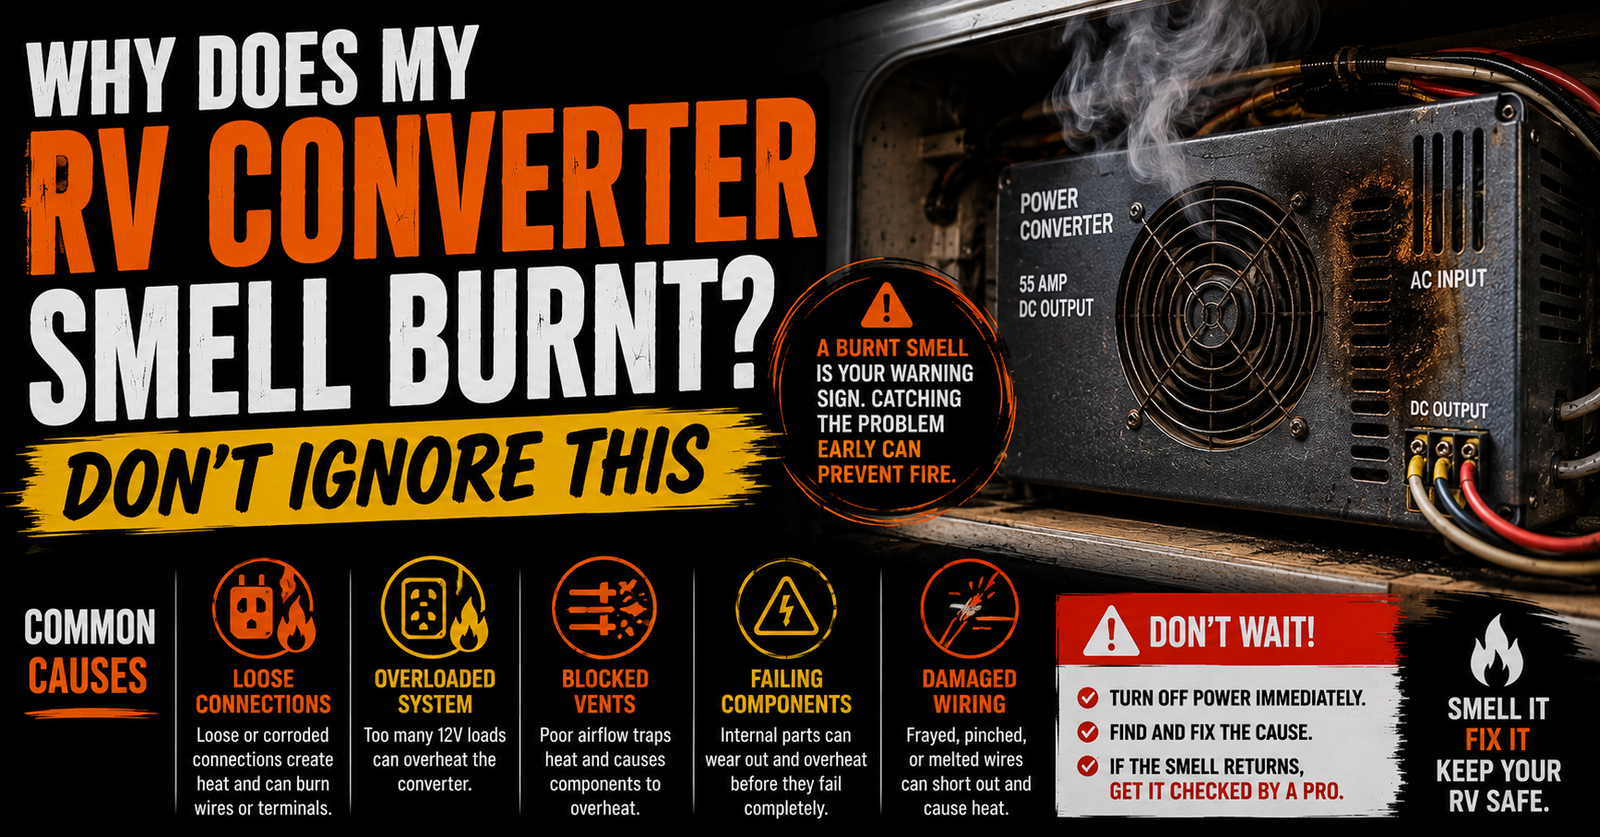
Our guide on what a burnt RV converter smell can mean covers why that symptom shouldn’t be brushed off.
Replacing the box isn’t enough if the failure damaged something around it.
What If the Old Converter Kept Blowing Fuses?
Find out why before installing the replacement.
Repeated fuse failure can indicate reversed polarity, wiring faults, shorts, or internal converter problems depending on which fuse is blowing.
If you simply install a new converter into an unresolved electrical fault, you may immediately create the same problem.

That’s why we built a separate troubleshooting guide for an RV converter that keeps blowing fuses.
A new part isn’t a substitute for diagnosis.
What If the Converter Keeps Turning On and Off?
Same idea.
Maybe the converter is failing.
Maybe it’s overheating.
Maybe ventilation is poor.
Maybe there’s a heavy DC load.
Maybe the AC source is unstable.
Maybe there’s a battery or connection problem.
Before replacing it, understand the behavior.
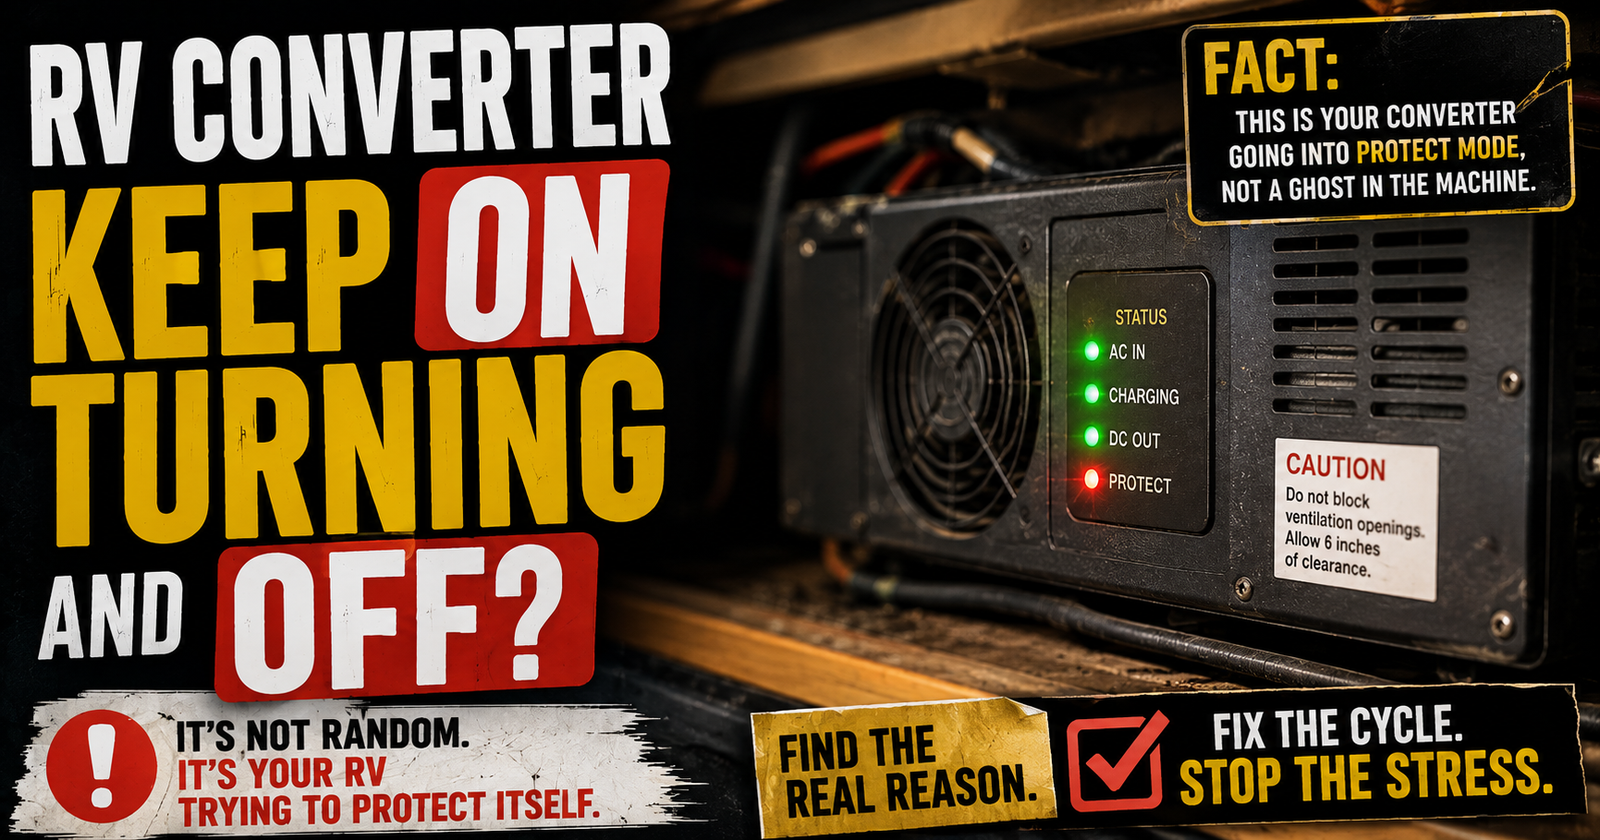
Our guide to an RV converter that keeps cycling on and off can help determine whether replacement is actually justified.
Installation Procedures Differ by Converter
This is why I’m intentionally not giving you a universal:
“Remove these exact five screws and put these exact wires here.”
That would be irresponsible.
A WFCO power center retrofit is not necessarily installed the same way as a Progressive Dynamics deck-mounted converter.
A Parallax replacement may involve different brackets and connections.
A modern lithium-capable converter may have configuration steps an older lead-acid converter didn’t.
The correct step-by-step wiring procedure is the one supplied with your exact replacement converter and power center.
What I can give you is the process for making sure you’re replacing the right equipment safely.
Once the New Converter Is Installed, Don’t Close Everything Yet
I like testing before declaring victory.
Follow the manufacturer’s startup procedure.
Make sure all tools are removed.
Make sure wiring is properly secured.
Make sure covers required for safe energization are installed.
Then restore power in the sequence specified by the manufacturer.
Don’t immediately shove everything back into the cabinet and reinstall twelve pieces of trim.
First prove the system works.
Check the Converter Output
Use the manufacturer’s specified testing procedure.
We want to verify that the new converter produces appropriate DC output.
The exact voltage depends on the converter and charging mode.
Don’t expect one universal number.
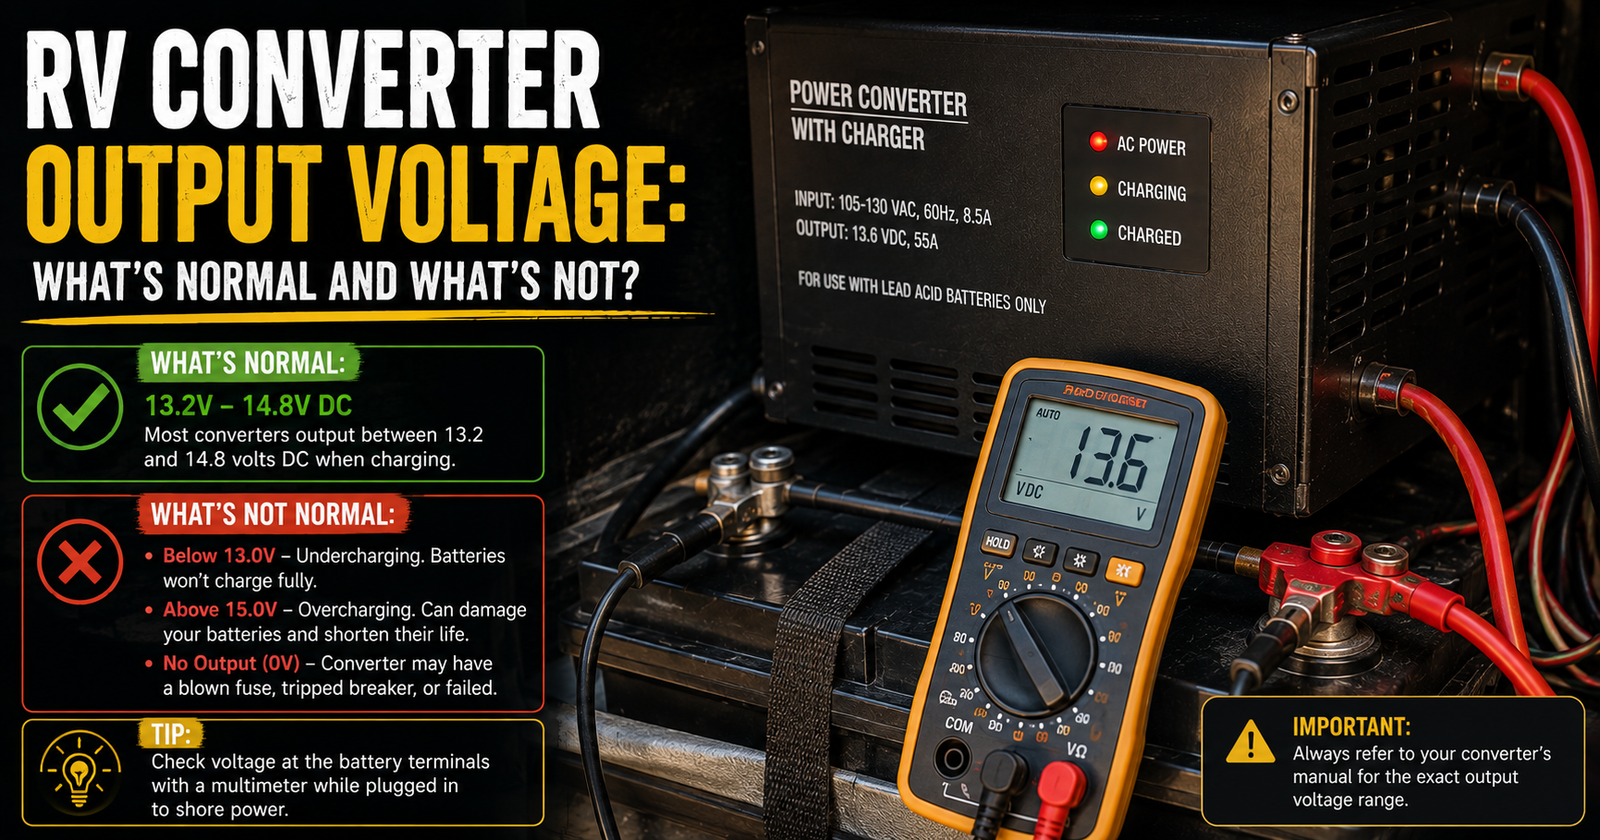
Depending on the equipment and battery condition, you may see output in the 13-volt range or higher charging voltages in the 14-volt range.
Compare your reading with the replacement converter’s documentation.
Then Check Voltage at the Battery
This is the test I really care about after replacement.
It’s possible for the converter to produce perfect output while that power never reaches the battery.
Measure at the battery according to appropriate testing procedures.
If the converter has clearly elevated the battery-terminal voltage into its expected charging range, that’s a good sign.
If converter output is correct but the battery remains at resting voltage, investigate the charging path.
Fuse.
Breaker.
Disconnect.
Cable.
Ground.
Connection.
Don’t immediately accuse your brand-new converter.
Check the 12-Volt Equipment
Once everything is safely reassembled and the system is operating normally, check ordinary DC loads.
Interior lights.
Water pump.
Vent fans.
Furnace controls if appropriate.
Other 12-volt equipment.
We’re making sure the DC distribution system behaves normally after the work.
Don’t just check whether one light turns on and call the installation complete.
Check Battery Charging
Give the converter time to operate.
Observe battery voltage.
If you have a proper battery monitor or lithium battery app, observe charging current and state of charge too.
Make sure the battery is actually accepting a charge.
This is particularly useful if converter replacement was prompted by a battery that wouldn’t charge.
We want proof that the original problem is gone.
Don’t Panic If the New Converter Fan Runs
A converter fan can run when the converter is working hard.
A discharged battery may cause significant charging demand.
That creates heat.
The cooling fan may respond.
We’ve already covered why an RV converter fan can run frequently.
What I don’t want is abnormal noise, extreme heat, burning smell, or repeated shutdown.
Normal cooling-fan operation is different.
Don’t Panic If the Charging Voltage Changes Either
Modern converters often use multi-stage or chemistry-specific charging behavior.
The voltage you measure immediately after installation may not be the voltage you see tomorrow.
That’s not automatically a problem.
Charging voltage can change based on battery condition, load, time, converter design, and battery profile.
Know what your new converter is supposed to do.
Then judge it against that behavior.
Make Sure the Correct Battery Profile Is Selected
If the replacement converter supports multiple battery chemistries, configure it correctly.
Lead-acid.
AGM.
Lithium.
Whatever options the equipment provides.
Don’t assume the default setting happens to match your battery.
And don’t select lithium just because you’ve heard it’s “better.”
The converter setting needs to match the battery system you’re actually using.
What If I Plan to Switch to Lithium Later?
This is worth considering when buying the replacement.
If you’re replacing a failed converter today but already know you want LiFePO4 batteries next year, I’d look seriously at a converter that can appropriately support both your current battery and the planned battery chemistry.
That could save you from buying the same type of equipment twice.
Progressive Dynamics’ current crossover guidance includes replacement models supporting flooded lead-acid, AGM, and lithium battery applications.
Plan one step ahead when it makes sense.
Should I Replace the Converter Just Because It’s Old?
Not if it works correctly and meets your needs.
I don’t replace a converter merely because it has birthdays.
If the converter produces the proper output, charges the battery appropriately, isn’t overheating, isn’t making abnormal noises, and is compatible with the battery system, I don’t see much reason to tear it out solely because newer equipment exists. That decision is easier after considering how long an RV converter should last rather than treating newer equipment as an automatic reason to replace it.
Upgrade when the upgrade solves an actual problem.
But an Old Single-Stage Charger Can Be a Reason to Upgrade
This is different.
Some older charging systems may not provide the battery-management capabilities available from modern converter/chargers.
If you spend significant time connected to shore power, rely heavily on generator charging, or have invested in a modern battery bank, upgrading may improve charging performance and battery management.
That’s not the same thing as saying every old converter is bad.
It’s a question of what you have and what you need.
How Long Should Converter Replacement Take?
There isn’t a useful universal answer.
A straightforward deck-mounted replacement with excellent access can be relatively simple for someone experienced with RV electrical work.
An integrated retrofit may require substantially more work.
An old camper with previous modifications can turn what looked like a simple replacement into a diagnostic project.
Physical access matters too.
Sometimes removing the converter is easy.
Getting your hands into the compartment is the hardest part.
I’d plan the job around doing it correctly, not around beating a stopwatch.
How Much Does RV Converter Replacement Cost?
The price varies too much by converter capacity, design, battery compatibility, whether you’re replacing only a converter section or the entire power center, and whether you’re paying for professional installation.
I’d rather not give you a fake universal number that will be outdated or meaningless for your particular camper.
Start by identifying the converter.
Then price the correct compatible replacement.
After that, get an installation quote if you don’t plan to do the electrical work yourself.
Don’t Buy Based on Price Alone
The cheapest converter that physically fits isn’t automatically the best value.
I care about:
Compatibility.
Proper amperage.
Battery charging profile.
Manufacturer support.
Installation fit.
Ventilation requirements.
Warranty.
Replacement parts.
Charging performance.
A converter is responsible for a big portion of your RV’s 12-volt electrical system.
Saving a few bucks isn’t impressive if you end up replacing it twice.
Keep the Old Converter Until the New One Is Proven
Don’t throw the old equipment away immediately.
Keep it until the replacement is installed, tested, and working correctly.
You may need:
A bracket.
A screw.
A label.
A measurement.
A wiring reference.
Or simply the old model number.
Progressive Dynamics even tells installers not to discard components or fasteners until installation is complete and the power center has passed testing.
That’s good advice for almost any repair.
Save the New Converter Documentation
Put the manual somewhere you’ll actually find it again.
Better yet, save a digital copy.
Write down the converter model.
Record the installation date.
Note the battery profile you selected.
If you sell the camper someday, that information is useful to the next owner too.
The next person shouldn’t have to crawl under a cabinet wondering what converter you installed.
The Replacement Process Makes More Sense When You Understand the System
This is why I’ve spent so much time building out the converter side of CamperAnswers.
Once you understand that the converter takes AC electricity and supplies DC power while charging the battery, replacement becomes less mysterious. That operating principle is easier to apply after reading how an RV converter works without a battery, which covers what changes when the battery is disconnected.
You’re not replacing some magical RV box.
You’re replacing a specific piece of the electrical system.
Our broader explanation of how an RV converter charges the battery is worth reading if you’re still trying to understand what the converter actually does.
Understanding the job of the part makes replacing the part a whole lot easier.
My Order for Replacing an RV Converter
I don’t start with a screwdriver.
I start with diagnosis.
Prove the old converter actually failed.
Identify its exact model and output rating.
Determine whether it’s standalone or part of a power center.
Identify the battery chemistry.
Find an appropriate replacement or manufacturer-approved crossover.
Verify amperage.
Verify dimensions.
Verify battery compatibility.
Read the entire installation manual.
Take pictures.
Disconnect every applicable electrical source according to the manufacturers’ procedures.
Only then does the old converter come out.
After the replacement is installed, I don’t assume the job worked.
I test converter output.
I check battery charging.
I check normal 12-volt operation.
And I pay attention to heat, noise, fan behavior, and anything else that doesn’t look right.
The Biggest Mistake Is Replacing the Converter Too Soon
If there’s one thing I want you to take from this, it’s that converter replacement should be the end of the diagnosis, not the beginning.
A dead battery isn’t proof.
Dim lights aren’t proof.
No charging isn’t proof.
Even zero voltage at the battery isn’t proof.
But when you verify that the converter has the AC input it needs, check its protection devices, perform the manufacturer’s output test, and discover that it can’t produce the specified DC output, now you’ve earned the right to call it bad.
Then identify the proper replacement rather than grabbing the biggest converter that fits.
Match it to the camper.
Match it to the wiring.
Match it to the battery.
Install it according to the manufacturer’s instructions.
And test the system afterward.
That’s how I’d rather replace an RV converter once instead of buying parts until the problem accidentally disappears.
Written by Evan Mercer
Evan Mercer writes about RV electrical systems, converter troubleshooting, batteries, shore power, and practical camper repairs for CamperAnswers.com. He focuses on helping RV owners understand what they’re replacing and why before they start taking their camper apart.