
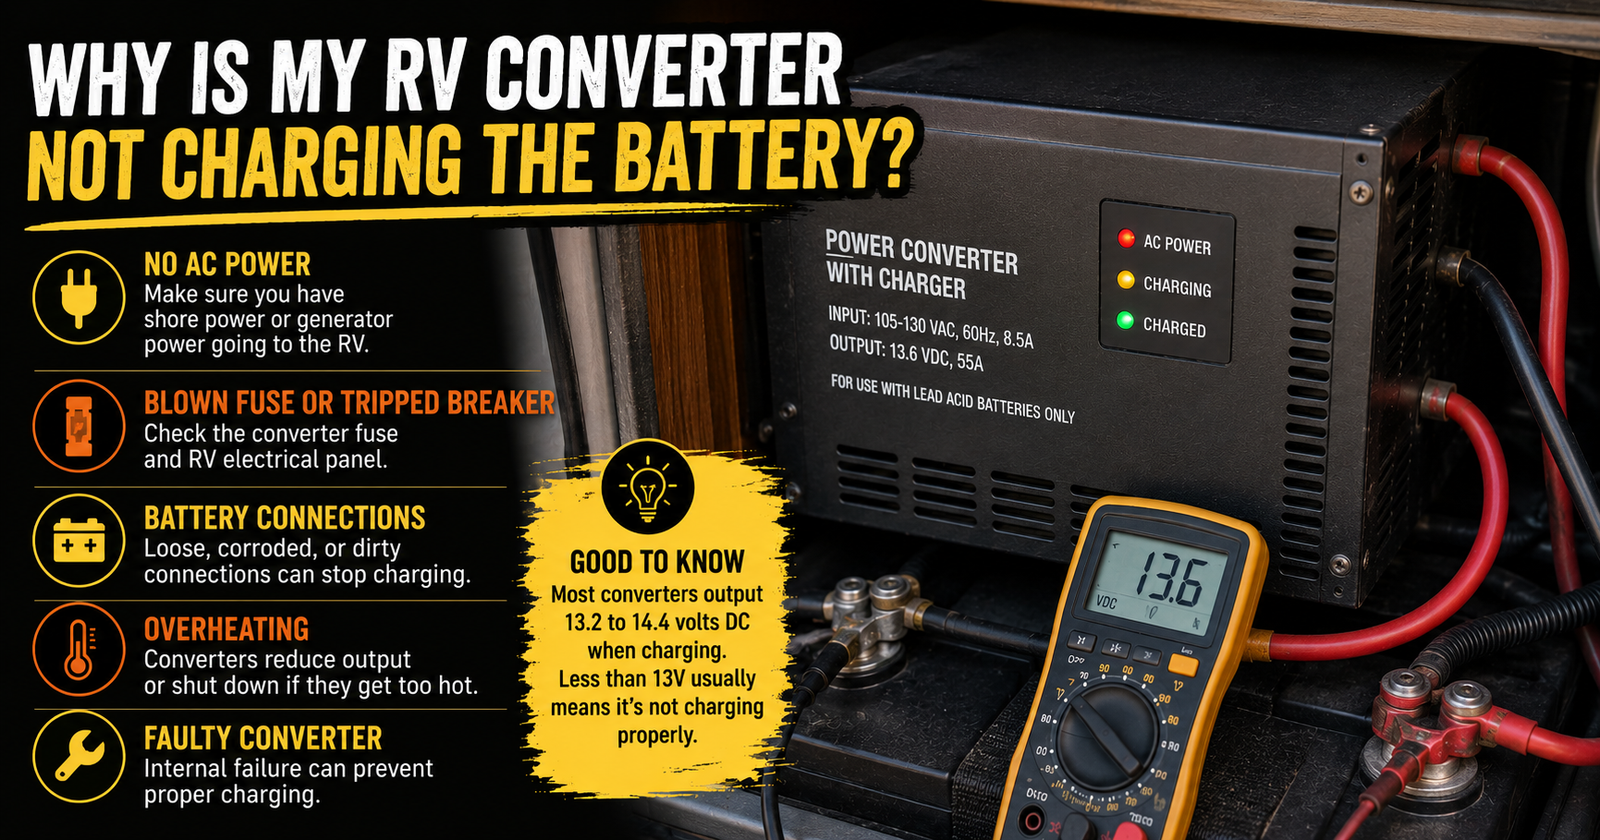
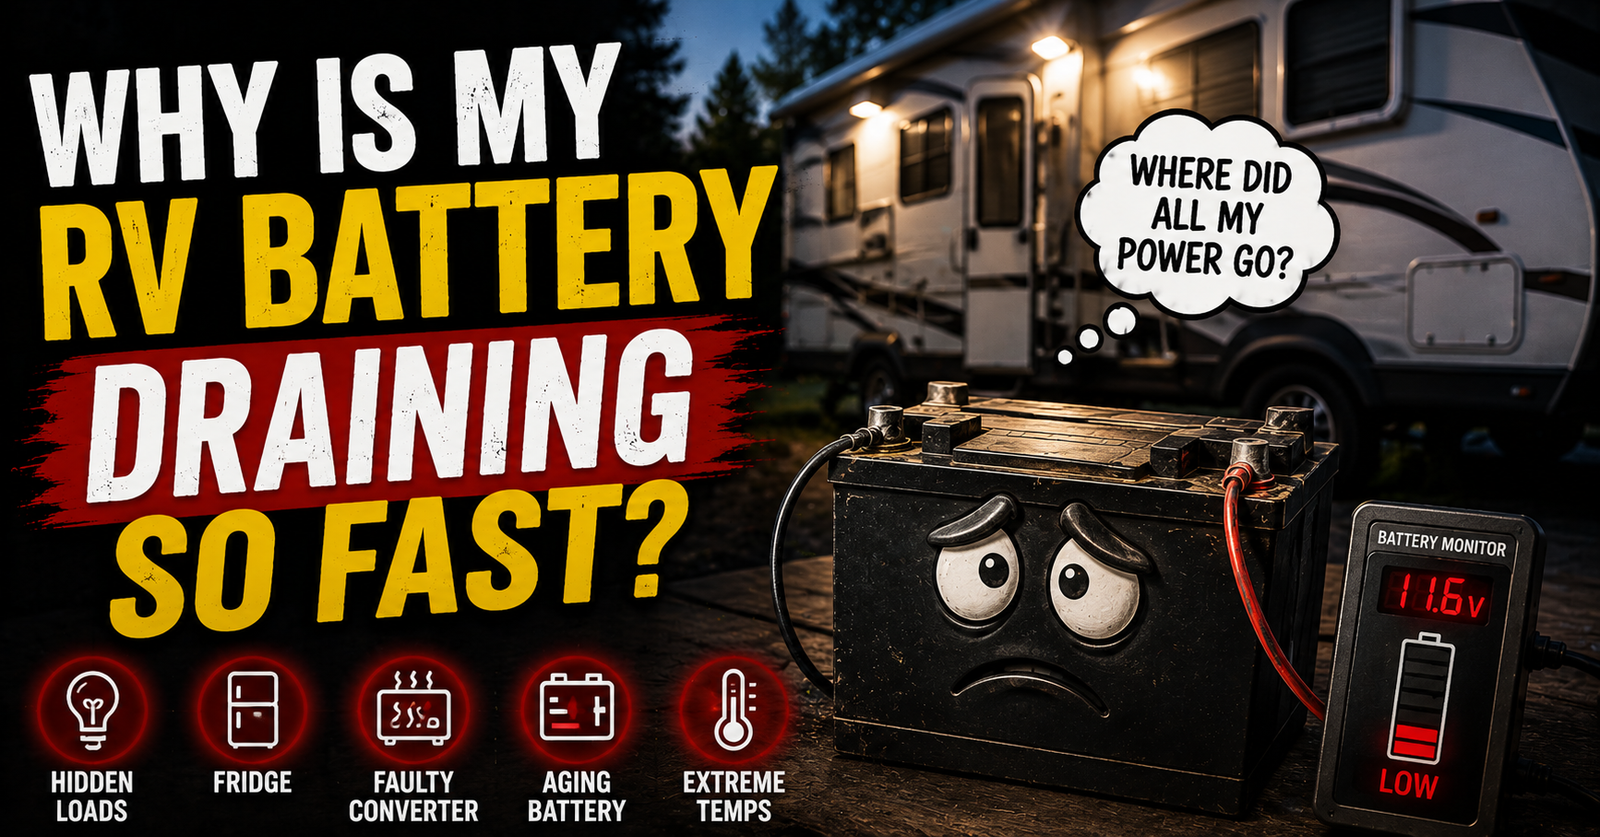
Your camper is plugged into shore power. The outlets work. The microwave has power. Maybe the air conditioner is running just fine. Yet somehow the house battery keeps getting weaker. That symptom is also examined in this guide to an RV battery dying while plugged in.
That situation throws a lot of RV owners because it feels like the battery should obviously be charging anytime the shore-power cord is plugged in.
But plugging in the camper doesn’t guarantee electricity is actually making it all the way to the battery.
There is a charging path between shore power and that battery, and several things have to happen correctly along the way. The converter needs AC power. It has to produce the proper DC output. The charging circuit has to remain intact. Fuses and breakers have to be good. Connections have to carry the current. And finally, the battery itself has to be capable of accepting a charge. Understanding how the converter charges the battery helps separate a normal charging process from a failure somewhere along that path.
If any one of those pieces fails, you can have a camper that’s very obviously plugged in and a battery that’s still slowly going dead. The broader symptom guide explains how to narrow down why a battery keeps going dead repeatedly.
That’s why I don’t start this problem by replacing the battery or converter.
I start at one end of the charging system and figure out exactly where the electricity stops.
What Should Happen When You Plug Your RV Into Shore Power?
Let’s establish what we’re expecting first.
Your RV receives 120-volt AC electricity from shore power.
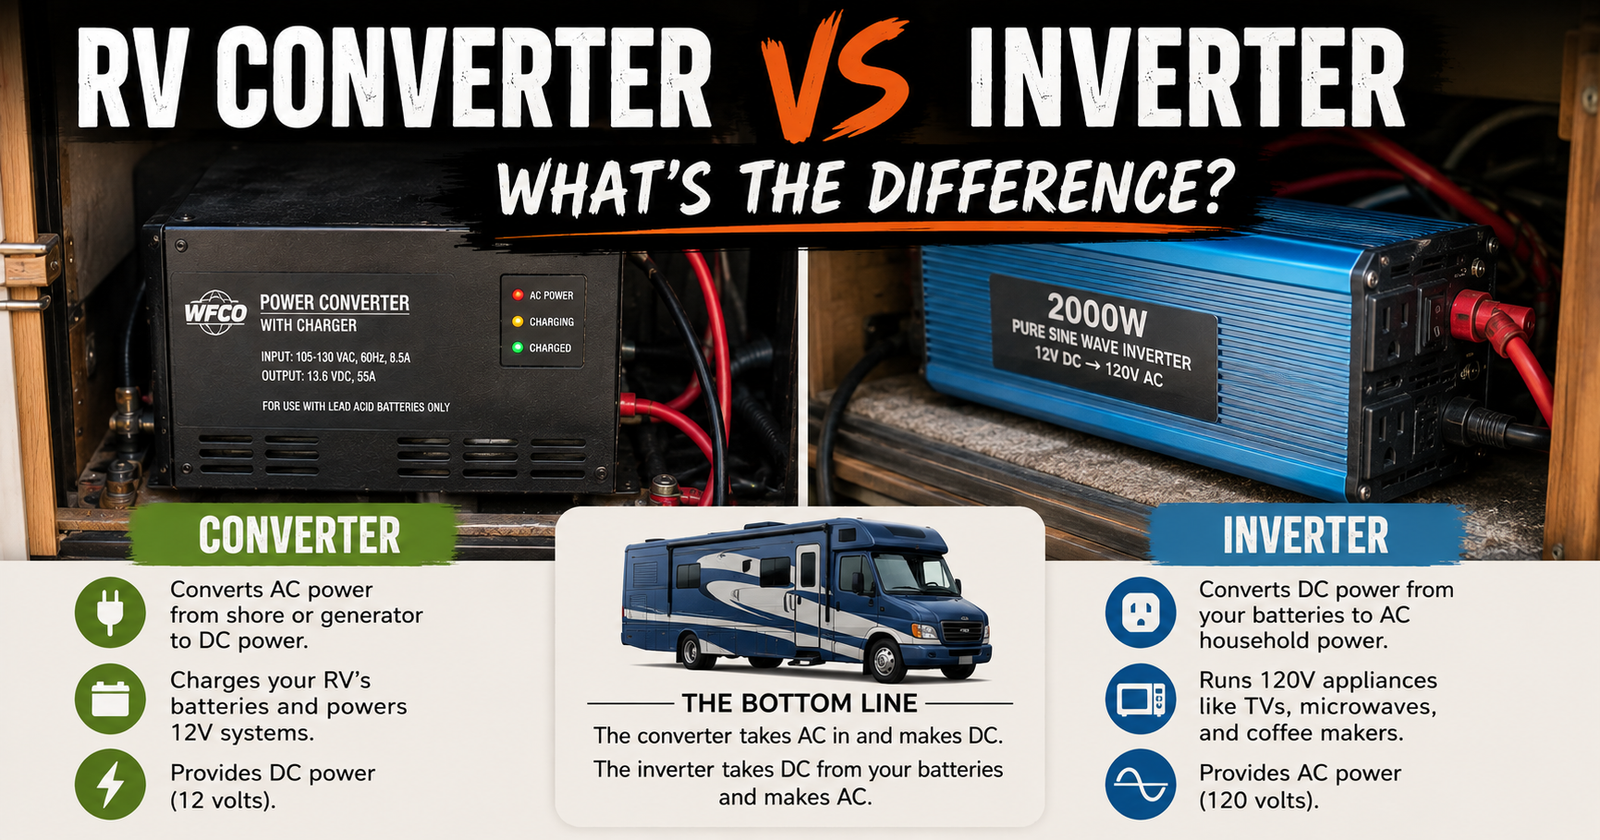
The converter/charger uses that AC electricity to supply DC power to the RV’s 12-volt system and recharge the house battery. Progressive Dynamics describes this basic converter function as supplying 12-volt power to RV lights and appliances while recharging the battery whenever 120-volt AC power is available. Understanding the difference between these two devices can clarify the troubleshooting steps in this RV converter not charging the battery guide.
So when everything is working correctly, plugging your camper in should give the battery a charging source.
The exact charging voltage varies depending on the converter, battery chemistry, and charging stage.
But there should be evidence that charging is happening.
Your 120-Volt Stuff Working Doesn’t Prove the Battery Is Charging
This is the first misconception I want to get out of the way.
Your air conditioner working doesn’t prove the converter is working.
Your microwave working doesn’t prove it.
Your wall outlets working don’t prove it either.
Those tell me the camper has AC power available to at least portions of its 120-volt system.
The battery is part of the 12-volt DC system.
The converter is what bridges those two sides.
So it’s completely possible to have perfectly functional AC appliances while the battery receives nothing.
Start by Measuring Voltage Directly at the Battery
This is one of the quickest checks I make.
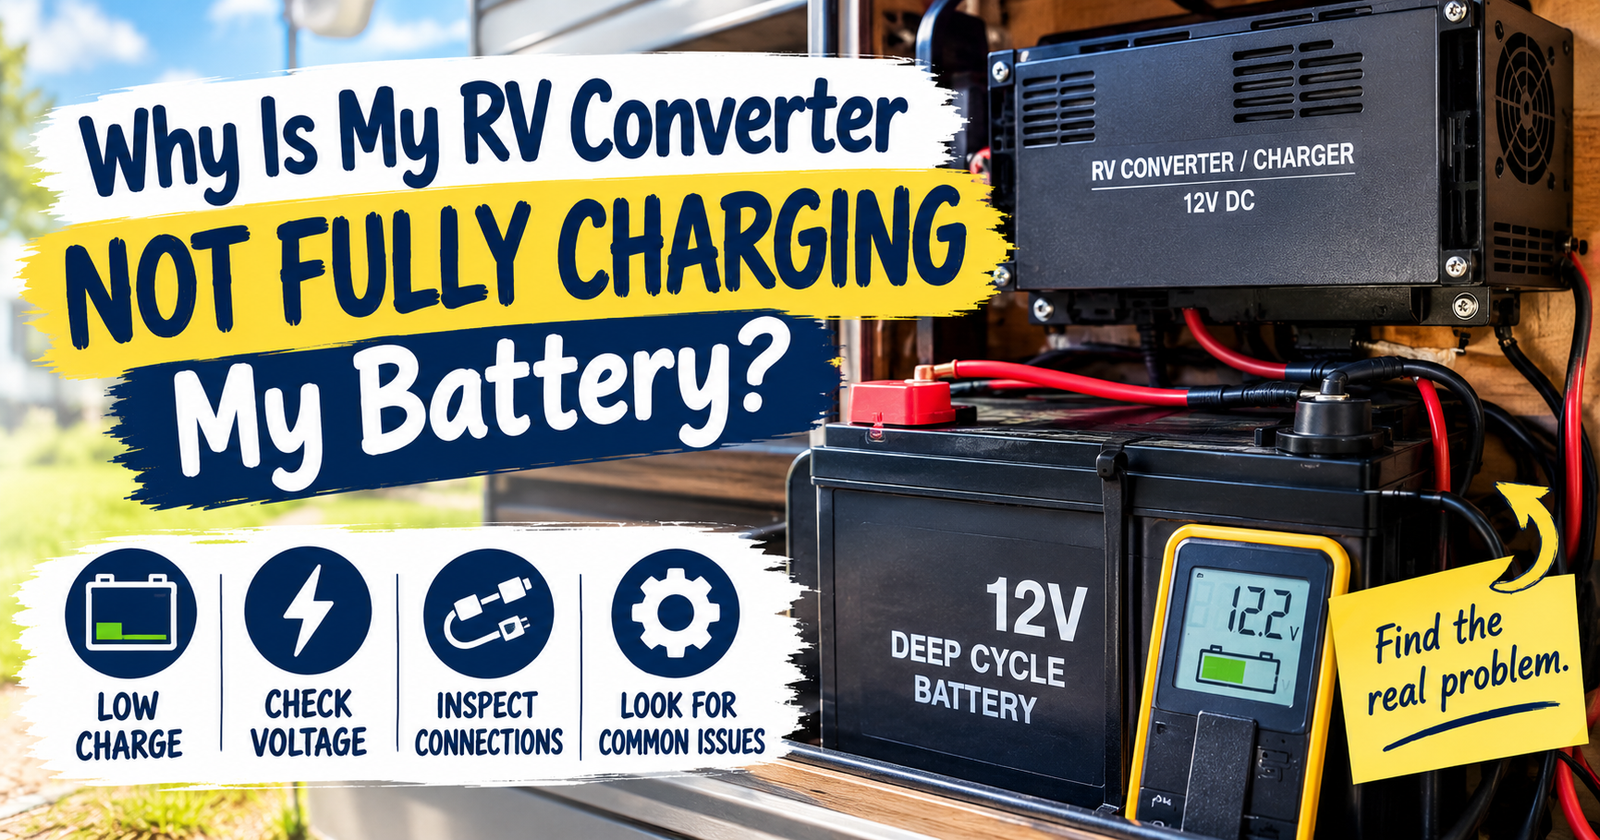
Get a digital multimeter and measure directly across the battery terminals.
I’d actually take two measurements.
First, check the battery before connecting shore power or while you’ve otherwise removed charging influence appropriately.
Then connect shore power and check it again.
What we’re looking for is a meaningful change showing that charging voltage has reached the battery.

If the battery was sitting around its normal resting voltage and then rises into the appropriate charging range after shore power is connected, we know something is happening. The difference between charging voltage and resting voltage can help you interpret whether the converter is actually charging the battery.
If it doesn’t change, now we start tracing backward.
Don’t Expect Every Converter to Show Exactly the Same Voltage
This is important because I don’t want you condemning a perfectly good converter because somebody online said every RV must show exactly 13.6 volts.
Charging systems vary.
Progressive Dynamics, for example, specifies 13.6 volts DC, plus or minus 0.3 volts, for the output test on certain standard PD9100 and PD9200 converters. Applicable lithium models use a different specified voltage.
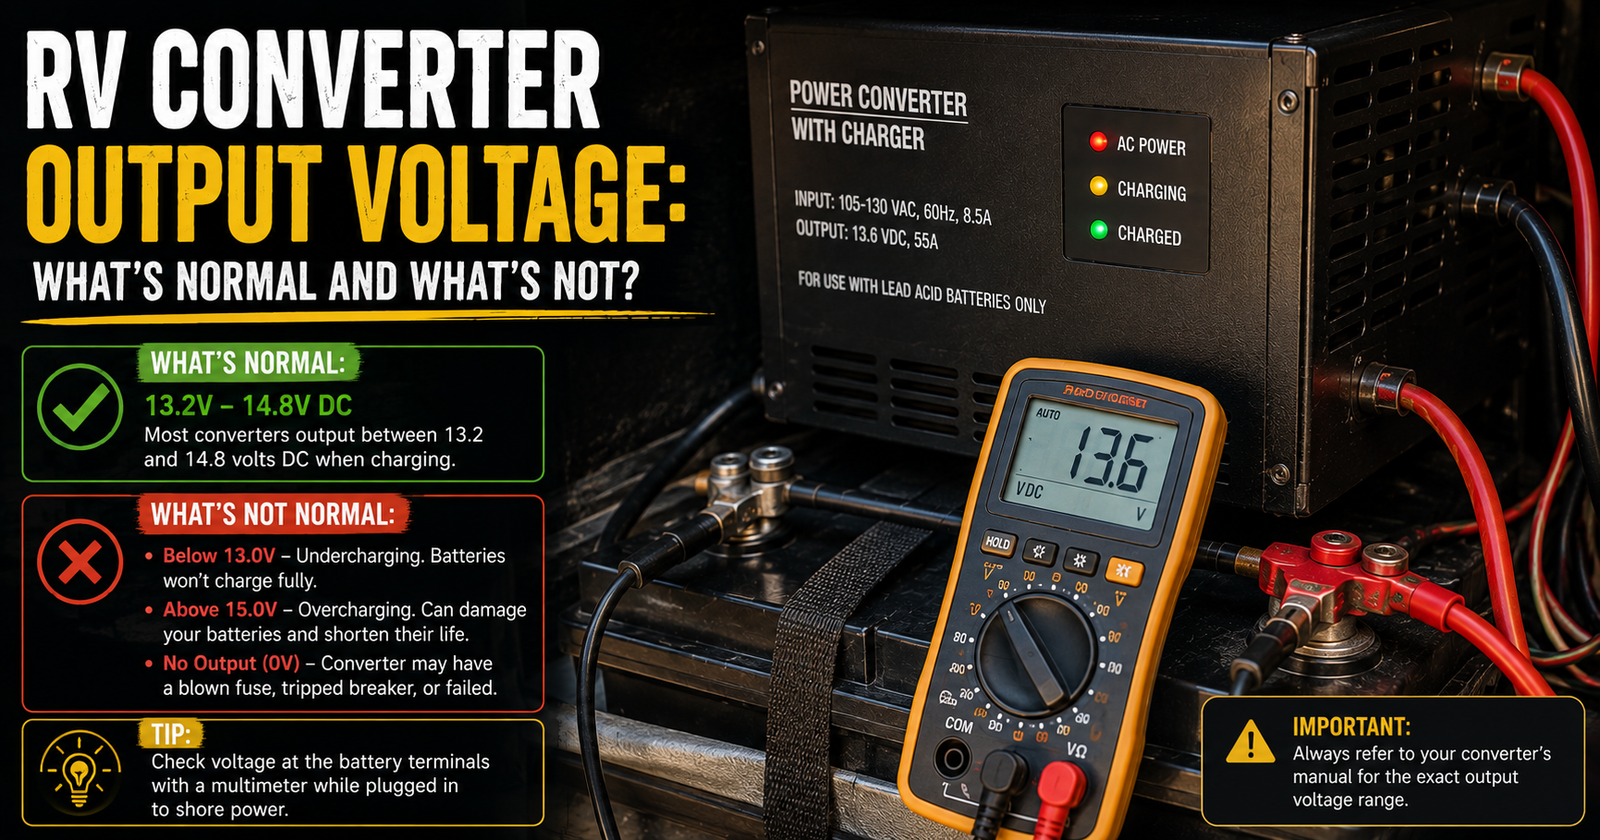
Multi-stage converters can also intentionally change output depending on battery condition and charging mode. Progressive Dynamics’ Charge Wizard system, for example, automatically adjusts charging behavior based on battery status. The expected readings for those converter charging modes depend on what the charger is trying to do.
So find the model number on your converter and use the manufacturer’s specifications.

What If the Battery Stays Around 12 Volts While Plugged In?
Now I’m interested.
Let’s say you’ve got a partially discharged traditional lead-acid battery.
You connect shore power.
Battery voltage basically doesn’t move.
That’s telling us charging voltage may not be reaching the battery.
But we still don’t know why.
The converter could be dead.
The converter could have no AC power.
A protection fuse could be blown.
A breaker could be open.
A charging wire could have a bad connection.
The battery disconnect arrangement could be involved.
Or the converter could be working perfectly while something between it and the battery interrupts the charging path.
That’s why the next measurement matters.
Test the Converter Before You Blame It
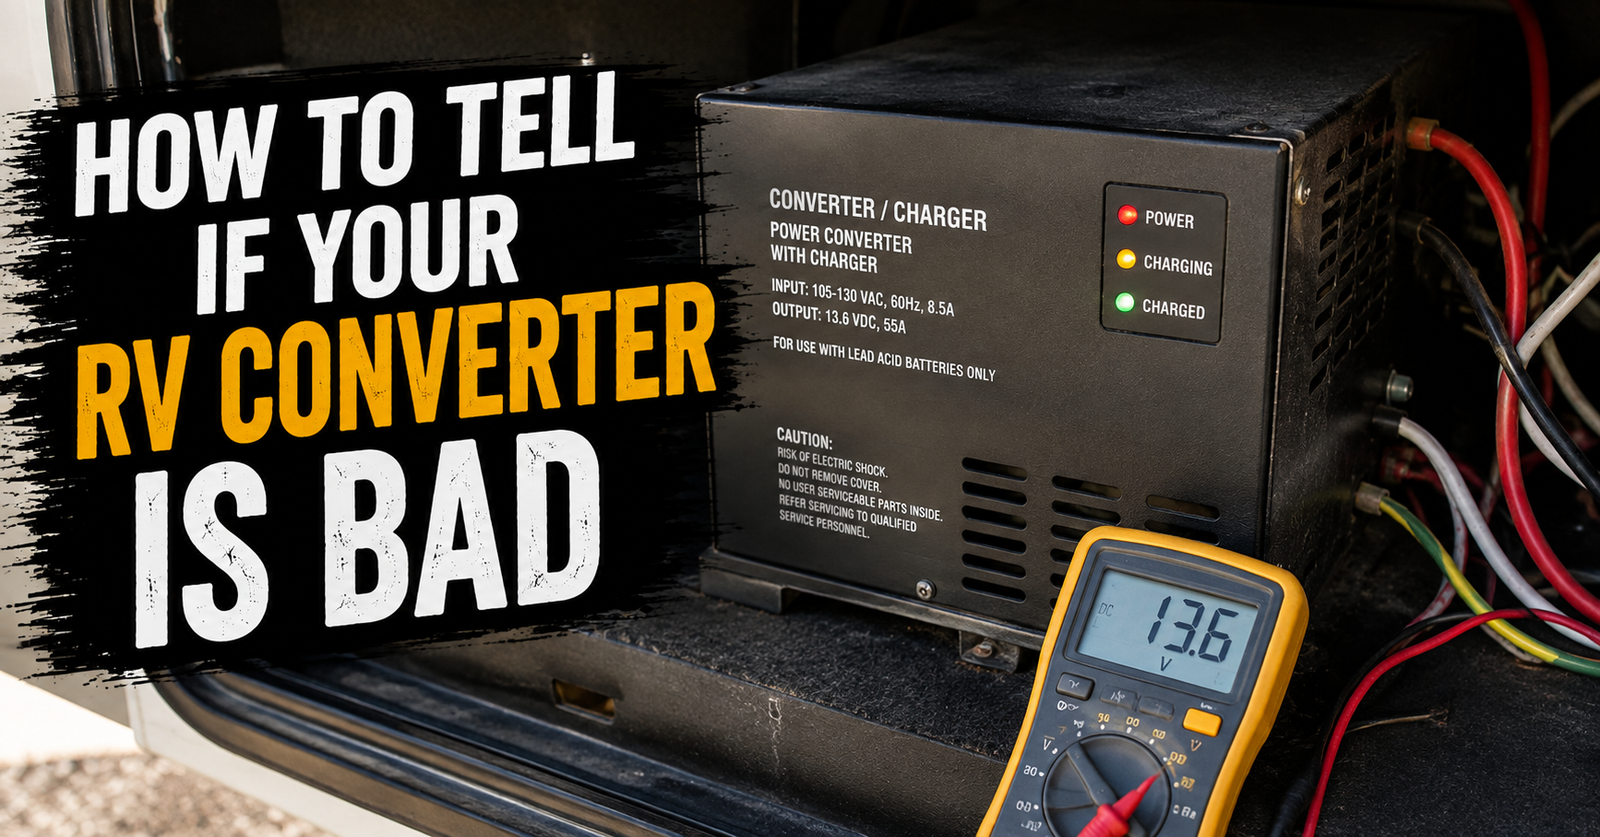
We’ve already covered the broader process for determining whether an RV converter is actually bad, but this particular problem gives us a really useful comparison.
Voltage at converter output.
Voltage at battery.
Suppose the converter output tests correctly according to its manufacturer’s procedure.
But that charging voltage isn’t showing up at the battery.
That’s fantastic troubleshooting information.
The converter is producing what it’s supposed to produce.
Now we know to look downstream.
Good Converter Output but No Battery Charging Is a Major Clue
This is one of those situations where the multimeter can save you a pile of money.
Progressive Dynamics’ own troubleshooting procedure says that if converter output is within specification but the batteries still aren’t charging, check the fuse or breaker in the battery’s positive lead.
Think about what that tells us.
The converter can be completely healthy.
The battery can still receive nothing.
There’s an electrical path connecting the two, and that path matters just as much as the components at either end.
Check the Fuse or Breaker Between the Converter and Battery
Depending on your RV, the battery charging circuit may be protected by a fuse, circuit breaker, or other protection device.
If that protection opens, charging current can’t continue down the path to the battery.
The frustrating part is that other parts of the camper may still work.
So you end up staring at a camper with electricity and wondering why the battery keeps dying.
Don’t just inspect the fuse visually if you’re unsure.
Test it appropriately.
And replace protection devices only with the correct type and rating.
Look Near the Battery Too
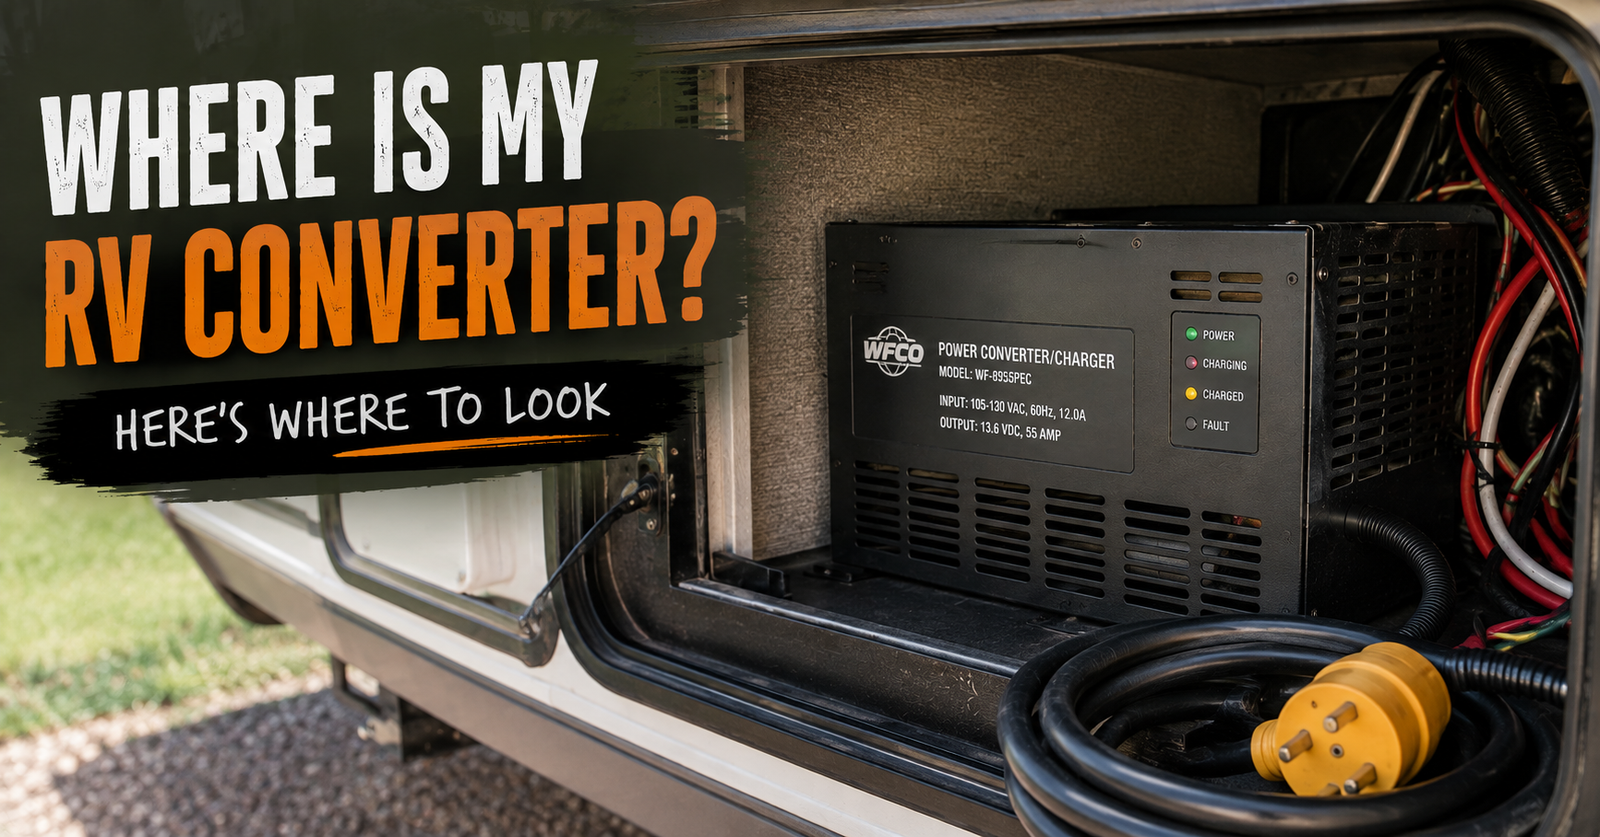
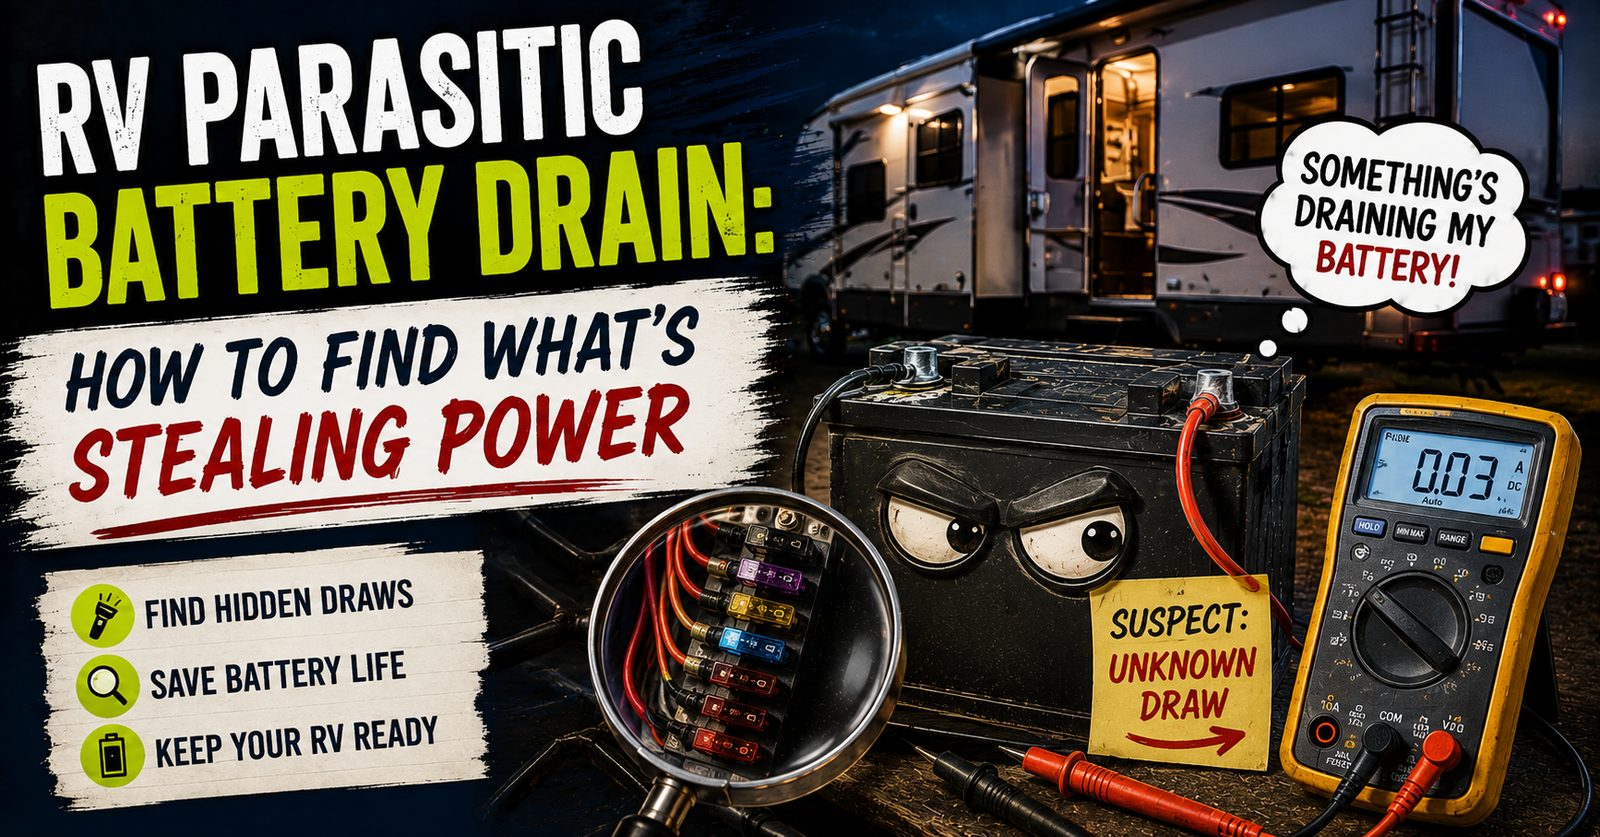
Don’t assume every important fuse is sitting conveniently inside the RV’s main electrical panel. Knowing where RV converters are commonly located can help you inspect the right electrical area before tracing the charging circuit.
There may be additional circuit protection close to the battery.
Trace the positive battery cable.
Look for inline fuse holders, circuit breakers, disconnects, and other components along the charging path.
On a used RV, pay particular attention to anything that looks aftermarket.
Previous owners love adding electrical equipment.
Sometimes they do beautiful work.
Sometimes you open a compartment and discover what appears to be an extension cord convention held together with electrical tape.
Understand what you’re looking at before changing anything.
Check the Converter’s Reverse-Polarity Fuses
If converter output is zero, these move much higher on my list.
Many converters include reverse-battery protection fuses.

Progressive Dynamics specifically instructs owners to check these fuses when converter output measures zero. Its troubleshooting information notes that reversing the battery leads, even briefly, can blow the protection fuses. That connection is also central when investigating why reversed battery leads blow protection fuses.
So here’s an important question:
Did this problem begin right after somebody changed or disconnected the battery?
If yes, that timing matters.
A Battery Installed Backward for a Second Can Be Enough
You don’t necessarily need to leave the battery connected backward for five minutes.
Depending on the equipment, a brief reverse-polarity connection can take out the protective fuses.
Then the cables get corrected.
Everything looks normal.
But suddenly the converter doesn’t seem to charge the battery anymore.
That’s why I always ask what happened immediately before an electrical problem appeared.
The timeline often points toward the answer.
Check the Converter’s AC Breaker
Now let’s move to the other side.
The converter can’t create DC charging power if it isn’t receiving AC power in the first place.
Find the breaker that supplies the converter.
Make sure it hasn’t tripped.
If you’re resetting a tripped breaker, move it fully to OFF before returning it to ON.
And pay attention to what happens afterward.
If it trips again immediately, stop resetting it.
That’s not a stubborn breaker that needs encouragement.
Something needs diagnosis.
The Converter May Have Its Own AC Supply
Depending on your RV and converter arrangement, the converter may be connected through a dedicated breaker or even plugged into an AC receptacle.
That means the rest of the camper can have shore power while the converter itself doesn’t.
This is one reason the symptom is so deceptive.
“Everything else works” isn’t enough.
I want to know whether the converter itself has the power it needs.
Verify AC Power at the Converter
This is where the job can become more dangerous.
Testing live 120-volt AC electricity isn’t the same as checking a 12-volt battery with a meter.
Progressive Dynamics explicitly warns in some of its converter troubleshooting documentation that procedures involving exposure to live 120 VAC should only be attempted by a qualified technician.
I agree with that approach.
If you’re not comfortable and qualified around energized AC circuits, this is where I’d hand the job to an RV technician.
You can still understand the diagnosis without personally touching every test point.
What If the Converter Has AC Input but No DC Output?
Now the converter itself becomes much more suspicious.
If you’ve verified that:
The converter has proper AC input.
The required fuses are good.
There isn’t an obvious protection issue.
And the converter still produces no appropriate DC output under the manufacturer’s specified test conditions.
Then we’re building a much stronger case for converter failure.
That’s evidence.
Not guessing.
What If Converter Output Is Fine but Battery Voltage Is Still Low?
Then I move down the charging path.
Somewhere between the converter and battery, something isn’t right.
Now I start looking at wiring and connections.
Loose cable.
Corrosion.
Poor crimp.
Damaged wire.
Faulty circuit breaker.
Bad ground or negative connection.
Battery disconnect issue.
Previous-owner modification.
We’re following the electricity.
That’s a much more effective troubleshooting method than randomly replacing whatever component has the highest price tag.
Don’t Ignore the Negative Side
I know I keep saying this throughout our battery guides, but there’s a reason.
People love chasing positive wires.
Fuses are usually there.
Breakers are there.
Disconnect switches are often there.
But electricity still needs a complete circuit.
A poor negative connection can create resistance, voltage drop, and charging problems.
Check battery negative connections.
Check chassis or grounding connections where applicable.
Look for corrosion and looseness.
Don’t declare the positive side innocent and the entire system solved.
Corroded Battery Terminals Can Restrict Charging
Battery terminals live in an unpleasant environment.
Moisture.
Temperature swings.
Road grime.
Battery gases depending on battery type and installation.
Time.
Corrosion creates resistance.
And resistance matters when you’re trying to move charging current.
If the battery terminals are dirty or corroded, clean and service them according to the battery manufacturer’s recommendations.
A new converter can’t fix a terrible connection.
Loose Connections Can Be Even More Deceptive
A loose connection may still pass some electricity.
That’s what makes it annoying.
You can measure voltage and think everything looks somewhat normal.
Then meaningful current starts flowing and the connection becomes a problem.
Voltage drops.
Heat can develop.
Charging becomes unreliable.
Sometimes simply moving a cable changes the symptom.
Don’t settle for “the wire is touching.”
Connections need to be mechanically secure and electrically sound.
Compare Voltage at Different Points
This is where a multimeter becomes a diagnostic tool instead of just a battery checker.
Suppose the converter measures 13.6 volts under the appropriate conditions.
But the battery measures significantly less while it should be charging.
Now start working through the circuit.
Where does the voltage change?
Before the breaker?
After the breaker?
At the disconnect?
At the battery cable?
At the battery post?
You’re trying to find the point where the expected electrical behavior disappears.
That’s where the problem usually lives.
Don’t Measure on Top of Corrosion
Here’s a little detail that can matter.
If you’re trying to determine actual battery voltage, measure at the battery posts themselves when possible rather than assuming a questionable cable clamp represents the same electrical point.
Why?
Because the connection between the post and clamp may be part of the problem.
If voltage looks good on the post but different on the connected cable under load or charge, you’ve learned something valuable.
Your Battery Disconnect Can Affect Charging
Battery disconnect systems aren’t identical across RVs.
Depending on how yours is wired, disconnect position can affect whether charging current reaches the battery.
Don’t assume the label on the switch tells you everything about the circuit.
Understand how your specific camper is wired.
This becomes especially important when previous owners have added solar, inverters, additional batteries, or aftermarket disconnects.
Don’t Assume “Battery Disconnect Off” Means Electrically Isolated
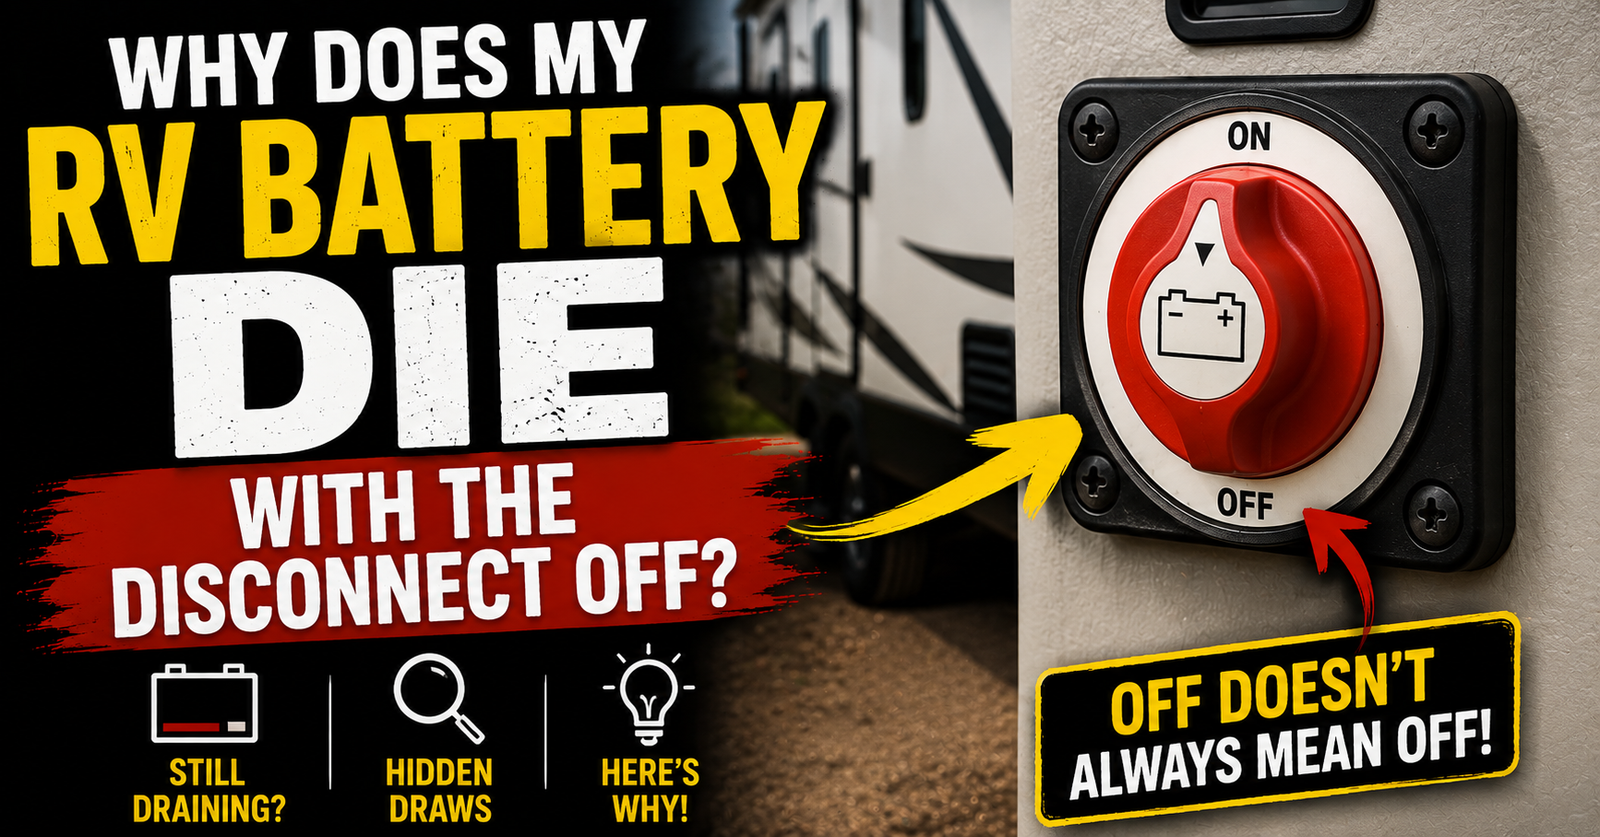
We’ve already gone deep into why an RV battery can die even with the disconnect off.
The same lesson applies here.
RV battery wiring isn’t always as simple as:
Battery → switch → everything.
Some equipment can have direct battery connections.
Some charging sources may be wired differently.
An inverter may have its own cables.
Solar may connect through a separate path.
Know the actual circuit.
Solar Can Confuse Your Charging Test
Imagine you’re troubleshooting on a sunny afternoon.
Shore power is connected.
Solar is also charging.
You measure healthy voltage at the battery.
Great.
Did the converter provide it?
Maybe.
Or maybe you’re looking at the solar charge controller doing its job.
If you’re trying to isolate converter performance, account for other charging sources.
Otherwise you can accidentally prove that something is charging the battery without proving that the converter is.
Your Tow Vehicle Can Do the Same Thing
Depending on the RV, vehicle, wiring, and charging equipment, the tow vehicle or motorhome alternator may contribute charging current to the house battery.
Again, isolate variables.
If you’re testing the converter, I don’t want three other charging sources muddying the result.
Good troubleshooting changes one thing at a time whenever practical.
The Generator Usually Uses the Same Charging Equipment
This causes another common misunderstanding.
A generator doesn’t necessarily charge the house battery directly.
In many RV setups, the generator supplies AC power to the RV, and the converter or inverter/charger then uses that AC power to charge the battery.
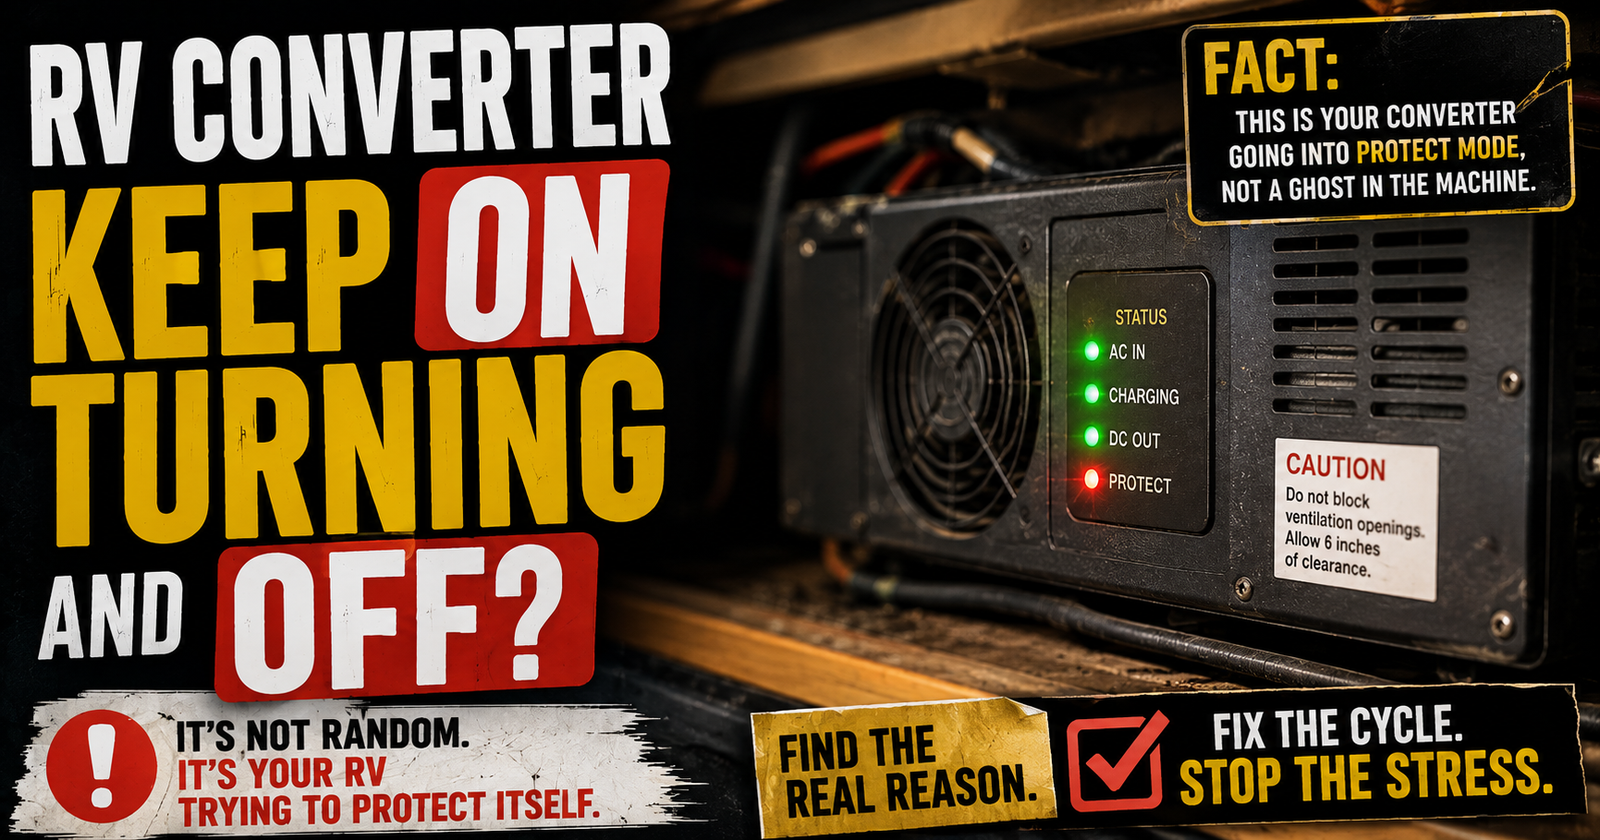
So if the converter isn’t working, you can run the generator and still have a battery-charging problem. If charging comes and goes rather than failing continuously, this explanation of intermittent converter operation may help separate a converter fault from an input-power or battery issue.

That’s why understanding how the different RV systems work together makes troubleshooting much easier.
You’re not just asking whether electricity exists.
You’re asking how it gets from one place to another.
What If the Battery Is the Problem?
Eventually we reach the battery itself.
Suppose converter output is correct.
Charging voltage reaches the battery.
Connections are good.
The circuit is intact.
Yet the battery still won’t accept or retain a useful charge.
Now I start looking much harder at battery condition.
A charger can provide electricity.
It can’t force a damaged battery to regain lost capacity.
A Bad Battery Can Look Like a Charging Problem
This is especially confusing when a battery has deteriorated significantly.
Maybe voltage rises quickly when charging begins.
It appears full.
Then the battery dies rapidly after charging stops.
You naturally assume the converter didn’t charge it enough.
But the problem may be that the battery no longer stores much useful energy.
That’s exactly why I like separating charging problems from capacity problems.
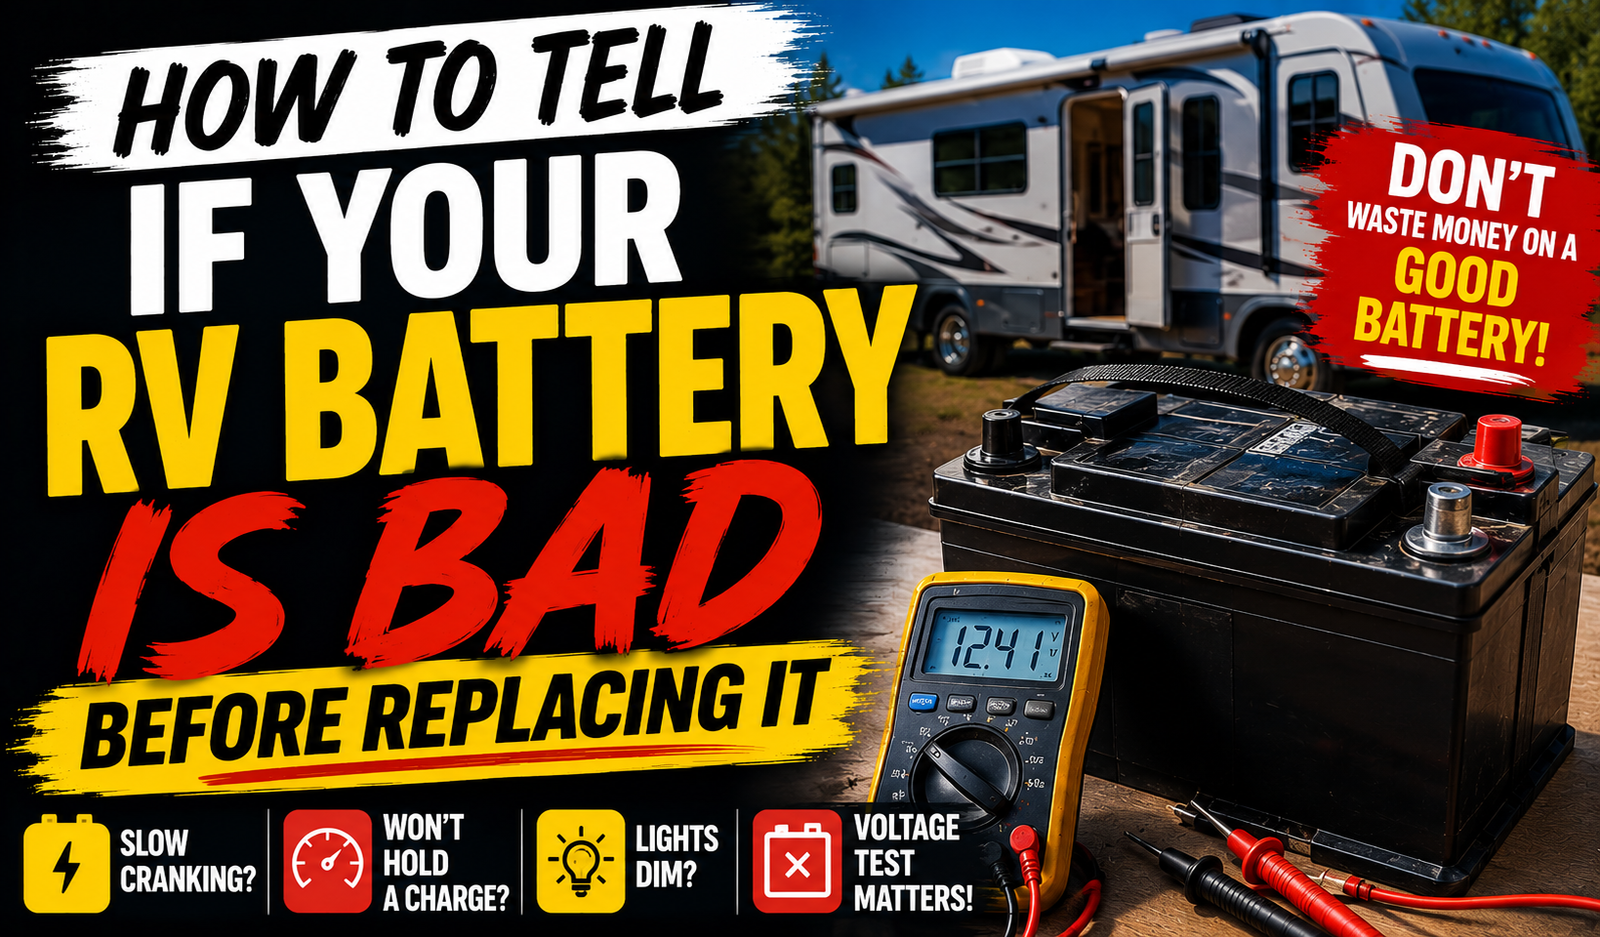
Our RV battery health testing guide walks through that distinction in much greater detail.
Charging Voltage Doesn’t Prove Battery Capacity
This point is worth repeating.
Suppose you measure a nice charging voltage at the battery.
That proves charging voltage is reaching it.
It does not prove the battery can store its original rated capacity.
A worn battery can participate in the charging process and still give you terrible runtime.
That’s why a battery that repeatedly appears full and then falls flat needs more investigation.
A Battery That Says Full but Dies Fast Is a Different Problem

We’ve got a dedicated guide for an RV battery that looks full but dies surprisingly fast.
That’s an important distinction.
If your battery never receives charging voltage, follow this article.
If it charges and reaches the expected voltage but has terrible capacity afterward, follow that one.
Similar symptom at the campground.
Different diagnostic path.
Battery Chemistry Matters
Before evaluating charging behavior, know what battery you have.
Flooded lead-acid.
AGM.
Lithium iron phosphate.
Don’t apply one universal charging-voltage expectation to every chemistry.
The battery manufacturer specifies an appropriate charging profile.
The converter has its own supported charging modes.
Those two need to be compatible.
Did You Recently Switch to Lithium?
This immediately changes my questions.
Was the converter designed or configured for lithium?
Does it have a selectable battery mode?
What charging profile does the battery manufacturer specify?
What does the converter manufacturer specify?
Some modern converters have dedicated lithium modes or lithium-specific versions.
Older equipment may have been designed around lead-acid charging.
Don’t assume that because a lithium battery physically fits into the battery compartment, the rest of the charging system automatically becomes lithium-optimized.
A Lithium Battery May Have BMS Protection Active
Lithium batteries commonly include a battery management system.
Depending on the battery, the BMS may disconnect or restrict operation under certain voltage, current, or temperature conditions.
That can make a battery appear unwilling to charge when the battery is actually protecting itself.
If your lithium battery has Bluetooth diagnostics or status indicators, use them.
The battery may be telling you exactly why charging stopped.
Cold Weather Can Stop Some Lithium Batteries From Charging
This is particularly important for winter campers.
Lithium iron phosphate batteries have charging-temperature limitations.
Some batteries include low-temperature charging protection.
Some have internal heating.
Some systems rely on external controls.
If your battery charged perfectly all summer and suddenly refuses to charge during freezing weather, don’t order a converter until you’ve checked the battery’s temperature specifications and BMS status.
The weather itself may be part of the diagnosis.
What If the Converter Charges but Very Slowly?
Now we have a different problem.
Charging slowly isn’t the same as not charging.
The battery-bank capacity may be large compared with converter output.
The battery may be deeply discharged.
The converter may be operating in a lower charging stage.
Large RV loads may be consuming part of the converter’s available output while charging occurs.
Wiring voltage drop can matter.
Battery temperature and chemistry can matter.
This is why charging time deserves its own article later.
Your RV Loads Compete for Converter Output
Think about what the converter is doing while you’re plugged in.
It’s not necessarily dedicating every available amp to the battery.
The RV’s active 12-volt loads also need power.
Lights.
Water pump.
Furnace.
Fans.
Appliance controls.
Other equipment.
If the camper is consuming substantial DC power, less of the converter’s available output may be left for battery charging.
That can make a large, depleted battery bank take longer to recover.
A Larger Battery Bank Can Take Longer to Recharge
This is basic but easy to overlook.
You upgraded from one battery to a large bank.
Now you have much more energy storage.
Fantastic.
But if you kept the same charging equipment, you’ve also created a larger tank for the same pump to refill.
That doesn’t mean the converter is broken.
It means charging capacity and battery capacity need to make sense together.
Don’t Judge Charging Time From the First Hour
Battery charging isn’t always linear.
Multi-stage chargers intentionally change charging behavior as the battery progresses toward full charge.
So don’t assume:
“It gained this much in one hour, therefore it’ll gain exactly that much every hour.”
Battery chemistry and charging stages don’t always work that neatly.
If you’re trying to determine whether the converter works, voltage and current measurements under the manufacturer’s test procedure are more useful than staring at the battery percentage for 20 minutes.
What If My RV Battery Still Dies Overnight After Charging?
Then we may have moved beyond the converter.
If the battery reaches a proper charge and then loses that stored energy overnight, investigate consumption and battery capacity.
The furnace can use significant energy.
An inverter may remain on.
Other loads can continue for hours.
A parasitic draw may exist.
Or the battery itself may have poor usable capacity.
Our guide to why an RV battery dies overnight follows that problem from the consumption side instead of the charging side.
What If It Charges but Keeps Going Dead During Storage?
Same idea.
Charging and discharging are different halves of the problem.
If the converter successfully charges the battery before storage but you return a few weeks later to a dead battery, don’t keep blaming the converter.
Something may be consuming electricity after charging ends.
Or the battery may be self-discharging abnormally because of its condition.
Follow the symptom that actually occurs.
A Parasitic Draw Can Hide Behind a Charging Complaint
Suppose the converter is putting 30 amp-hours back into the battery.
Meanwhile, something keeps taking energy out.
The owner sees a battery that never seems to recover and says:
“The converter won’t charge it.”
Maybe the converter is charging.
Maybe you’re draining almost as fast as you’re filling.
That’s why measuring current can be extremely helpful when voltage alone doesn’t explain the behavior.
A Battery Monitor Can Help
A properly installed shunt-based battery monitor can show current entering and leaving the battery.
That makes charging problems much easier to understand.
Plug into shore power.
Do you see charging current entering the battery?
Turn on a big 12-volt load.
What changes?
Unplug.
Now what happens?
Instead of guessing based on a little four-bar battery display, you can actually watch energy move.
But Don’t Trust a Badly Installed Monitor
A battery monitor only knows what passes through its shunt.
If loads or charging sources bypass the shunt, the displayed numbers can be misleading.
Configuration matters too.
Battery capacity.
Chemistry settings.
Synchronization.
Those all affect what the monitor tells you.
A fancy screen isn’t automatically correct.
Don’t Forget About Battery Age
If your charging system checks out but the battery behaves terribly, age and history matter.
How old is it?
Has it repeatedly gone dead?
Has a flooded battery been maintained correctly?
Has it spent long periods discharged?
Has it been exposed to extreme temperatures?
Battery condition doesn’t come down to age alone, but history can explain why an apparently functional charging system still doesn’t give you acceptable battery performance.
Repeated Undercharging Can Eventually Damage the Battery
This is why I don’t like ignoring converter problems.
Suppose the converter has been partially or completely failing for months.
The battery repeatedly operates at a low state of charge.
You eventually repair the converter.
Great.
But that doesn’t guarantee the battery escaped unharmed.
You can fix the charging system and still have poor runtime because the battery has already lost capacity.
Sometimes the original problem creates a second problem.
Check for Heat
While you’re troubleshooting, pay attention to abnormal heat.
Battery cables shouldn’t be getting excessively hot.
Connections shouldn’t be heating up.
The converter shouldn’t be showing signs of severe overheating.
The battery itself shouldn’t be behaving abnormally during charging.
Heat can point toward resistance, excessive current, equipment failure, or battery problems.
Don’t ignore it.
A Hot Connection Is a Clue
A poor electrical connection creates resistance.
When current flows through resistance, heat can develop.
So if a connection is noticeably hotter than expected during charging, investigate.
Loose hardware.
Corrosion.
Damaged terminal.
Undersized or damaged wiring.
Don’t simply tighten random energized connections.
De-energize the system appropriately and inspect it safely.
A Rotten-Egg Smell Is Not Normal Charging
If you have a lead-acid battery and notice a strong sulfur or rotten-egg odor, especially along with heat or vigorous gassing, stop treating this like a routine “why isn’t it charging?” question.
Disconnect charging safely and investigate.
A battery being severely overcharged or failing can create dangerous conditions.
Lead-acid batteries can produce flammable hydrogen gas.
Ventilation and battery safety matter.
Don’t Keep Replacing Fuses
This deserves its own warning.
If you replace a charging fuse and it immediately blows again, stop.
The fuse is doing its job.
There’s a fault somewhere.
Wrong polarity.
Short circuit.
Damaged wiring.
Failed equipment.
Whatever the cause, repeatedly installing fuses isn’t troubleshooting.
It’s repeatedly resetting the warning.
Don’t Keep Resetting Breakers Either
Same rule.
A breaker trips.
You investigate.
Reset once if appropriate.
It trips again.
Now something needs attention.
Don’t stand there flipping it back on every thirty seconds while wondering why it won’t cooperate.
Electrical protection devices aren’t inconveniences.
They’re information.
What If Everything Tests Correctly?
This is where troubleshooting gets interesting.
Converter output correct.
Voltage reaches the battery.
Connections good.
Battery supposedly healthy.
Yet charging still seems wrong.
Now I want more precise information.
Charging current.
Battery state of charge before testing.
Actual battery capacity.
Active RV loads.
Converter charging mode.
Battery temperature.
Voltage drop under charging current.
That’s when we stop doing basic checks and start diagnosing system behavior.
Write Down Your Measurements
I strongly recommend this.
Don’t rely on:
“I think it was 12-point-something earlier.”
Write it down.
Battery voltage unplugged.
Battery voltage plugged in.
Converter output.
Voltage before and after the battery-side breaker.
Charging current if available.
Battery voltage after charging.
Battery voltage after resting.
Those numbers tell a story.
And if you eventually need an RV technician, handing them real measurements is much more useful than saying, “It just doesn’t seem like it’s charging.”
Here’s the Order I’d Follow
If an RV converter isn’t charging the battery, I work through it logically.
First, verify the camper actually has shore power.
Then verify the converter has its required AC input.
Check the converter breaker.
Check reverse-polarity and other applicable fuses.
Measure converter DC output according to the manufacturer’s procedure.
If output is correct, follow the charging circuit toward the battery.
Check the fuse or breaker in the positive lead.
Inspect wiring and connections.
Check the negative side.
Verify charging voltage reaches the battery.
Then evaluate whether the battery itself can accept and retain that charge.
That sequence keeps the diagnosis moving in one direction.
Don’t Buy Anything Until You Know Where the Voltage Stops
That’s really the lesson here.
If converter output is missing despite proper input and good protection devices, then yes, the converter becomes a legitimate suspect.
If converter output is correct but the battery never sees it, the problem is between the two.
If charging voltage reaches the battery but the battery won’t accept or retain useful energy, start testing the battery.
And if everything charges correctly but the battery goes dead afterward, start investigating loads and drains.
The symptom may always sound like:
“My RV battery won’t charge.”
But those are completely different problems.
Once you figure out where the charging path breaks, you stop throwing batteries, converters, fuses, and money at the camper and start fixing the one thing that’s actually keeping electricity from reaching the battery.
Written by Evan Mercer
Evan Mercer writes about RV electrical systems, converter problems, battery troubleshooting and everyday camper ownership for CamperAnswers.com. His work focuses on helping RV owners understand how electricity moves through their campers so they can find the actual failure instead of replacing parts based on a guess.