
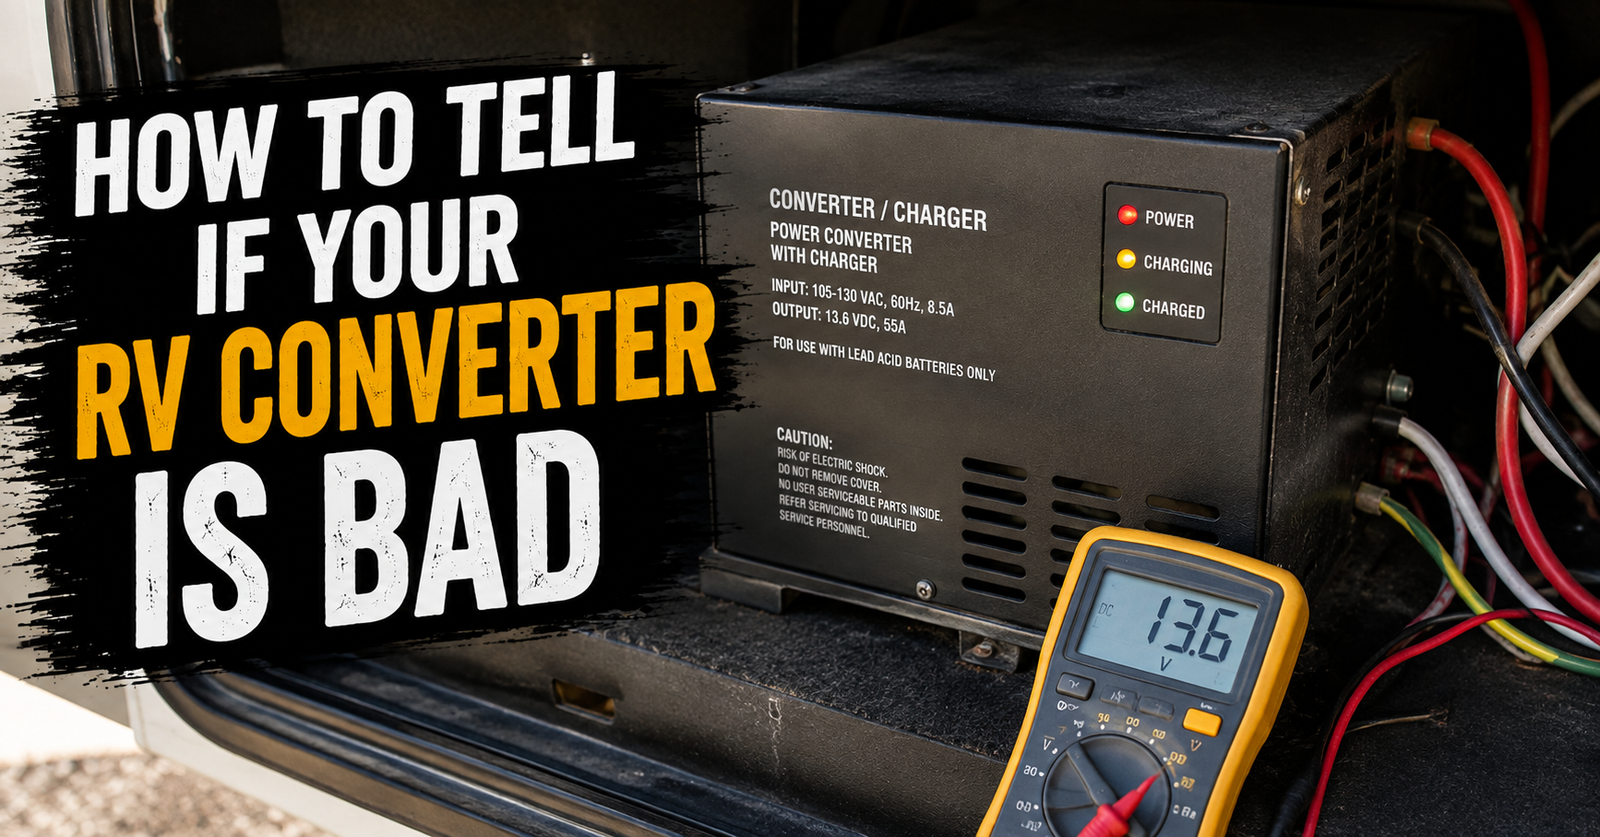
Your RV can have a perfectly good battery, good shore power, and lights that still act like the camper is haunted. They brighten up, dim down, flicker, or work fine until you unplug. Maybe the battery keeps going dead even though you’ve had the camper plugged in all weekend. That plugged-in pattern is also covered in this guide to why an RV battery keeps going dead.
That’s about the time the converter starts getting blamed.
Sometimes that’s exactly where the problem is. Other times, I’ve found the converter gets accused of something caused by a blown fuse, bad battery connection, tripped breaker, battery disconnect, or a battery that’s simply worn out.
That’s why I don’t replace an RV converter just because the 12-volt system is acting strange.
I want to prove the converter isn’t doing its job first.
What Does an RV Converter Actually Do?
The easiest way to understand the converter is to think about what happens when you plug your camper into shore power.
Shore power supplies 120-volt AC electricity.
But a large part of your RV still operates on 12-volt DC electricity. Your lights, water pump, furnace controls and blower, vent fans, appliance control boards, and other equipment may depend on that 12-volt system.
The converter takes incoming AC power and converts it to DC power.
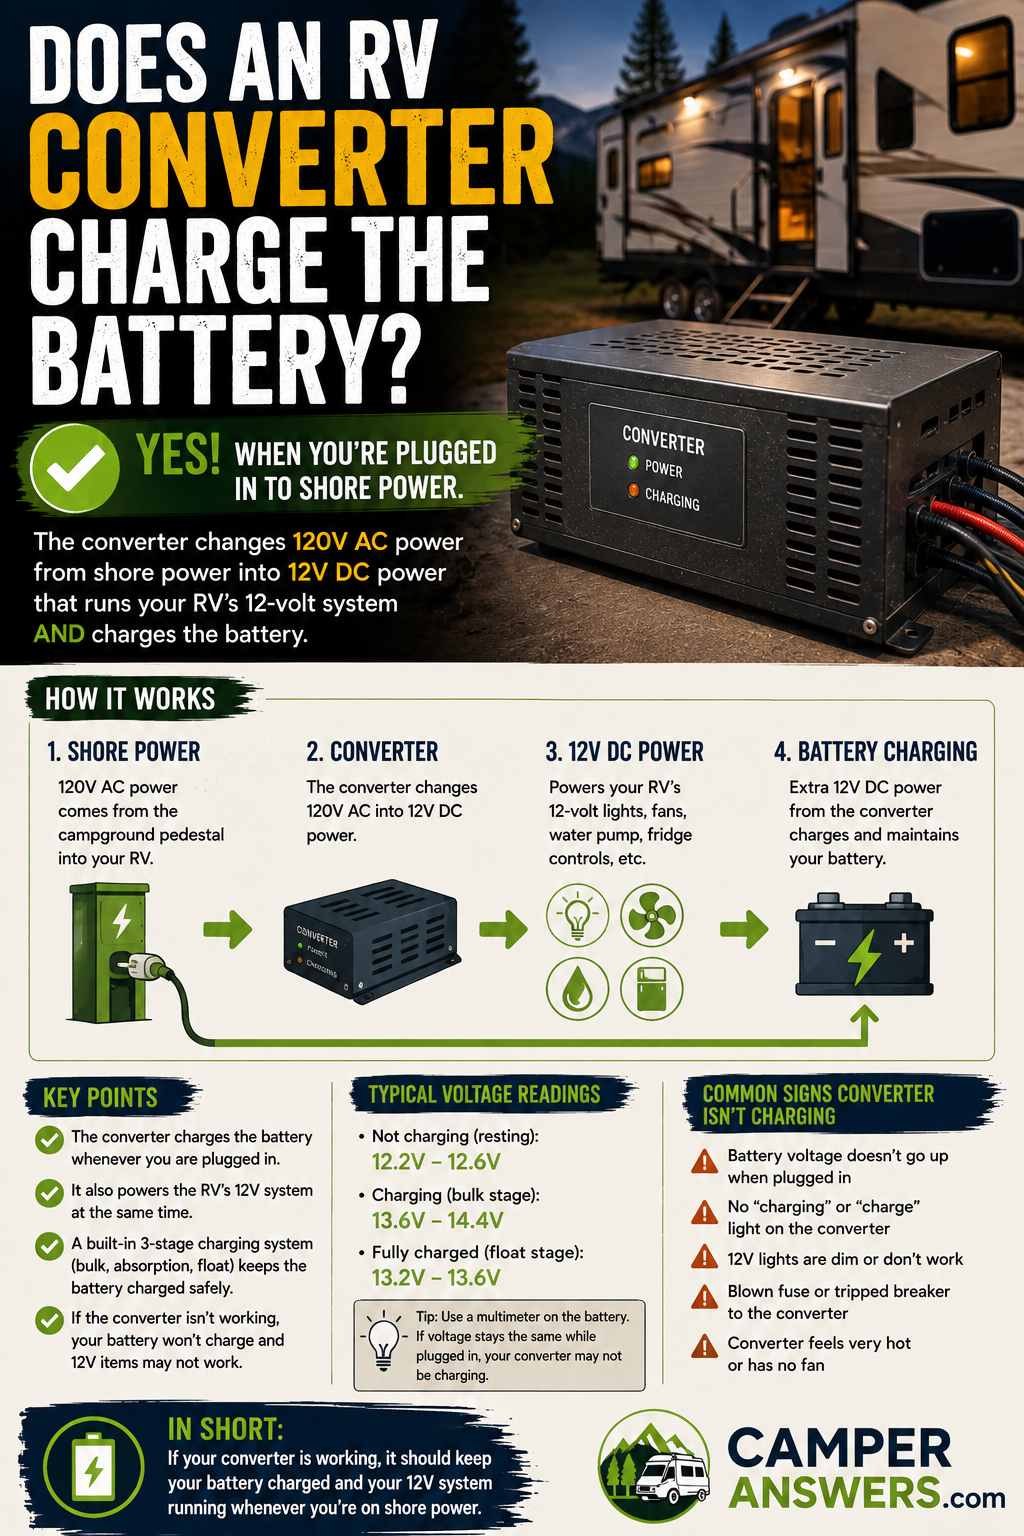
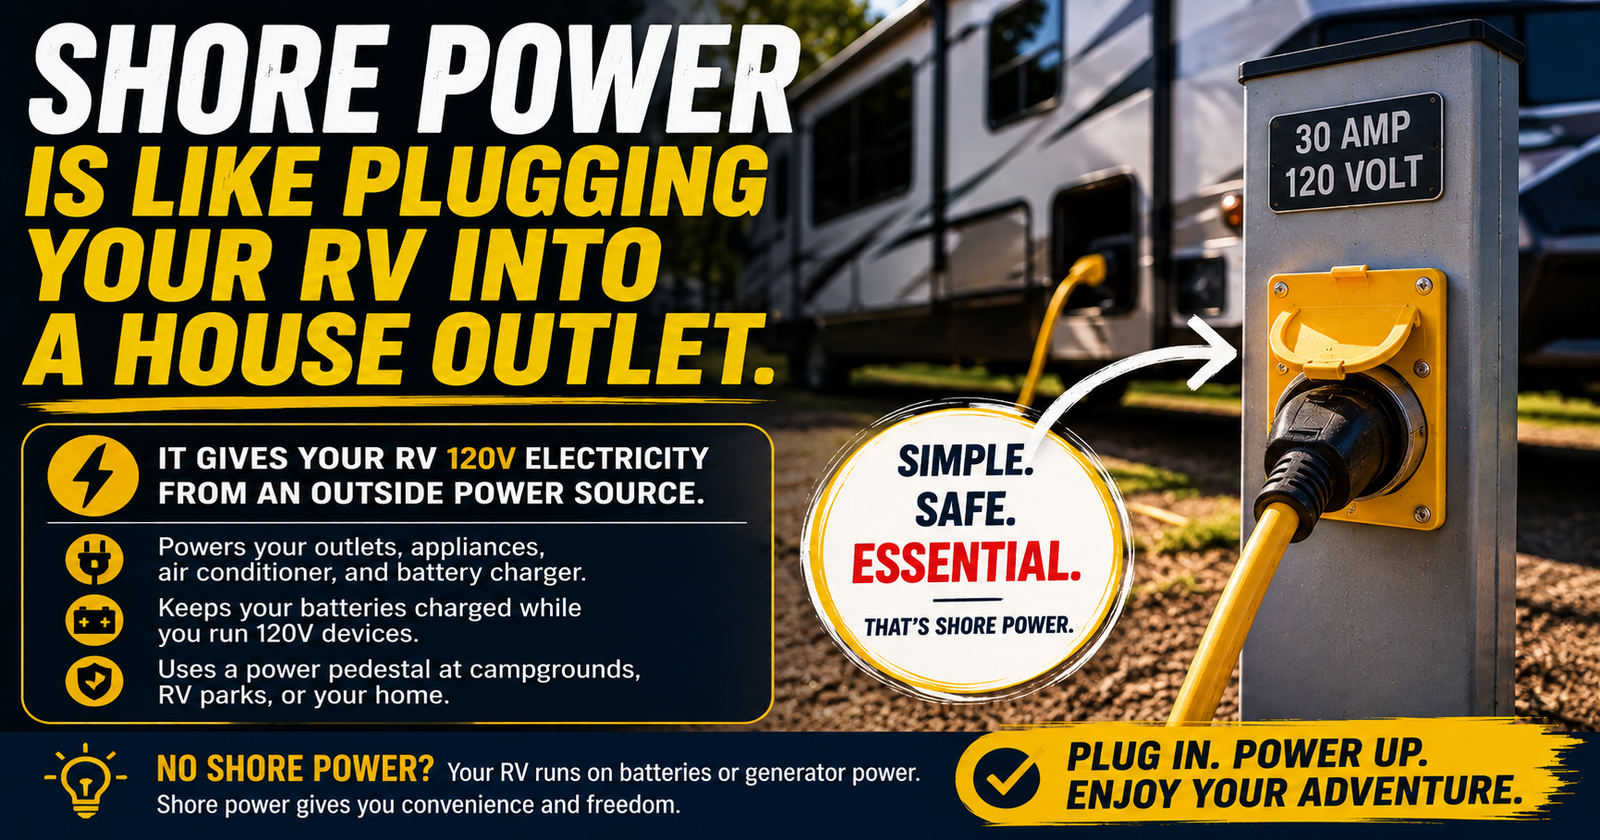
It also commonly provides the charging power for your RV house battery while you’re connected to shore power. Understanding the RV converter's charging role can help separate a normal charging function from an actual converter fault.
That’s why a converter problem can show up as a battery problem.
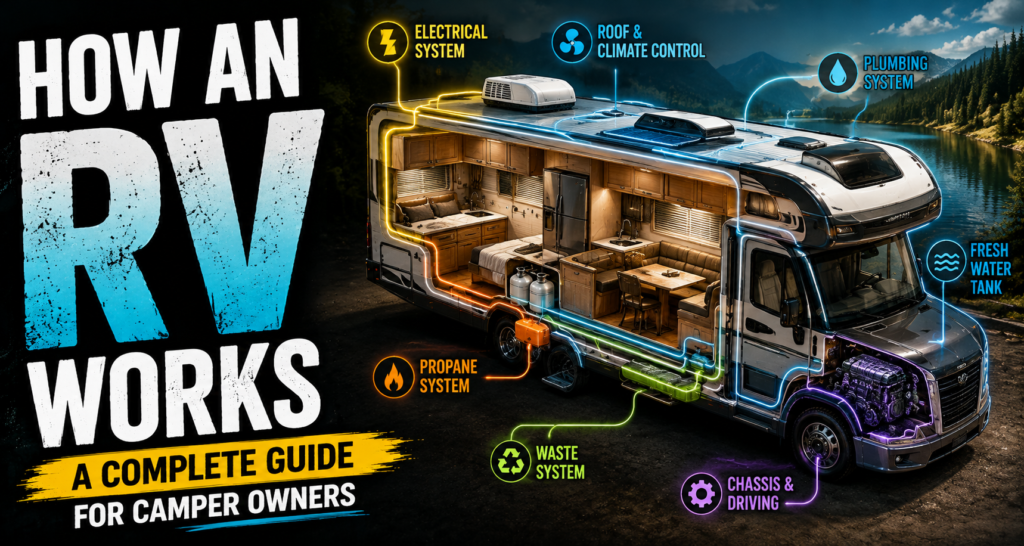
If you’re still getting familiar with how all these pieces fit together, our complete explanation of how an RV works gives you the bigger picture of the electrical system along with the other major camper systems.
What Are the Signs of a Bad RV Converter?
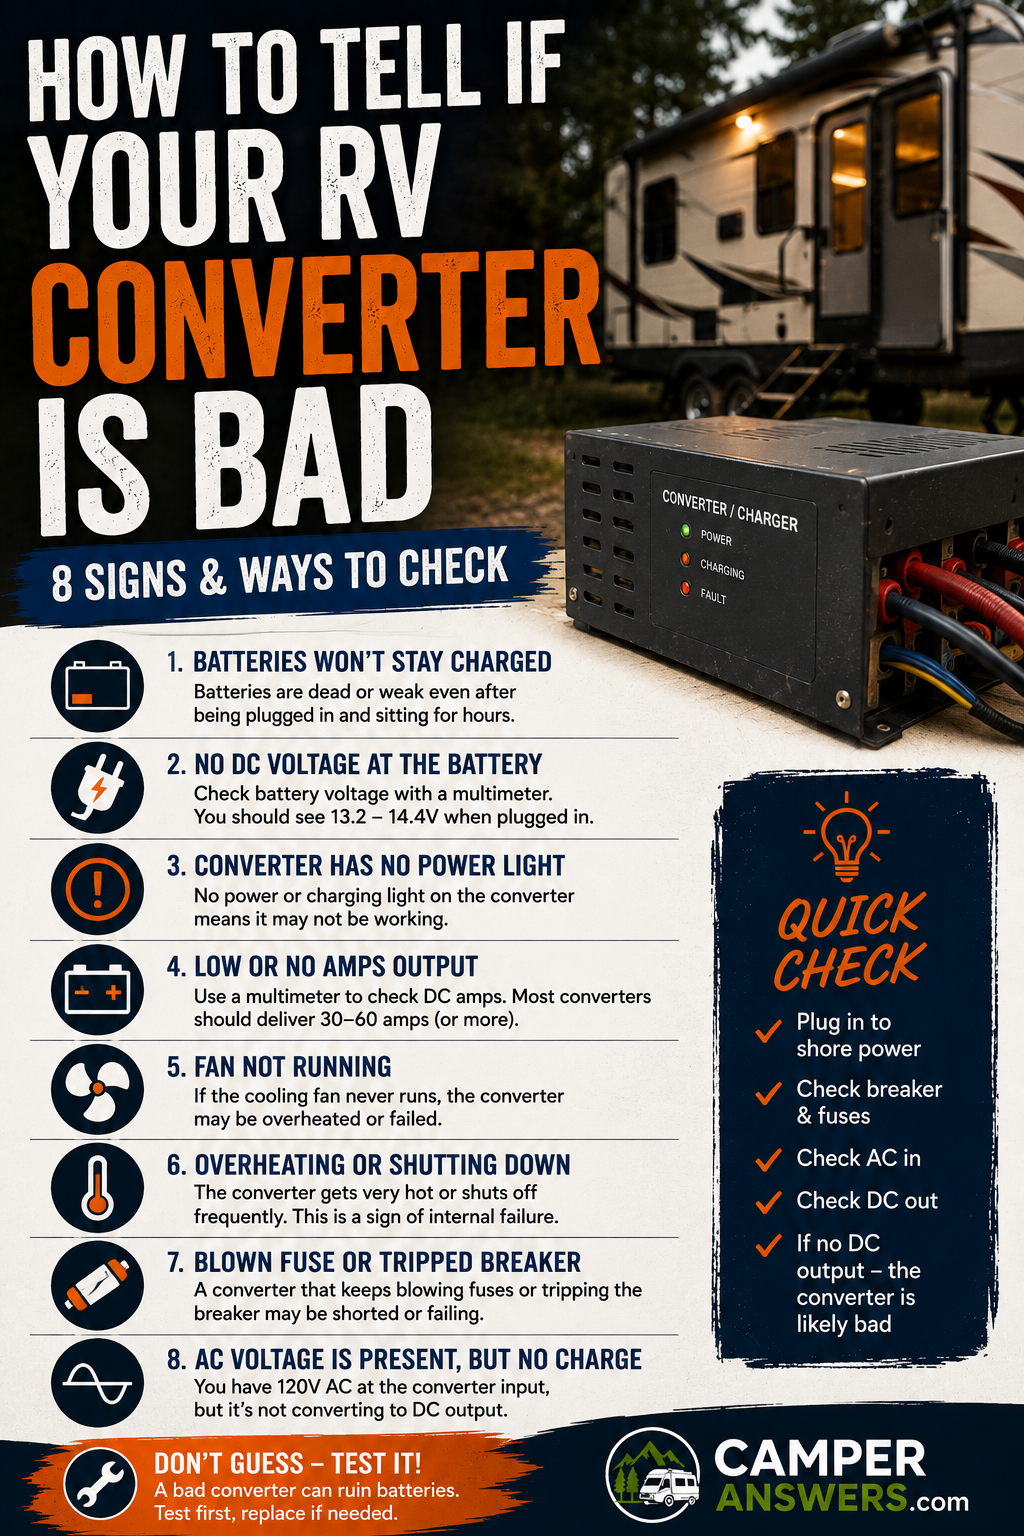
A failing converter can show itself in several ways, but I don’t consider any single symptom absolute proof.
Things that make me suspicious include:
- The house battery doesn’t charge while connected to shore power.
- Battery voltage doesn’t rise appropriately when the converter should be charging.
- The 12-volt lights become dim or unstable.
- Some 12-volt equipment works from the battery but behaves strangely on shore power.
- The battery repeatedly goes dead even though the RV spends plenty of time plugged in.
- Converter output is missing or outside the manufacturer’s specifications when properly tested.
- The converter repeatedly blows its protection fuses after other causes have been ruled out.
- The converter produces unusual noise, excessive heat, or an obvious burning smell.
But here’s the important part.
Several of those symptoms can be caused by something else.
So let’s diagnose instead of guessing.
The Biggest Converter Clue Is Often the Battery
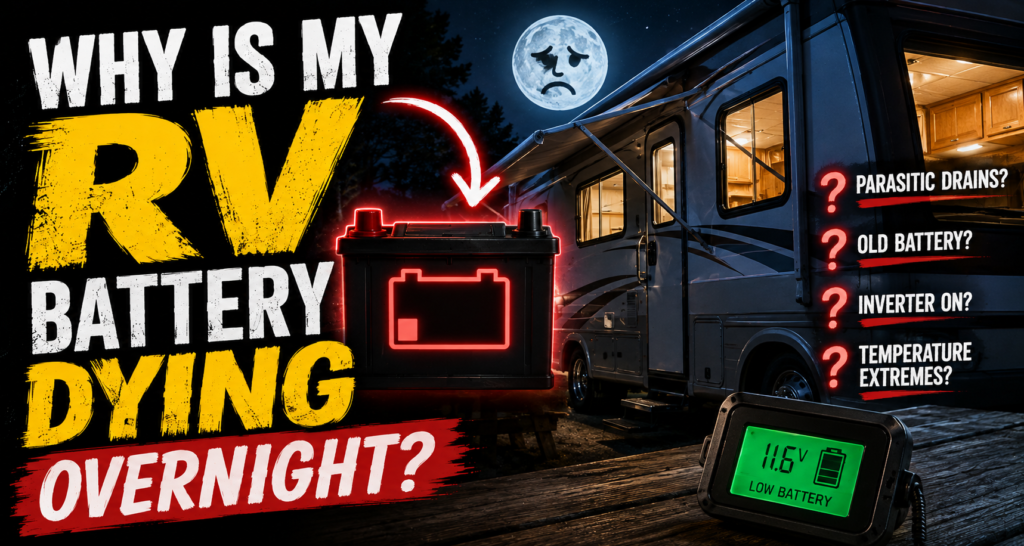
A lot of RV owners don’t realize there’s a converter problem until the battery starts giving them trouble. That charging problem can leave the battery vulnerable to the RV converter's charging role.
You plug in.
The camper works.
You assume everything is charging.
Then you unplug and the battery dies much sooner than expected.
It feels like the battery suddenly failed.
But what if it never received a proper charge?
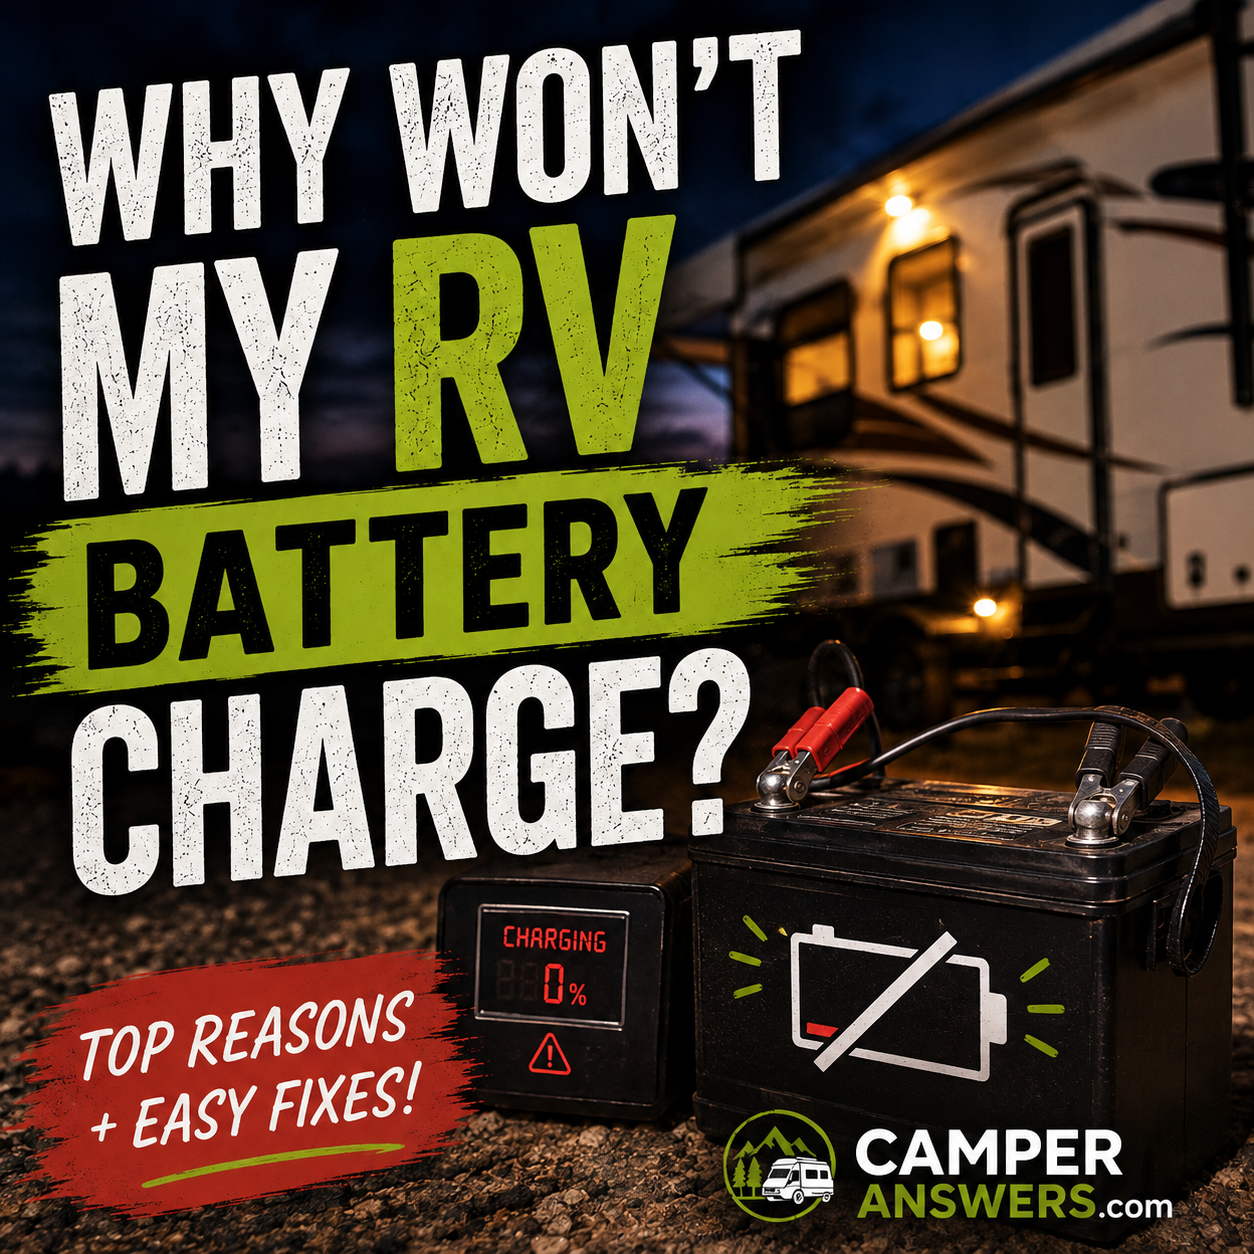
That’s why an RV battery that won’t charge and a converter problem can look almost identical from the driver’s seat.
We need measurements to separate them.
Your Camper Working on Shore Power Doesn’t Prove the Battery Is Charging
This is one of those RV electrical quirks that makes troubleshooting confusing.
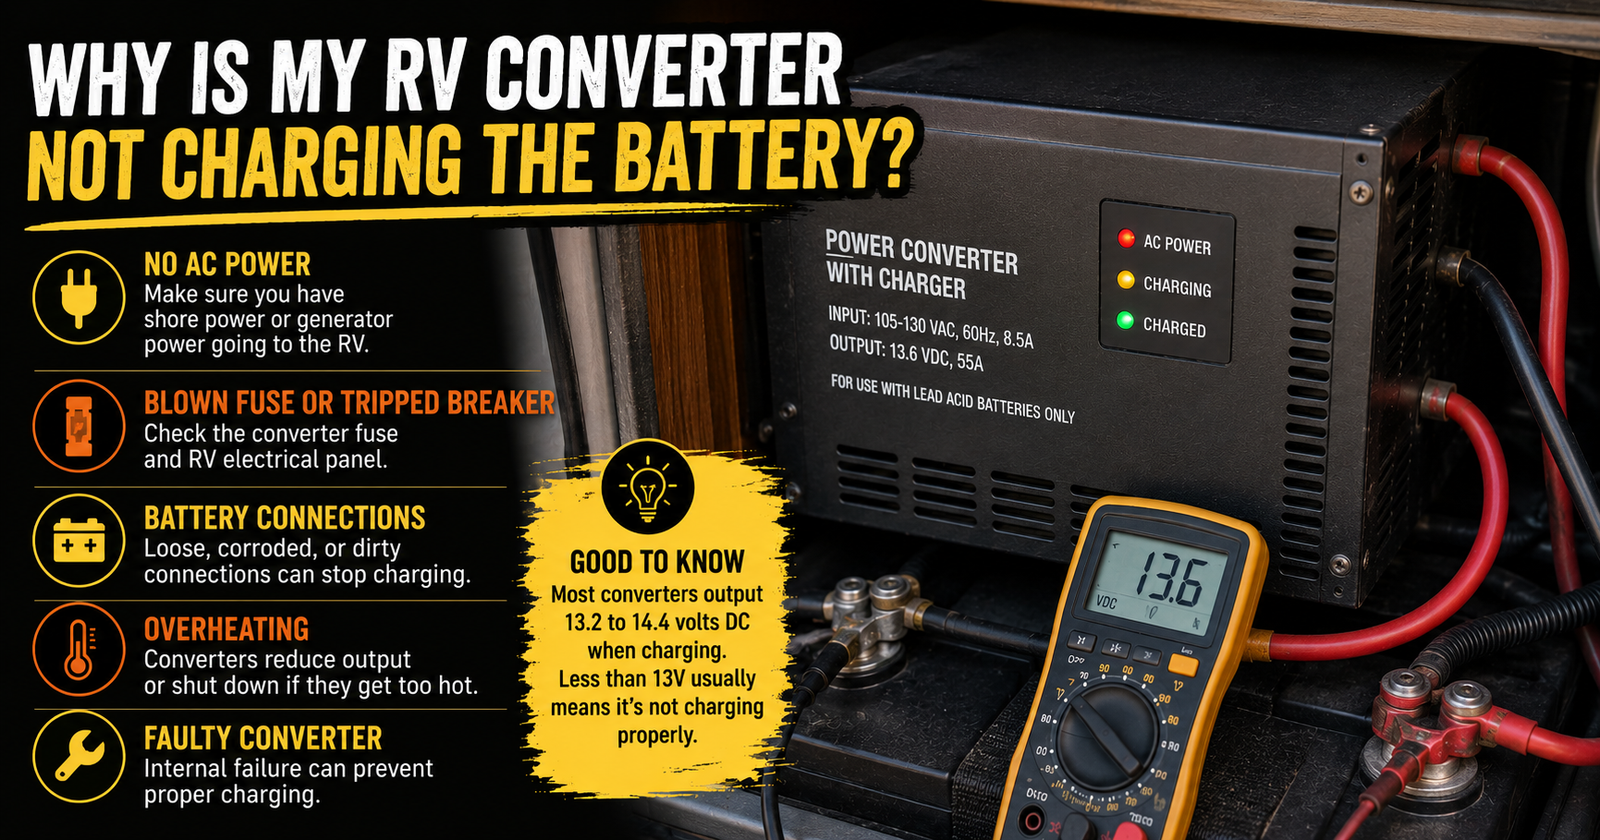
You can have 120-volt AC power in the camper and still have a problem with the battery-charging side of the system. That distinction is explained in this RV converter not charging the battery guide, which traces the charging path before blaming the converter.
Your outlets may work.
The microwave may work.
The air conditioner may run.
None of that proves charging voltage is reaching the house battery.
Those are primarily AC-side clues.
The battery lives on the DC side of the conversation.


Start With the Easy Stuff Before Testing the Converter
Before I start crawling around with a multimeter, I check the obvious things.
Is the RV actually connected to good shore power?
Is the appropriate breaker on? If the breaker keeps tripping or will not reset, the circuit breaker troubleshooting guide can help you distinguish an overload from a more serious electrical fault.
Has a GFCI or upstream power source caused another issue?
Is the battery disconnect in the proper position for the particular RV?
Are the battery cables connected securely?
Is there obvious corrosion?
Are there blown fuses?
Did the problem begin immediately after somebody worked on the batteries?
You’d be surprised how often the answer is sitting right there.
Find Out What Converter You Actually Have
I don’t like diagnosing an RV converter from generic internet voltage numbers alone.
Find the manufacturer.
Find the model.
Then find its specifications.
That’s important because charging behavior varies by converter design and battery chemistry.
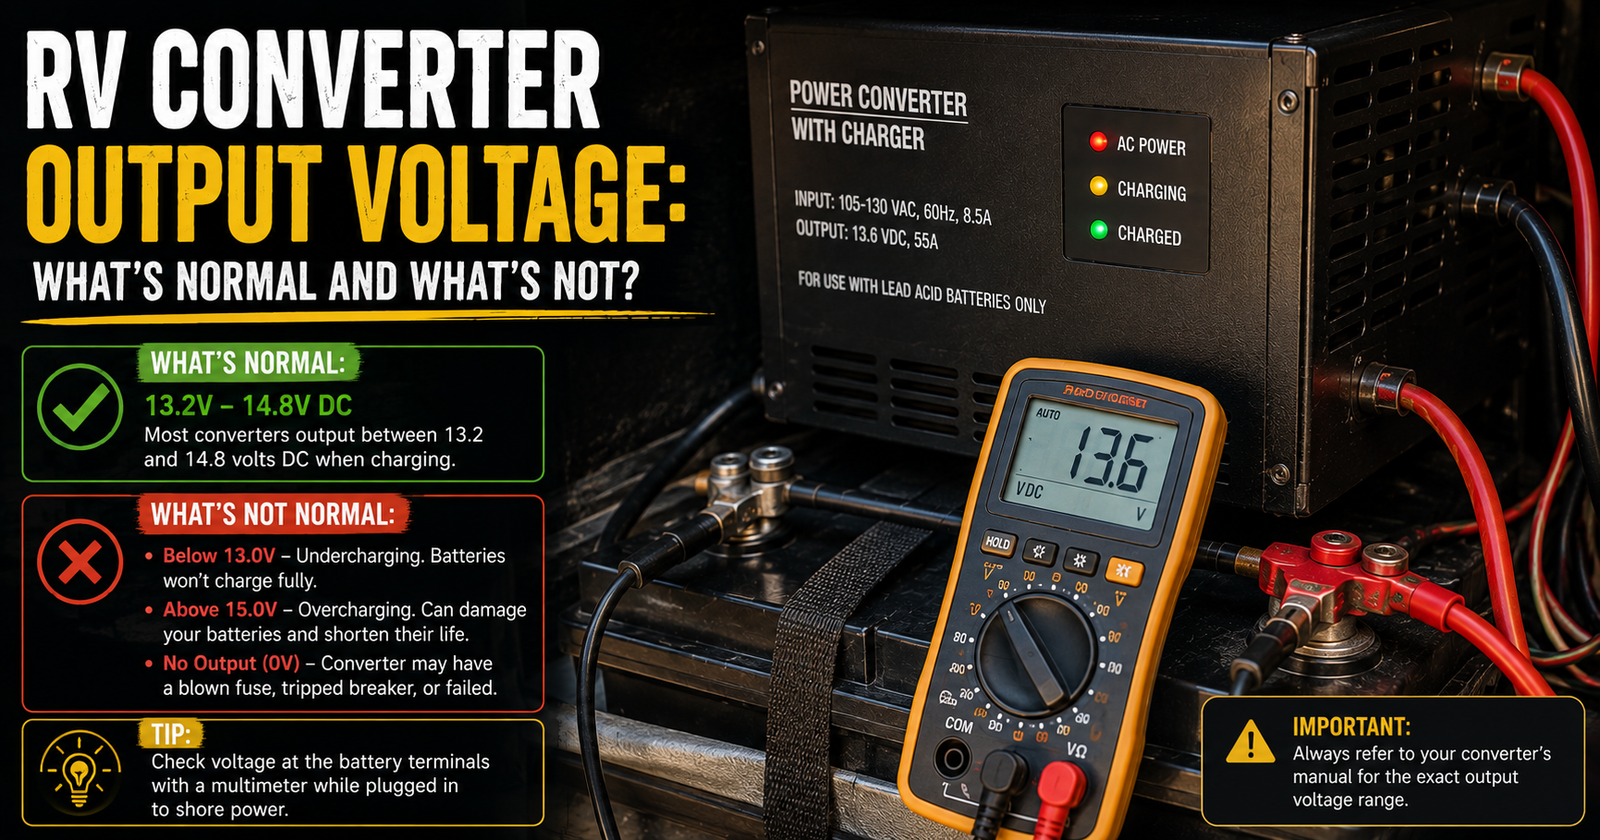
A multi-stage lead-acid charger may intentionally move through different charging voltages. Understanding normal RV converter charging voltages can help you avoid mistaking a charging stage for a failure.
A lithium-compatible converter can behave differently.
An inverter/charger system may combine functions that are separate components in another RV.
Know what you’re testing before deciding the reading is wrong.
Where Is the RV Converter Located?
This varies tremendously by RV.
In many campers, the converter is associated with or located near the electrical distribution center.
Sometimes the converter section is built into the power center.
Sometimes it’s a separate deck-mounted unit elsewhere.
I’ve seen electrical equipment installed under cabinets, beneath beds, behind panels, in storage compartments, and in other wonderfully convenient RV locations that apparently were selected by someone who never planned to work on the thing again.
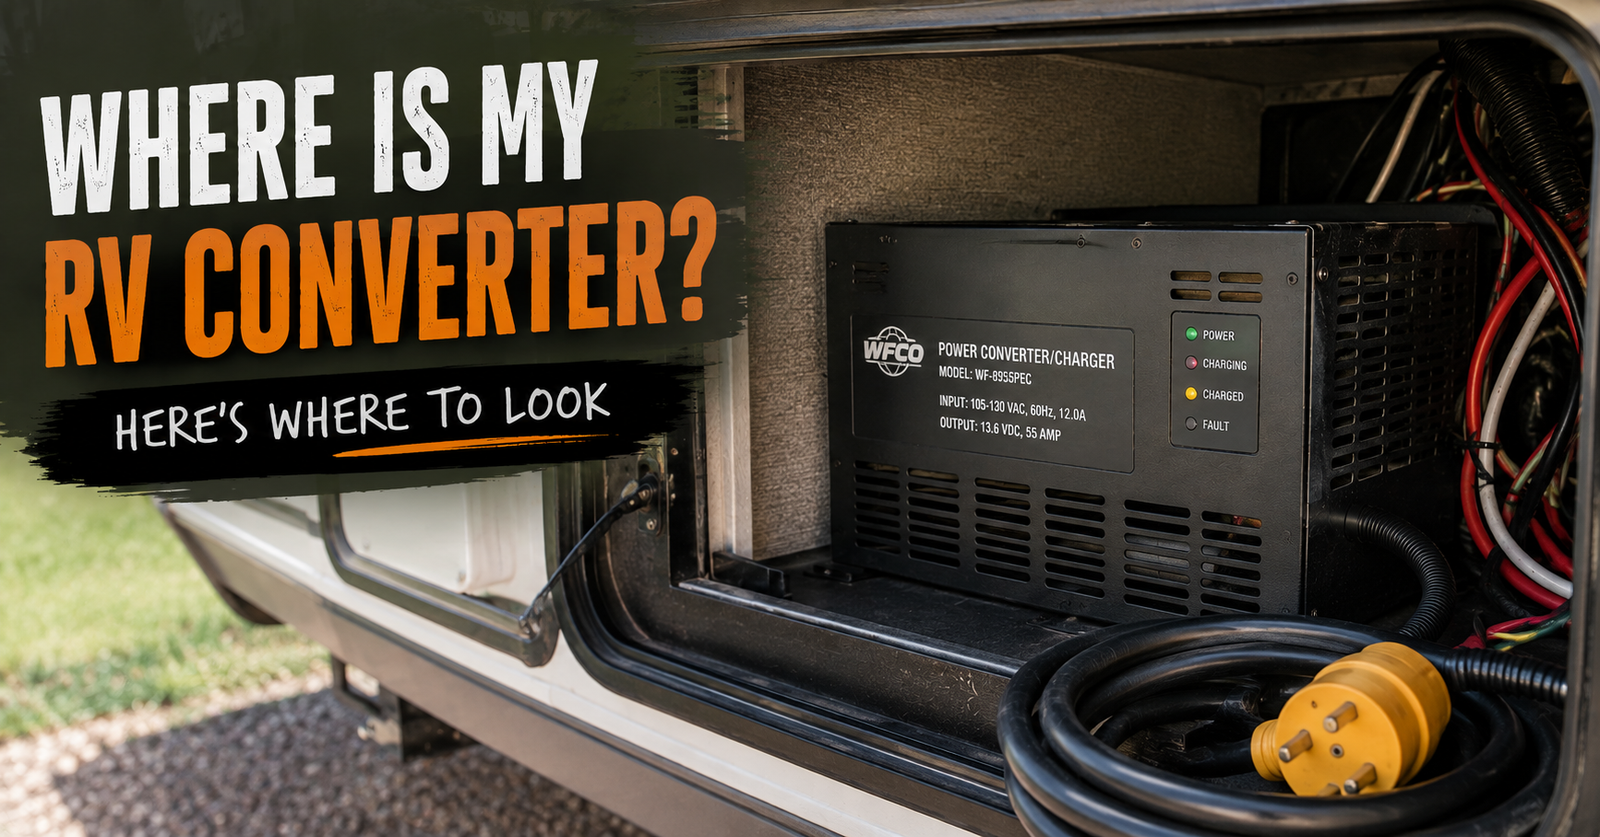
If you can’t find it, start with the power distribution center and your owner’s documentation.
We’ll eventually give converter location its own article because there are enough different RV layouts to justify it.
Listen Before You Touch Anything
Sometimes your ears tell you something useful.
Many converters use cooling fans.
A fan running doesn’t prove the converter is good.
A fan not running doesn’t automatically prove it’s bad either because fan operation can depend on temperature and load.
But a suddenly different noise deserves attention.
Grinding.
Rattling.
Buzzing that wasn’t there before.
A fan struggling to turn.
Electrical arcing sounds.
Those aren’t things I ignore.
Smell Matters Too
A distinct burnt-electronics smell around the converter or power center changes how casually I approach the problem.
If there’s evidence of overheating, melting, smoke, or burning, disconnect power safely and don’t continue experimenting with energized equipment.
Electrical troubleshooting is one thing.
Trying to coax a visibly damaged component into operating again is another.
Check the Battery Voltage Before Plugging In
This gives us a baseline.
With the battery under appropriate resting conditions, measure directly at the battery terminals.
Let’s say you get something around 12.3 volts on a traditional lead-acid battery.
That tells us the battery isn’t fully charged, but more importantly, it gives us a number to compare against what happens when shore power is connected.
Write it down.
Don’t trust yourself to remember five voltage readings twenty minutes later.
Now Plug the RV Into Shore Power
Once shore power is connected and the converter is operating normally, I generally expect the battery-side voltage to reflect that charging activity.
The exact voltage depends on the converter, charging stage, battery chemistry, temperature compensation if applicable, and system design.

This is why our RV battery voltage guide is useful before you start interpreting every tenth of a volt.
The important question right now is:
Did charging voltage appear at the battery?
What Voltage Should an RV Converter Put Out?
There isn’t one number that I want you memorizing for every RV.
For example, Progressive Dynamics specifies approximately 13.6 volts during its troubleshooting output test for standard PD9100 and PD9200 converter models. The company lists a different test output for applicable lithium versions.
Multi-stage charging systems can also intentionally operate at different voltages depending on charging mode.
So find your converter’s specifications.
If the manufacturer says its output should be within a certain range under specified test conditions, that’s the number that matters.
What If Battery Voltage Doesn’t Increase When I Plug In?
Now we have something worth investigating.
Suppose the battery reads 12.2 volts before shore power.
You plug in.
It still reads approximately 12.2.
Wait and verify conditions.
Still nothing meaningful changes.
That doesn’t automatically mean the converter is dead.
It means we need to find out whether the converter is producing DC output and whether that output is reaching the battery.
Those are two separate questions.
Test Converter Output
This is where troubleshooting gets much more useful.
If you’re qualified and comfortable working around RV electrical systems, you can measure the converter’s DC output according to the manufacturer’s procedure.
Be careful here.
The converter operates from 120-volt AC power, and testing around energized electrical equipment can expose you to dangerous voltage.
If you’re not comfortable doing that, there’s nothing wrong with having an RV technician perform this test.
We’re trying to fix the camper, not prove anything.
Good Converter Output but No Charging at the Battery
This is one of my favorite diagnostic results because it narrows the problem.
Imagine the converter tests correctly.
But that charging voltage isn’t reaching the battery.
The converter is doing its job.
Something between the converter and battery isn’t.
Now I start looking at:
- Battery-side fuses.
- DC breakers or resettable circuit breakers.
- Battery disconnects.
- Cable connections.
- Corrosion.
- Damaged wiring.
- Poor ground or negative connections.
- Modifications made by previous owners.
That’s a completely different repair from replacing the converter.
Check the Battery Protection Fuse or Breaker
Depending on the RV, there may be a fuse or circuit breaker protecting the battery charging circuit.
If that opens, converter output can exist without properly reaching the battery.
This can produce a particularly confusing situation where the RV appears functional while plugged in but the battery doesn’t recover.
Then you unplug and everything falls apart.
That’s why I trace the charging path instead of stopping after one voltage measurement.
Reverse-Polarity Fuses Are Worth Checking
This is especially important when the problem began after battery work.
Many RV converters have reverse-polarity protection fuses.
They’re there for a reason.
If battery polarity was accidentally reversed, even briefly, those fuses can blow.

Progressive Dynamics specifically includes reverse-battery protection fuses in its converter troubleshooting guidance.
So if somebody just changed the battery and now the converter “mysteriously died,” check those protection devices before buying a converter.
Timing is a clue.
Don’t Just Replace a Blown Fuse and Forget About It
A fuse blows because excessive current passed through it.
Sometimes the reason is obvious.
Battery accidentally connected backward?
That gives us a pretty good story.
But if a fuse repeatedly blows and nobody knows why, don’t keep feeding it new fuses.
Find the cause.
Repeatedly replacing protection devices without fixing the underlying electrical problem can turn a relatively small repair into something much worse.
What If the Converter Has No Output?
Now we’re getting closer to blaming the converter, but we’re still not there yet.
The converter needs AC input power to produce DC output.
So if there’s no DC output, verify that it actually has the AC power it requires.
Check the appropriate breaker.
Verify the power source according to the manufacturer’s troubleshooting procedure.
Inspect for obvious wiring or connection issues.
If AC input is correct but the converter still fails its specified DC output test, the converter itself becomes a much stronger suspect.
A Tripped Breaker Can Look Like a Dead Converter
This is why I always start simple.
If the branch circuit supplying the converter has tripped, the converter can’t do much.
Resetting a breaker once after determining why it tripped may solve the immediate problem.
A breaker that repeatedly trips is different.
Don’t keep resetting it indefinitely.
Repeated tripping indicates a problem that needs to be diagnosed.
A Bad Outlet Can Fool You Too
Some deck-mounted converters plug into a standard-looking AC receptacle.
If yours does, don’t assume the converter is getting power simply because the RV is connected to shore power.
The receptacle itself could be dead.
A breaker could be open.
A connection upstream could have failed.
Verify power at the point where the converter actually receives it.
That one test can save you from replacing an expensive component that never had electricity in the first place.
Don’t Forget the Battery Itself
Now let’s flip the diagnosis around.
What if the converter is producing the correct charging output and charging voltage is reaching the battery?
But the battery still won’t behave.
Now the converter starts looking innocent.
The battery may not be accepting or retaining the charge properly.
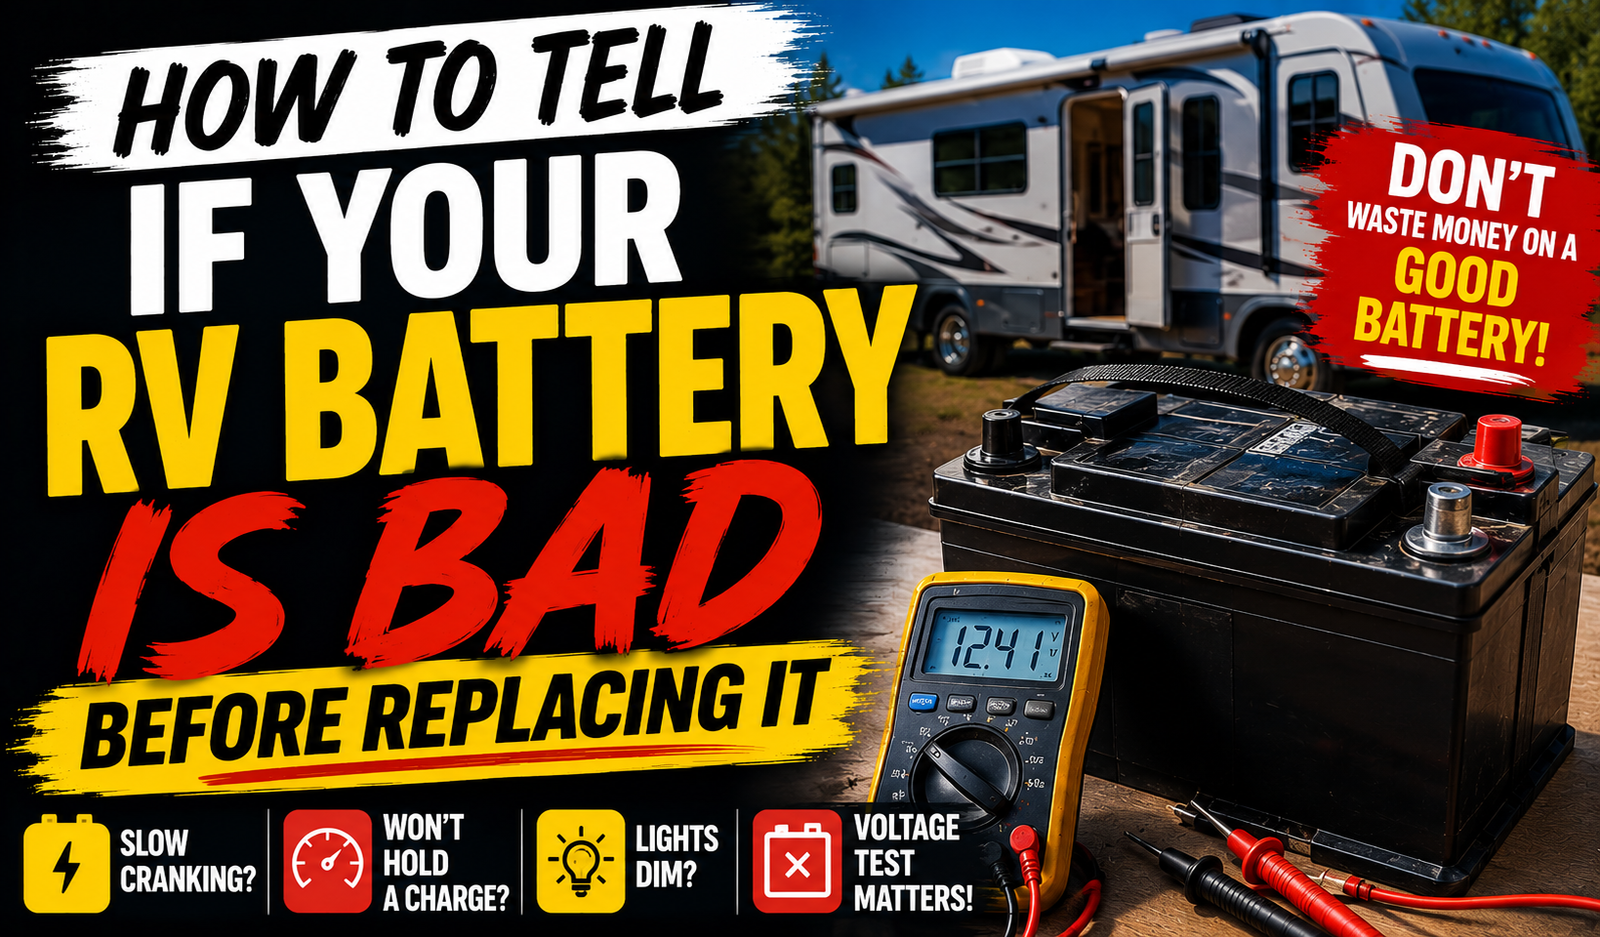
That’s where our guide to telling whether an RV battery is actually bad becomes the next troubleshooting step.
A converter cannot restore lost battery capacity.
A Bad Battery Can Make the Converter Work Hard
A failing battery can create confusing charging behavior.
Depending on the failure, the converter may spend more time attempting to charge it.
The battery may never behave as expected.
You might hear the converter fan running frequently.
Charging voltage may seem strange.
The battery may become warm.
Don’t immediately assume the converter is causing the battery problem.
Sometimes the converter is responding to a battery problem.
A Dead Battery Can Put a Heavy Demand on the Charger
A deeply discharged battery can demand significant charging current when charging begins.
That may cause the converter’s cooling fan to operate.
Again, that’s not necessarily failure.
The converter may simply be working.
This is why I care about output voltage, current when appropriate, battery condition, and what the system is actually doing.
Noise alone isn’t enough.
What If the Converter Fan Runs Constantly?
Constant fan operation gets my attention, but I don’t immediately replace the converter.
Ask why it’s working so hard.
Is the battery deeply discharged?
Is the battery failing?
Are there unusually heavy 12-volt loads?
Is airflow around the converter restricted?
Is the converter overheating?
Is the fan itself dirty or failing?
Does the particular converter normally vary fan operation with load or temperature?
Find the cause of the workload before condemning the worker.
What If the Converter Gets Hot?
Converters produce heat during operation.
That’s one reason they use cooling fans and ventilation.
But there’s a difference between warm equipment and abnormal overheating.
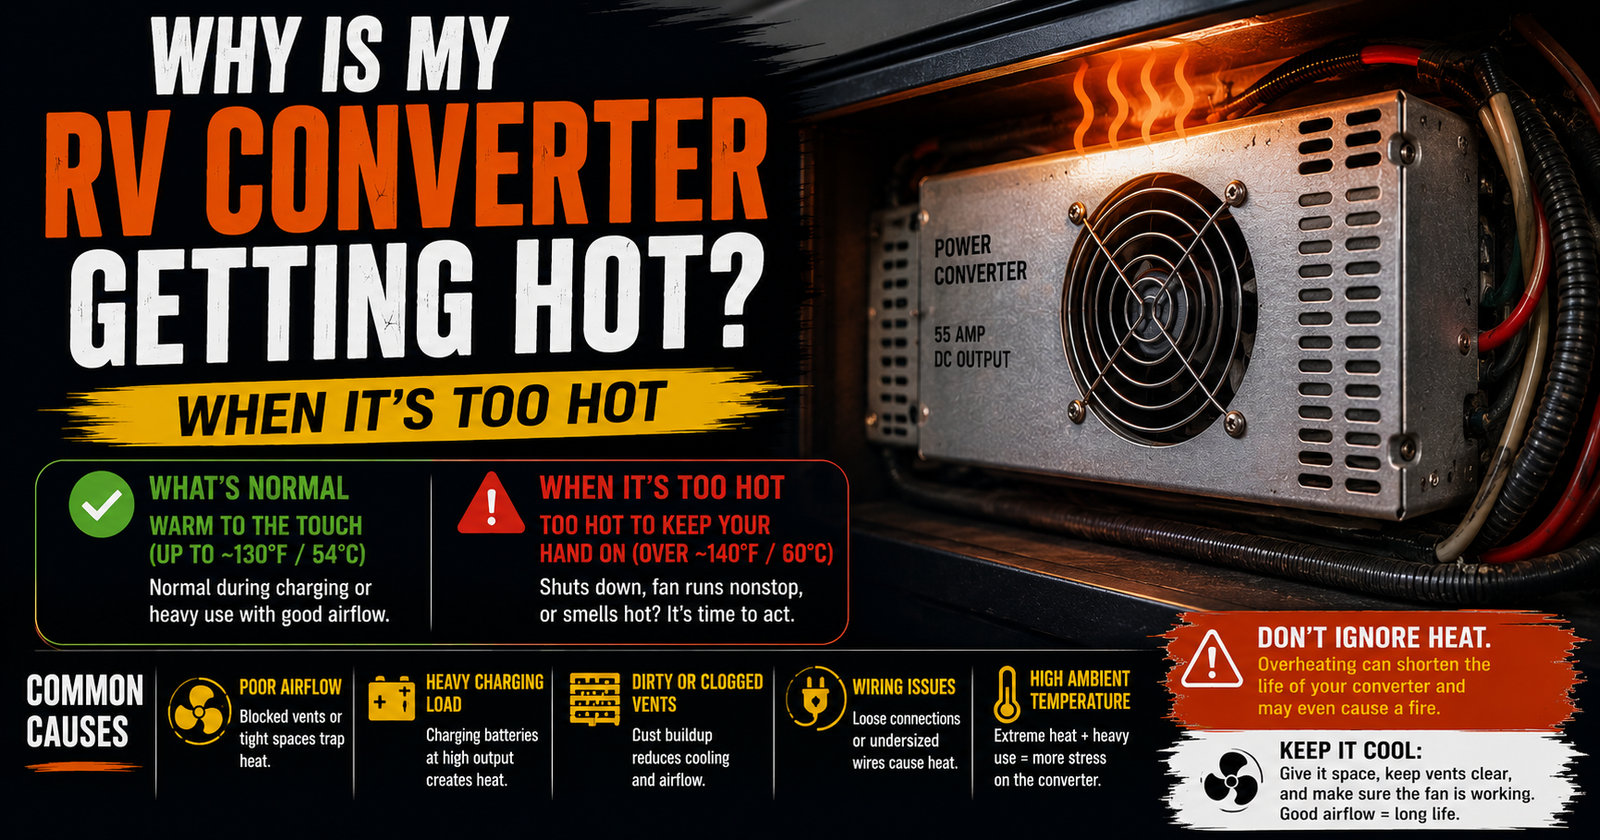
If the converter is excessively hot, shutting down, producing a burning smell, or showing physical signs of heat damage, stop and investigate. These warning signs are explained in more detail in when RV converter heat is dangerous.
Restricted airflow can matter.
Dust can matter.
High loads can matter.
Component failure can matter.
Don’t cover converter ventilation openings with camping gear, blankets, pet beds, or whatever else inevitably gets shoved into RV storage spaces.
Dim RV Lights Can Point Toward the 12-Volt System
Dim lights are another clue people associate with converter failure.
Maybe.
If lights are noticeably dim while connected to shore power, measure the DC system voltage.
If voltage is low, determine why.
Converter output?
Battery dragging the system down?
Bad connection?
Voltage drop?
Don’t diagnose by brightness alone.
Your eyes aren’t a multimeter.
Flickering Lights Don’t Automatically Mean a Bad Converter
Flickering can come from several places.
Loose connections.
Poor grounds.
Failing fixtures.
Voltage instability.
Converter issues.
Other electrical problems.
If multiple unrelated 12-volt lights flicker together, I’m more interested in the common power source or connections.
If one fixture flickers, I start much closer to that fixture.
Troubleshooting is about finding what the symptoms have in common.
The Converter and Battery Work Together
This is where understanding the system makes everything easier.
The battery isn’t just sitting beside the converter waiting to be charged.
Both are part of the RV’s 12-volt DC system.
While connected to shore power, the converter can supply DC loads and charge the battery.
When shore power disappears, the battery becomes the main DC energy source.
That’s why converter and battery problems can imitate each other.
The symptom changes depending on which source is carrying the system.
The Unplug Test Can Tell You a Lot
Here’s a simple observation.
Camper works beautifully plugged in.
Unplug shore power.
12-volt equipment immediately becomes weak or quits.
That points me toward the battery side.
Now reverse it.
Battery is known to be charged and 12-volt equipment works normally unplugged.
Connect shore power, but measurements show the converter isn’t producing its expected charging output.
Now I’m much more interested in the converter or its AC supply.
The change in behavior tells us where to look.
What If Everything Works Until the Battery Goes Dead?
This can happen when the converter isn’t charging but the battery initially has enough energy to run the 12-volt system.
You plug into shore power.
You assume you’re safe.
But the battery slowly continues discharging.
Eventually 12-volt equipment begins failing even though the shore-power cord is still connected.
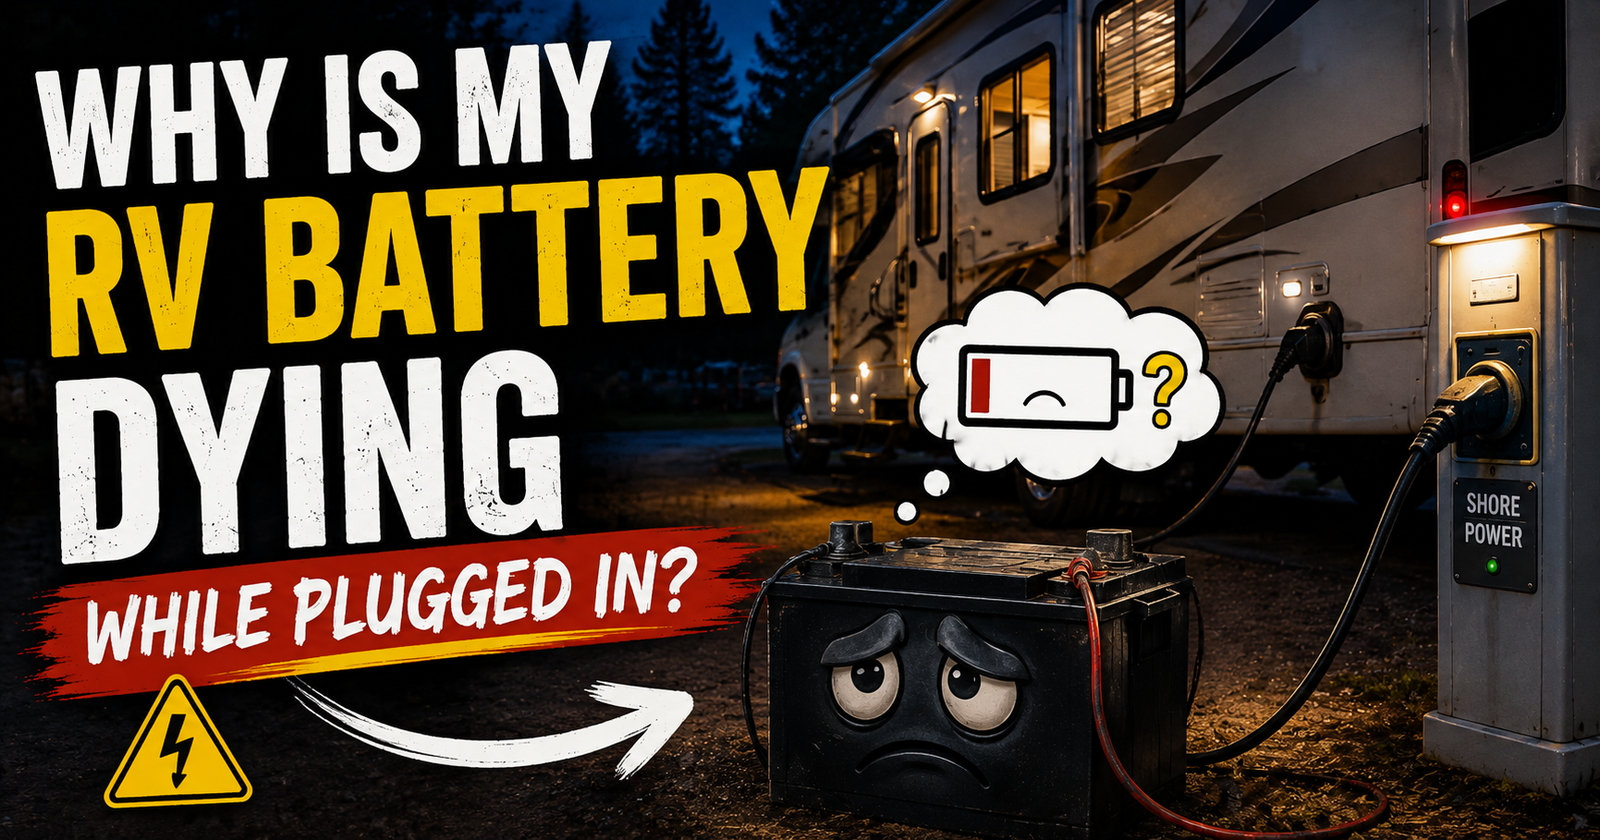
That’s exactly why an RV battery can die while the camper is plugged in.
The shore-power cord itself doesn’t charge anything.
The charging equipment has to actually work.
What If the Battery Voltage Is Too High?
Now we’re looking at the other side of converter trouble.
A charging system shouldn’t simply blast maximum voltage into the battery indefinitely without regard for the charging profile it’s designed to follow.
If measured voltage is consistently outside the converter and battery manufacturer’s specifications, investigate.
Don’t diagnose overcharging from one momentary high reading.
Multi-stage chargers intentionally use different voltages during different stages.
Again, identify the equipment and compare its behavior with its actual specifications.
Overcharging Can Damage Lead-Acid Batteries
Chronic improper charging can shorten battery life.
With flooded lead-acid batteries, excessive charging can contribute to excessive water loss and other problems.
AGM batteries have their own charging requirements.
Lithium batteries require compatible charging profiles and include their own protection systems.
That’s why converter compatibility matters so much when battery chemistry changes.
The battery and charger need to speak the same electrical language.
Did the Problem Start After a Lithium Upgrade?
This is a clue I would take seriously.
You had lead-acid batteries.
Everything worked.
You installed lithium batteries.
Now charging behavior seems wrong.
Don’t automatically blame the new battery or old converter.
First determine whether the converter is appropriate for the lithium battery manufacturer’s charging requirements.
Some older RV converters weren’t designed around lithium charging profiles.
That doesn’t always mean absolutely nothing will happen, but it can mean the system isn’t charging the new battery as intended.
Lithium Converter Compatibility Deserves Its Own Article
And we’re going to give it one.
Because “Can I put a lithium battery in my RV?” sounds like a battery question but quickly becomes a charging-system question.
Converter.
Solar controller.
Alternator charging.
Battery management system.
Wiring.
All of it matters.
That’s exactly why this battery cluster naturally grows into the larger RV electrical system.
Don’t Confuse the Converter With the Inverter
These names cause endless confusion.
A converter generally takes AC electricity and converts it into DC electricity.
An inverter generally takes DC electricity from the battery and turns it into AC electricity.
Some RVs have separate converters and inverters.
Others use an inverter/charger that combines functions.
So before ordering a “converter” because somebody online said yours is bad, make sure you’re talking about the right box.
An Inverter Can Make the Battery Problem Look Worse
Suppose the converter isn’t charging properly.
At the same time, the inverter is drawing from the battery to power AC loads.
Now you’ve got energy leaving the battery without enough coming back.
The battery can disappear surprisingly fast.
This is why battery troubleshooting eventually becomes whole-system troubleshooting.
Every source and every load matters.
A Parasitic Drain Is Not a Converter Failure
This distinction matters because the end result looks similar.
Battery keeps dying.
But if the converter charges it correctly and something drains it afterward, replacing the converter accomplishes nothing.
We’ve already built a detailed guide for tracking down parasitic RV battery drain.
That’s the path I’d follow when charging checks out but stored energy keeps disappearing.
Don’t Blame the Converter for Poor Battery Runtime
Maybe the battery charges perfectly.
Maybe the converter is completely healthy.
But the battery only lasts six hours while camping.
Now we’re dealing with consumption, usable battery capacity, or battery health.
Our guide explaining how long an RV battery should actually last is much more useful in that situation.
The converter’s job is charging.
It doesn’t determine how much electricity you decide to use after unplugging.
Connections Between the Converter and Battery Matter
Electrical systems are paths.
The converter can produce beautiful charging voltage at its output terminals.
That doesn’t guarantee the battery receives exactly what you expect if there’s excessive resistance somewhere along the path.
Loose connections.
Corroded terminals.
Damaged cable.
Poor grounds.
Faulty protection devices.
Those can all matter.
That’s why comparing voltage at different points in the system can be so revealing.
Voltage Drop Is a Troubleshooting Tool
Let’s say the converter is producing the expected voltage under the manufacturer’s test conditions.
Now measure at the battery while charging.
There’s an unexpectedly large difference.
That tells me to investigate the path between those points.
Don’t immediately install a bigger converter.
Find out where the voltage is being lost.
A bad connection can cost pennies to clean compared with replacing a perfectly good converter.
Check Grounds and Negative Connections
Here we go again with the negative side.
It’s easy to focus on the positive charging wire because that’s where fuses and breakers often live.
But a bad negative connection can cause its own voltage problems.
Inspect the converter’s negative path and battery negative connections as appropriate for the RV.
A circuit doesn’t work because one wire is good.
It works because the complete path is good.
Previous Owners Can Make Converter Troubleshooting Interesting
Used campers deserve special attention here.
Someone may have replaced the converter.
Added solar.
Added an inverter.
Moved batteries.
Installed a disconnect.
Added a second battery.
Converted to lithium.
Added direct-to-battery accessories.
And sometimes they leave behind absolutely no documentation.
If your RV’s wiring doesn’t match the factory diagram, don’t assume the factory diagram is wrong.
Someone may have changed the camper.
Trace what you actually have.
Look for Evidence of Previous Repairs
Non-factory wire colors.
Crimp connectors everywhere.
Loose wires.
Extra fuse holders.
Unused cables.
Electrical tape wrapped around mystery splices.
Aftermarket battery switches.
Those things don’t automatically mean the work was bad.
They mean you need to understand what was changed before troubleshooting based solely on the original design.
The converter might not even be the original converter anymore.
When I Start Seriously Suspecting the Converter
I become much more confident when several things line up.
The converter has proper AC input.
Required breakers and fuses are good.
Connections are good.
The battery isn’t causing the strange behavior.
The test is being performed according to the converter manufacturer’s procedure.
And the converter still fails to produce the specified DC output.
Now we’ve got evidence.
That’s a lot different from:
“My lights flickered twice, so I ordered a converter.”
When I Would NOT Replace the Converter
I wouldn’t replace it because the battery went dead once.
I wouldn’t replace it because the cooling fan ran.
I wouldn’t replace it because the converter feels warm.
I wouldn’t replace it because battery voltage was lower than expected without checking whether the converter had AC power.
I wouldn’t replace it when charging voltage is present at the converter but missing at the battery until I’ve checked the circuit between them.
And I definitely wouldn’t replace it because someone in a campground looked at the electrical panel for eleven seconds and said, “Yep, converter.”
Test it.
When Replacement Makes Sense
If you’ve confirmed proper AC input and the converter fails the manufacturer’s output test, replacement or professional repair becomes reasonable.
Physical damage can also make the decision easier.
Burned components.
Melted wiring.
Severe overheating.
Internal failure.
At that point, don’t keep forcing a failed electrical component to operate.
Replace or repair it correctly.
Don’t Automatically Buy the Biggest Converter You Can Find
More isn’t automatically better.
Converter output needs to be appropriate for the RV wiring, battery bank, electrical system, and intended charging requirements.
This becomes particularly important when people upgrade battery banks.
They install a massive lithium bank and think:
“I’ll just buy the biggest charger available.”
The RV’s existing wiring and protection were designed for something.
Make sure any replacement or upgrade is compatible with the entire system.
Match the Converter to Battery Chemistry
This deserves to be checked every time a converter is replaced.
What battery chemistry are you using now?
What might you use in the near future?
Flooded lead-acid?
AGM?
Lithium iron phosphate?
Look at the battery manufacturer’s charging specifications and the converter’s supported charging profiles.
A converter is part of the battery system.
Treat it that way.
A Smart Replacement Can Be Better Than Simply Matching the Old Box
If an older converter truly has failed, replacement can be an opportunity to improve the charging system.
Modern multi-stage charging can provide better battery management than some older converter designs.
But I still don’t upgrade blindly.
Battery type.
Bank capacity.
Cable size.
Circuit protection.
Physical installation.
Ventilation.
Manufacturer requirements.
All of that belongs in the decision.
Don’t Forget Physical Fit
RV electrical compartments aren’t exactly famous for having acres of empty space.
Measure.
Check airflow requirements.
Check cable routing.
Check mounting orientation.
Check access to fuses.
Make sure the replacement can actually be serviced after installation.
A converter that technically fits because you can force the panel closed isn’t what I call fitting.
Can You Replace an RV Converter Yourself?
Some RV owners absolutely can.
Others shouldn’t.
The job can involve both 120-volt AC and 12-volt DC electrical systems.
That’s enough reason to take it seriously.
If you understand electrical safety, can verify circuits are de-energized, can identify wiring correctly, and can follow the converter manufacturer’s installation instructions, the job may be manageable depending on the RV.
If those words already made you uncomfortable, hire an RV technician.
There’s no shame in knowing where DIY ends.
Disconnect Power Before Replacement Work
This isn’t a project where “I think the breaker is off” is good enough.
Follow the manufacturer’s procedures.
Disconnect shore power.
Disable generator and other AC sources.
Account for solar and battery power.
Understand that an RV can have multiple electrical sources.
Verify the circuits you’re working on are in the safe condition required for the job.
RV electrical systems can remain energized from places people forget about.
Solar Can Keep the DC System Alive
This catches DIY owners.
You unplugged shore power.
Great.
But the solar panels are sitting in full sun.
Depending on the system design, your solar controller may still be connected to the battery and DC system.
Likewise, the battery itself remains an energy source unless properly isolated.
“Unplugged” does not necessarily mean “dead.”
Know every power source before working on RV electrical equipment.
The Generator Is Another Power Source
Same idea.
Shore cord disconnected doesn’t matter if the generator can energize the AC system.
Automatic transfer switches can make this even less obvious to someone unfamiliar with the RV.
Treat the electrical system as having multiple possible sources until you’ve confirmed otherwise.
That’s a much safer mindset.
After Repair, Test the Whole Charging System
Once a converter problem has been repaired, I don’t just see whether the lights turn on and call it good.
I check charging behavior.
Battery voltage before charging.
Voltage with the converter operating.
Connections.
Any unusual heating.
Battery response over time.
Then I verify that the battery actually reaches the expected state of charge.
The goal isn’t merely making the converter produce electricity.
The goal is restoring the entire 12-volt charging system.
Watch the Battery Afterward
This is particularly important if the converter may have been malfunctioning for a while.
The battery could have been chronically undercharged.
It may have been repeatedly deeply discharged.
Or an improper charging condition may have damaged it.
Fixing the converter doesn’t guarantee the battery survived whatever happened before the repair.
Give the battery its own health check afterward.
One Bad Part Can Create Two Problems
This happens all over RVs.
The converter fails.
Battery stops charging properly.
Owner continues camping.
Battery gets deeply discharged repeatedly.
Eventually the battery loses capacity.
Converter gets replaced.
But battery runtime is still terrible.
Now it feels like the new converter didn’t fix anything.
It may have fixed the original problem.
You’re just left with the damage the original problem caused.
That’s Why I Diagnose the System, Not Just the Box
Converter problems are easier once you stop thinking of the converter as an isolated appliance.
AC power goes in.
DC power comes out.
That DC power supports the camper and charges the battery.
The battery stores energy.
Wiring connects everything.
Fuses and breakers protect it.
Loads consume the energy.
Every piece gives us something to test.
So if your RV battery won’t charge, your 12-volt lights are acting strange, or the camper works plugged in but falls apart the second you unplug, don’t start ordering parts. A battery that seems charged but quickly fails after unplugging is discussed in RV battery says full and then dies surprisingly fast.
Verify shore power.
Check breakers and fuses.
Inspect the connections.
Measure battery voltage.
Verify converter input and output according to its manufacturer’s instructions.
Then follow the voltage through the system.
If the converter has what it needs coming in but can’t produce what it’s supposed to send out, you’ve finally given yourself a solid reason to call it bad.
That’s how I want to find a failed RV converter.
Not because it was the first expensive box somebody thought to blame.
Because the electrical tests actually led us there.
Written by Evan Mercer
Evan Mercer writes about RV electrical systems, charging problems, battery troubleshooting and everyday camper ownership for CamperAnswers.com. His work focuses on helping RV owners understand how their systems work so they can diagnose the actual problem before replacing expensive parts.